Why Some Plastics Need Pre Treatment Before Printing
Not every bottle, cup or tube accepts ink the same way. Many plastics are moulded with a surface that repels moisture, grease and sometimes ink too, which is why a print may look fine at first and then scratch off after handling or washing.
Pre treatment is the step that prepares the surface for better adhesion. In simple terms, it changes the outer layer of the material so the ink can wet out evenly and grip the product. That matters on packaging that must survive transport, filling lines, condensation, and repeated handling in shops or distribution. If the surface is untreated, the print can bead, ghost or rub off within days.
Flame Treatment Versus Corona Treatment
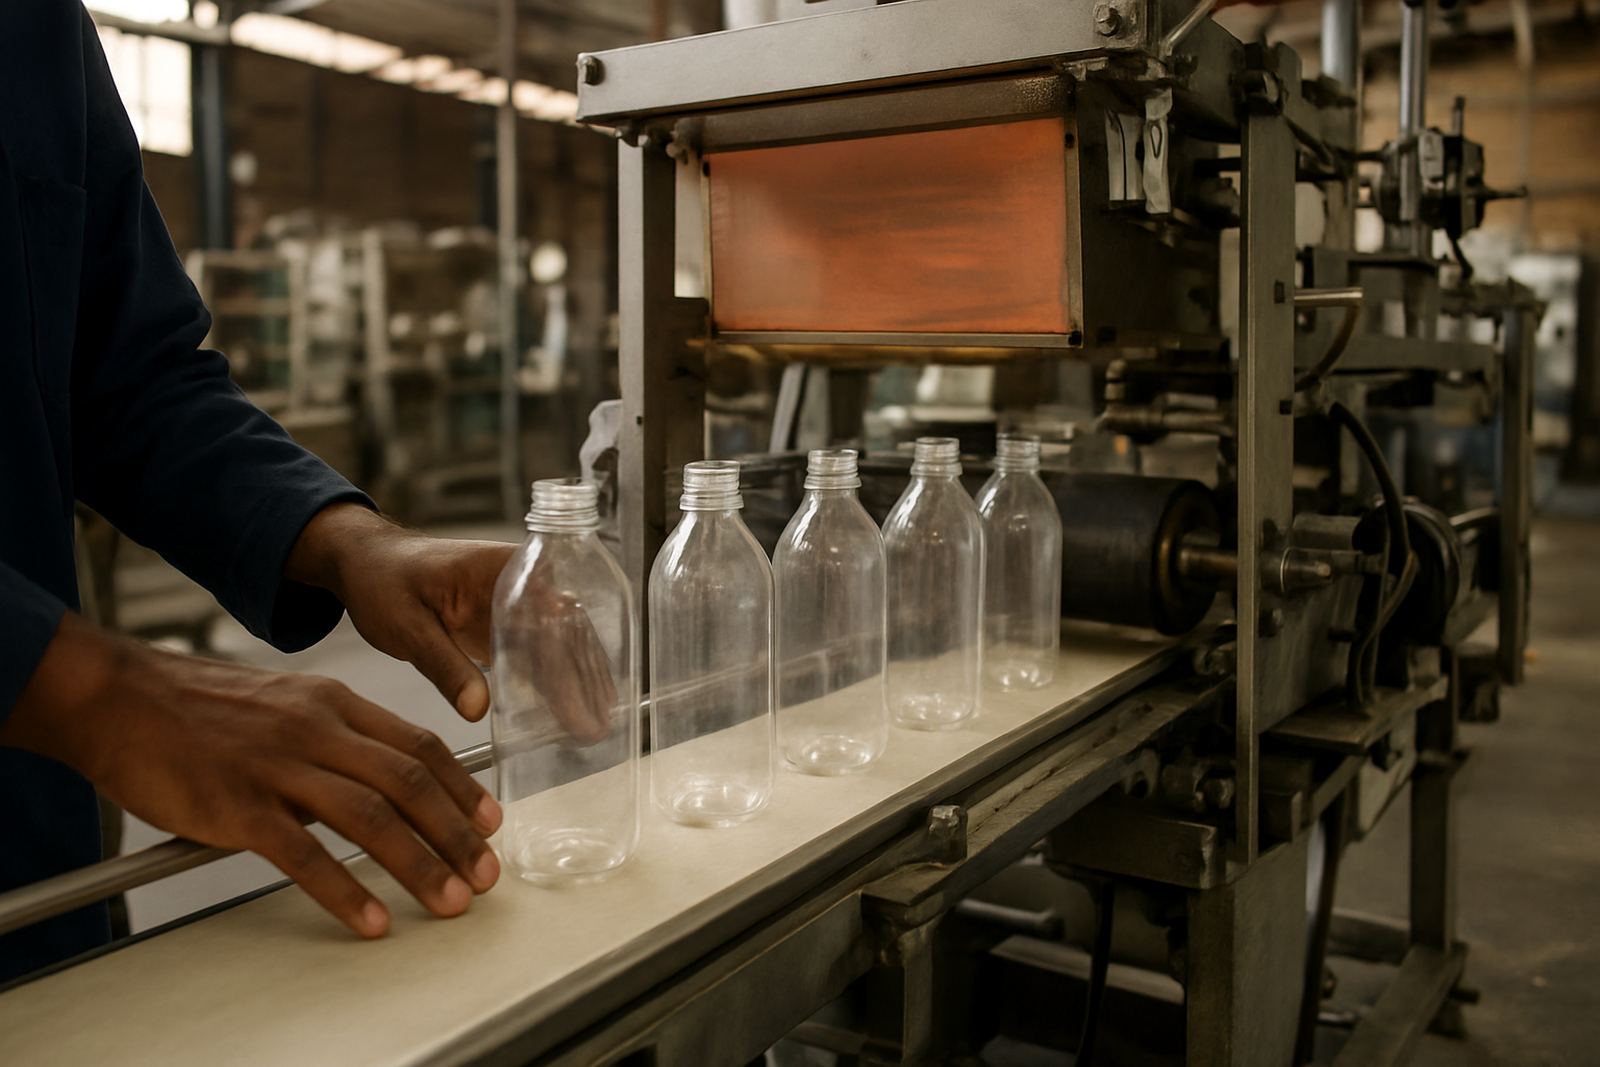
Flame treatment uses a controlled flame to pass quickly over the product surface. It works well on many round containers and is common where bottles move in batches through a line. The heat and oxidation increase surface energy for a short time, so printing normally follows soon after treatment.
Corona treatment uses a high voltage discharge to modify the surface without direct flame. It is often used on flat webs and some packaging formats, but can also suit certain cylindrical applications where the machine setup allows it. Both methods aim for the same result, better ink adhesion, but the right choice depends on the material, speed of production and the shape of the container.
- Flame is often chosen for rigid round containers and faster line work.
- Corona is useful where heat must be limited or the format suits electrical treatment better.
- Some materials need no pre treatment at all, while others absolutely do.
How To Know If Your Bottle Will Hold The Print
There are a few practical signs that pre treatment is needed. If ink pulls back from the surface, leaves pinholes, or loses gloss in patches, adhesion is usually the first problem to check. A quick tape test after curing can also show whether the print is bonding properly. If the print lifts with light pressure, the surface likely was not prepared enough.
Material type matters. Common bottle plastics used in South Africa can vary from one supplier to the next even when they look similar. Two containers with the same shape may behave differently if one is moulded from a more slippery grade or has a higher level of release agent left from production. This is where sample testing saves money, because you can catch the issue before a full run starts.
- Check for ink beading or poor coverage on the first samples.
- Test after curing and again after 24 hours if possible.
- Compare different batches, not just one sample bottle.
What Goes Wrong When Treatment Is Skipped
Skipping pre treatment can be expensive. A batch of printed packaging may need to be scrapped, or worse, shipped out and then returned by a customer who notices the print failing in store. On promotional bottles, cups and tubes the damage is even quicker because people touch the item all the time.
In humid coastal areas like Durban and the South Coast, poor surface preparation can show up even faster. In dry inland conditions around Johannesburg, static and dust can also interfere with print quality if the product is not handled correctly. We have seen jobs where the ink looked acceptable in the workshop, then failed once the finished packs moved through cold rooms or were wiped during packing. It only takes one missed setting to cause a lot of wasted material.
A Practical Example From Aeroton To A Gauteng Packaging Run
A plastics converter in the Johannesburg South area once needed printing on a run of cylindrical bottles for a cleaning product. The first trial looked uneven, with the design breaking on the shoulder of the bottle and lifting near the fill line area. The issue was not the artwork or the ink mix, it was the surface on the bottle itself.
After checking the material, the team added pre treatment before printing and adjusted the line speed slightly. The result was steadier coverage and a print that passed handling tests before dispatch. For a Gauteng producer shipping to Pretoria, Midrand and further afield, that kind of correction keeps production moving and avoids last minute rework. It also helps when loadshedding affects timing, because if the line is stopped and started again the treated surface must still be printed within the right window.
How To Manage Pre Treatment On A Real Production Line
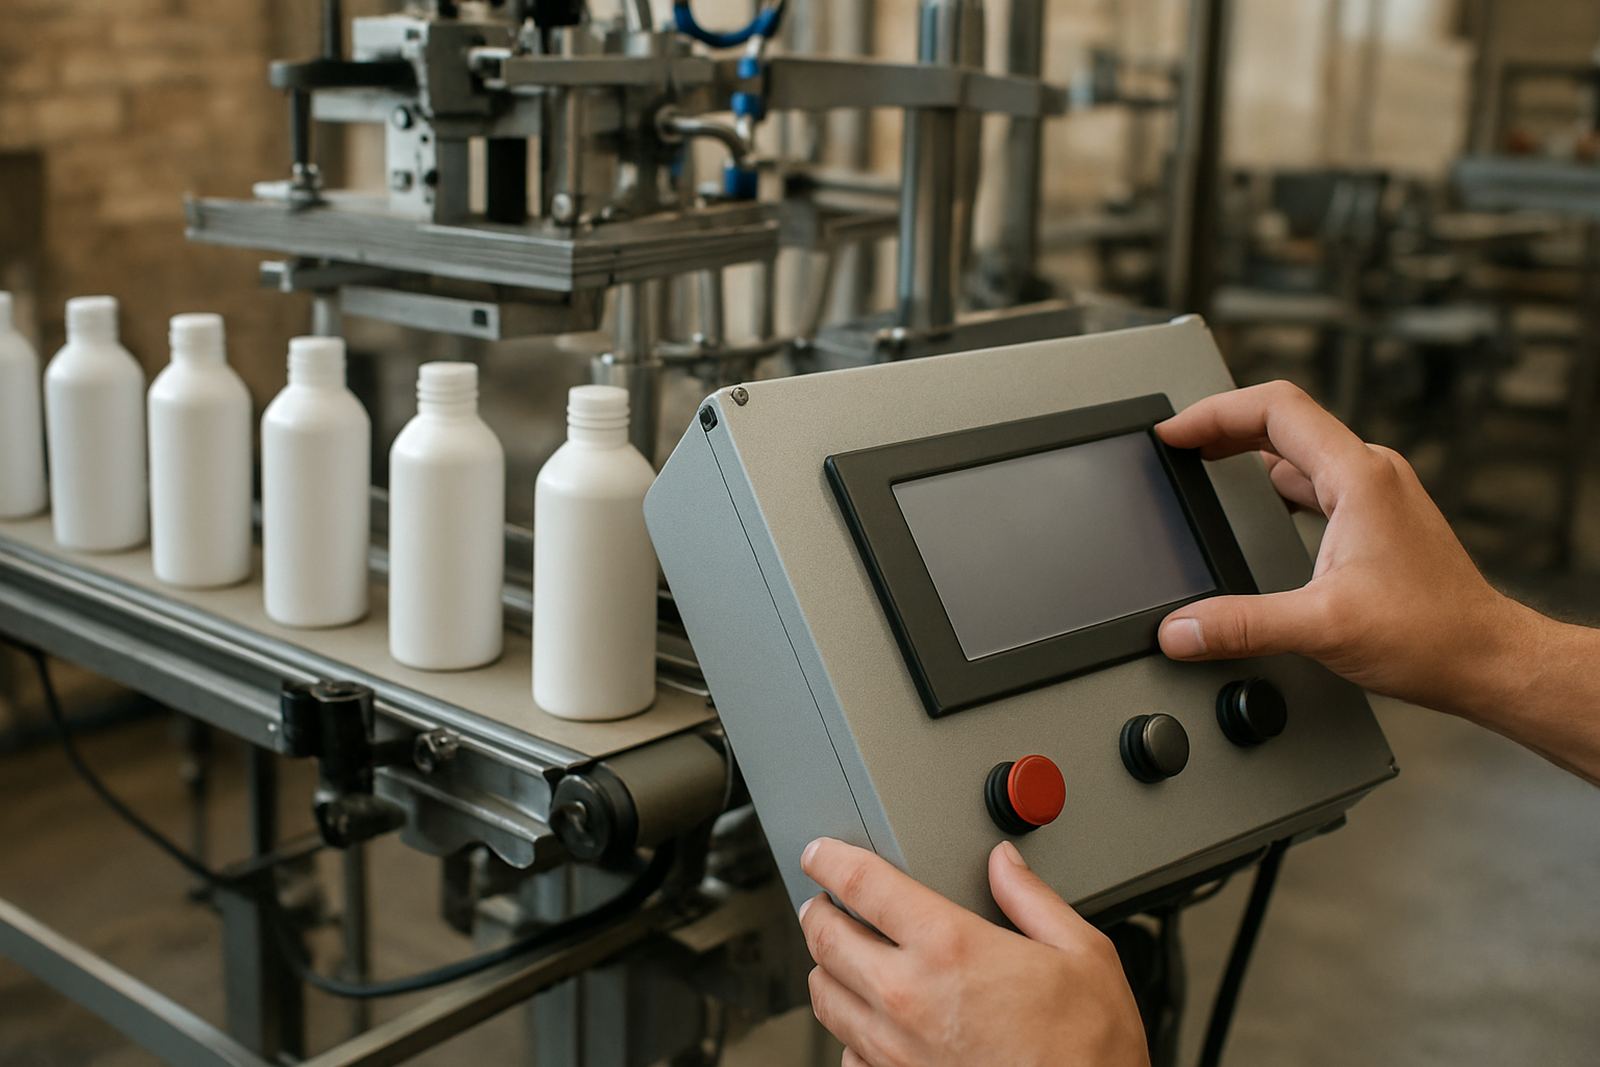
Pre treatment works best when it is treated as part of the process, not an afterthought. The machine set-up, the bottle material, the curing method and the time between treatment and printing all matter. If that window is too long, the surface can lose the benefit of the treatment and the print results will drift.
Good line discipline helps a lot. Keep the bottles clean and dry, avoid touching the print area with bare hands and make sure the operator knows what a properly treated surface should look like. On larger runs, record the settings that worked so they can be repeated on the next job. That kind of routine makes life easier for production teams in Aeroton, Pretoria, Durban and Cape Town where repeat orders are common and clients expect the same finish every time.
- Print soon after treatment, especially on high value packaging.
- Keep sample bottles from each batch for future comparison.
- Train operators to spot surface faults before the run starts.
When To Ask For Help Before The Job Starts
If you are unsure about the plastic grade, the best treatment method or the right settings for your machine, test first. A short trial can save a full pallet of rejects. It also helps to ask for support when you are changing from one bottle supplier to another, because a small change in resin or mould finish can affect the print more than expected.
For businesses printing cups, tubes and bottles across South Africa, pre treatment is not a fancy extra. It is the step that makes the print stick and stay looking right. If you need help with machine set-up, operator training, screen making or production optimisation, it is worth getting the process checked before the first full run starts.