Start With the Surface, Not the Press
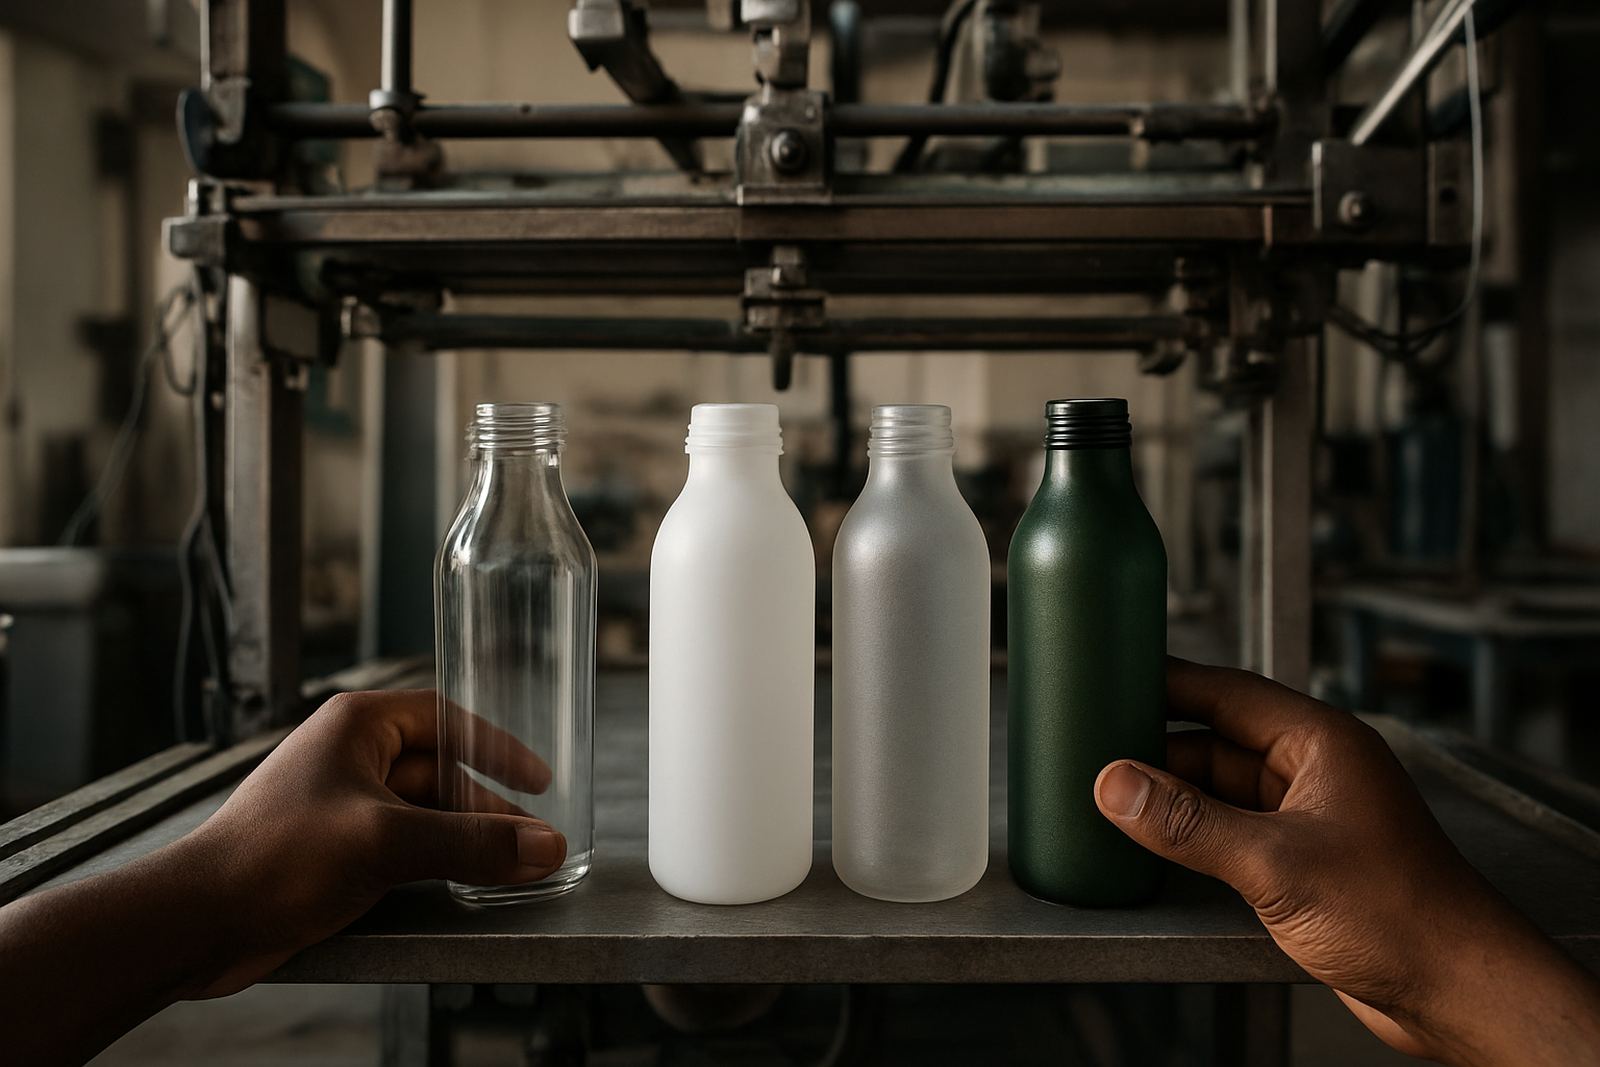
When a print smudges, the first reaction is often to blame the machine or the ink. In practice, the product surface is just as important. Bottles, cups and tubes come in different plastics, coatings and finishes, and each one holds ink a little differently. If the surface still carries dust, mould release, oil from handling, or moisture from washing, the print can shift or smear before it has a chance to set.
On a warm Johannesburg afternoon, a cup line in Aeroton may run fine for the first hour, then start smearing once packed parts are handled too soon. At the coast, humidity can make the problem worse because the substrate stays cooler and the ink films take longer to stabilise. That is why surface prep must be checked before anything else.
- Wipe the print area with a clean, lint-free cloth before setup
- Make sure washed parts are fully dry, inside and out
- Check for fingerprints on glossy bottles and tubes
- Keep pre-treated stock covered until printing starts
Check Ink Viscosity and Mix Consistency
Ink that is too thin spreads after the print stroke and leaves blurred edges. Ink that is too thick can drag, then break open when the product moves off the print station. The right balance depends on the substrate, screen mesh and workshop temperature. In summer, a production floor in Midrand can heat up fast, and the same mix that worked at 8am may behave differently by lunch.
Operators should not guess at viscosity. They should stir the ink properly, check whether any thinner has been added, and confirm that the mix is still usable for the job at hand. If a colour is changing from batch to batch, the print can look weak on one unit and heavy on the next, which often shows up as smudging during handling.
- Mix ink slowly so air bubbles do not get trapped
- Keep lids closed between runs to reduce skinning
- Use the same measuring method for every thinner addition
- Test on 5 to 10 parts before full production
Watch the Screen, Mesh and Squeegee Pressure
A clean, correctly tensioned screen gives a sharper print and releases ink more evenly. If the mesh is clogged, the image can print light in one area and heavy in another, leading to smears where excess ink sits on the part. Old or damaged screens also lose control over the print edge, especially on narrow tubes and curved bottles where registration is tighter.
Squeegee pressure matters just as much. Too much pressure pushes ink through the mesh and floods the image. Too little pressure leaves patches that tempt operators to run another pass, and that second pass often creates the smudge. The aim is one clean transfer, not extra force.
- Inspect mesh openings for dried ink before each shift
- Replace worn blades that leave a rounded edge
- Confirm screen tension is still even across the frame
- Keep off-contact and stroke settings consistent through the batch
Drying Time Is Not the Same as Curing Time
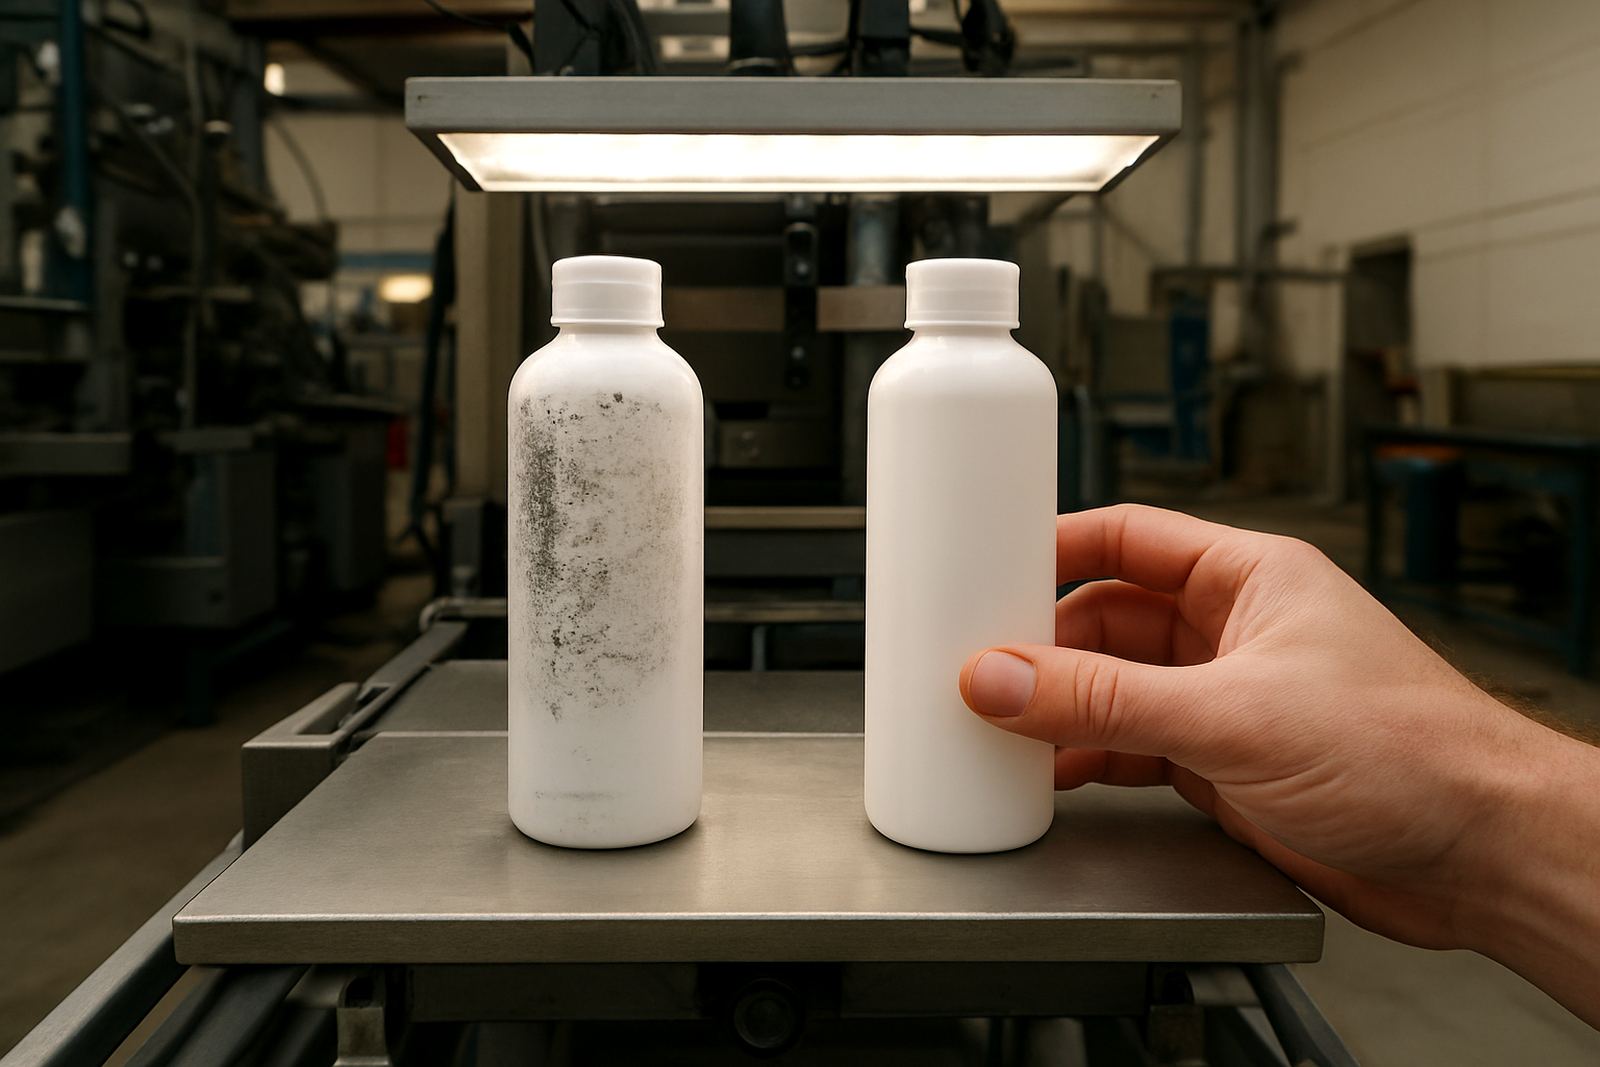
One of the most common reasons for smudging is moving the product too soon. A print can feel dry to the touch but still be soft underneath. If the next unit rubs against it, or if operators stack parts too early, the image will pick up marks and lose its clean edge. This happens often on high-output lines where teams are trying to keep pace with orders.
In practice, drying time depends on ink type, shop temperature, airflow and the shape of the product. Curved surfaces can hold wet ink longer in the lower edge of the print area. That means a bottle may look fine on the rack, then show a drag mark once it is packed or labelled.
- Allow enough dwell time between printing and handling
- Use racking that keeps printed areas from touching each other
- Check that airflow reaches the full batch, not only the front row
- Do a rub test before packing the first cartons
Simple Checks Operators Should Do Before Restarting a Line
When smudging starts, operators should work through a short checklist before changing settings all over the place. The goal is to find the smallest fix first. A clean screen, correct ink mix, stable product feed and proper drying will solve many issues without a full stop to production.
It also helps to record what changed before the problem appeared. If the line was slowed for load-shedding, if a new batch of cups arrived, or if the workshop got hotter after lunch, that note can point to the cause. A small change in handling can affect a whole run, so the team should look at process and environment together.
- Confirm the product is dry, clean and properly positioned
- Check that the screen is not flooding or drying out
- Review ink mix, thinner use and open time
- Look at drying racks, conveyors and stacking practice
A Johannesburg Example That Saves Rework
A packaging business in the south of Johannesburg was printing on cylindrical containers for a retail promotion. The prints looked sharp at the machine, but by the time the cartons were sealed, several units had blurred logos and finger marks. The team thought the problem was the artwork, yet the real issue was a mix of too much ink, quick handling and a drying rack placed too close to the packing table.
Once the operators reduced the ink load, extended the drying gap and changed the route between print station and packing area, the smudging dropped almost at once. They also set aside printed stock for a short cooling period during the hotter part of the day. It was a small change, but it saved a lot of rework and kept the run moving. For many sites, that kind of adjustment is cheaper than stopping to chase faults later on.
If you are seeing recurring smudges on bottles, cups or tubes, it usually means one part of the process needs closer attention. The good news is that most causes are practical and visible, which makes them easier to correct once the team knows what to check first.