Why the substrate matters before the first print
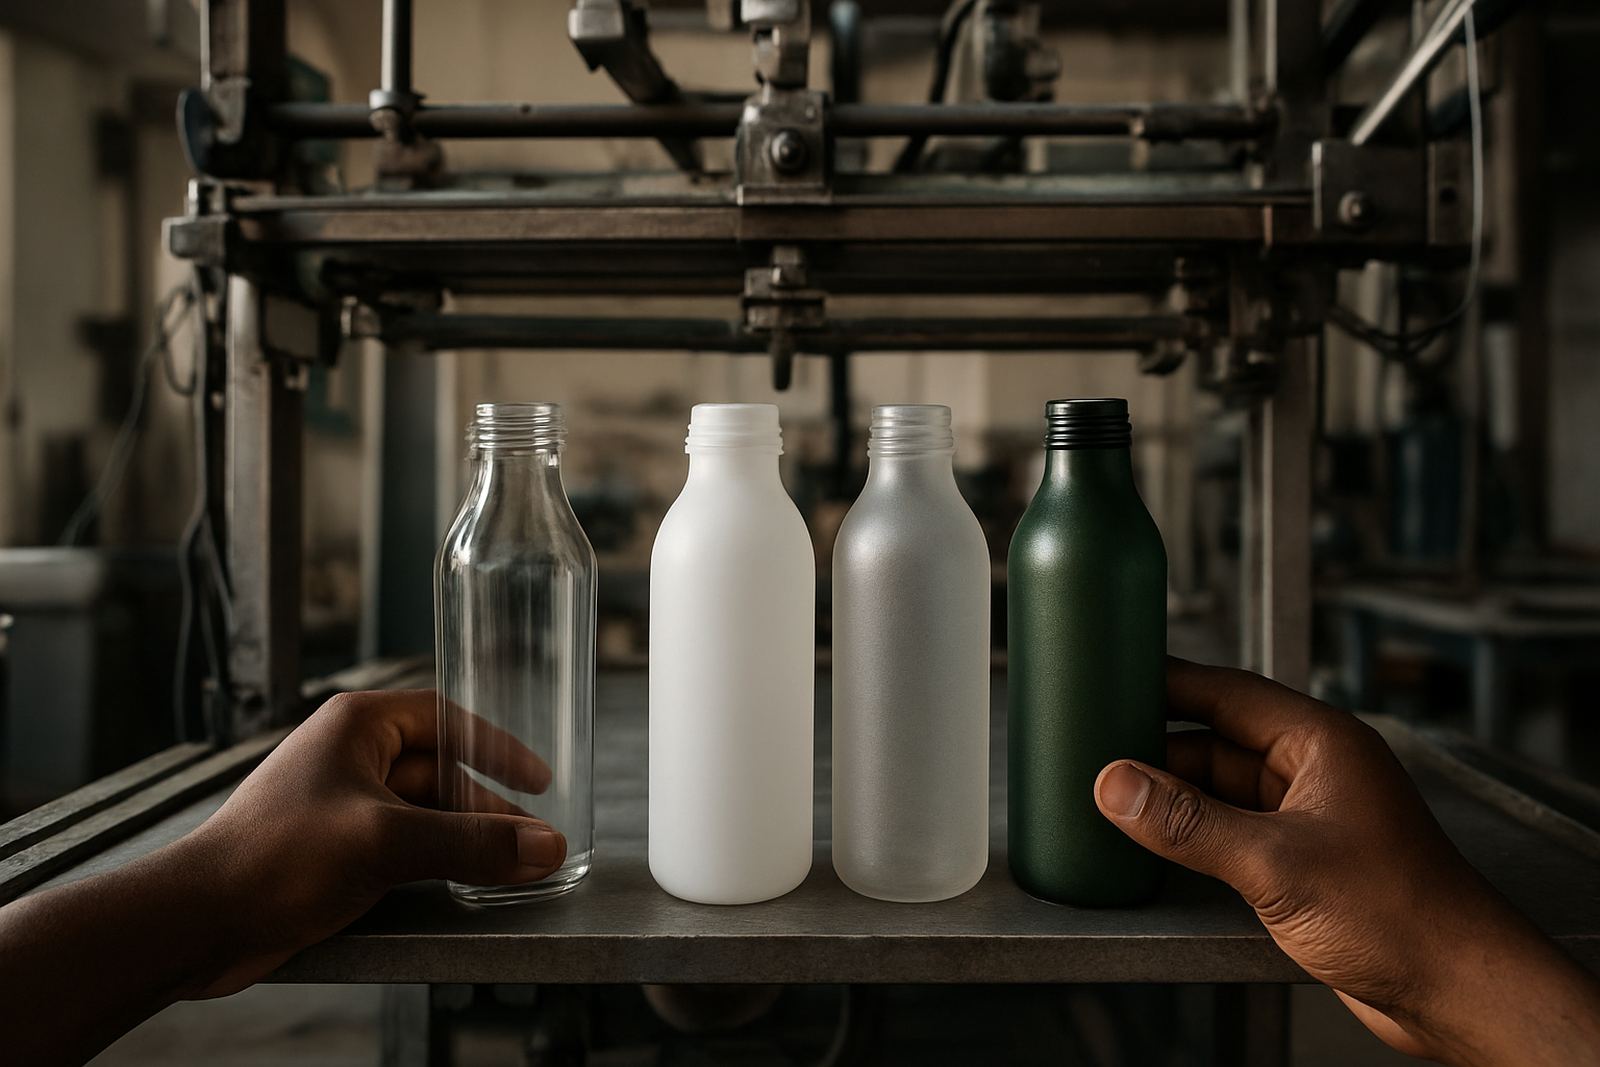
When you print on a bottle, cup or tube, the material underneath the ink matters as much as the artwork. Glass is hard, smooth and stable. Plastic is lighter, often slightly flexible and can carry mould release or static that affects ink transfer. That means the same screen, the same squeegee pressure and the same drying plan will not always give the same result.
In Johannesburg, where many shops run mixed short orders for promotions, you often see one job with glass water bottles and the next with plastic squeeze bottles. If the operator does not reset for each substrate, the print can look fine on press but fail later in packing or delivery. A practical setup starts with knowing what the item is made from, not just its size.
Glass gives steadier handling but needs clean prep
Glass is rigid and keeps its shape through the print cycle, which makes registration easier. Cylindrical movement stays more predictable, especially on heavier drink bottles and jars. For production, that means fewer surprises with rotation and less movement while the screen comes down.
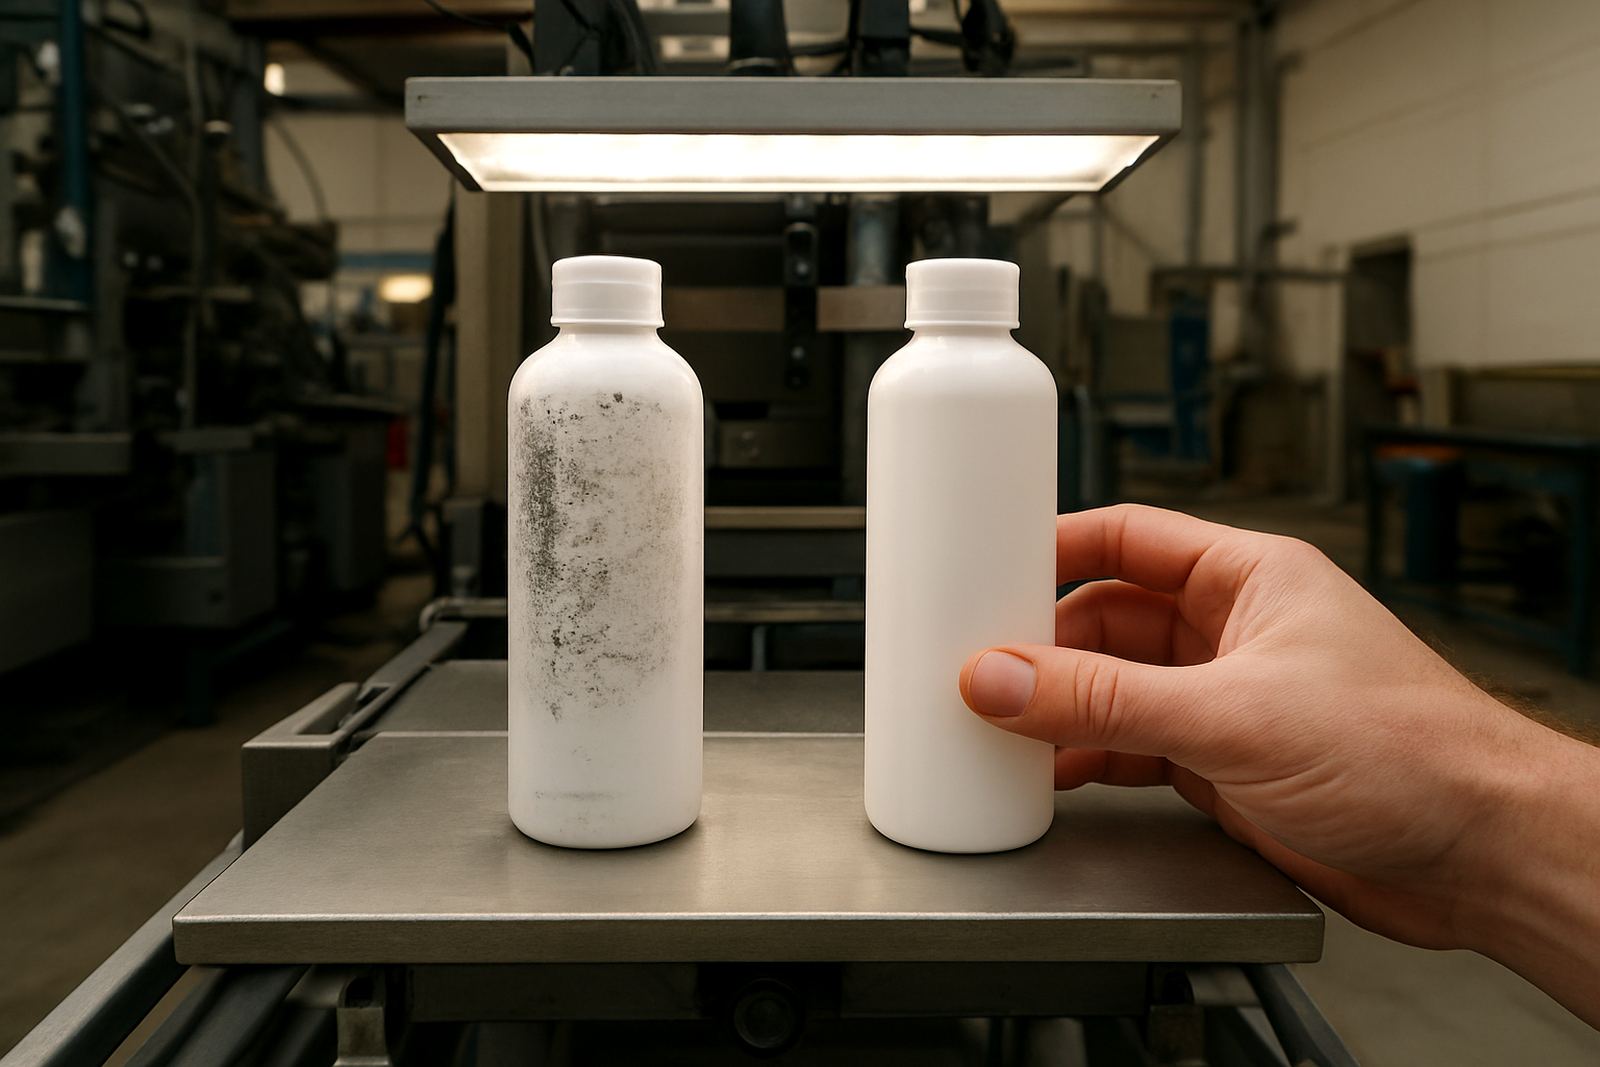
The downside is that glass shows every bit of contamination. Finger marks, dust, packing powder and moisture from a cold store can all affect adhesion. On coastal loads sent through Durban or Cape Town, condensation is a common problem. A simple wipe with the correct cleaner and dry handling can save a full batch.
- Check for chips around the neck and base before loading
- Use lint-free cleaning cloths and keep hands off the print zone
- Allow glass to reach room temperature before printing after cold storage
- Keep transfer jigs and roller surfaces free of dried ink
Plastic needs gentler setup and better surface control
Plastic is lighter and easier to move, which helps with packing and transport. It is also common on sports bottles, cosmetics tubes and promotional cups. But plastic can flex under pressure and that flex affects print consistency. If the wall is too thin, too much squeeze from the print head can distort the shape and shift the image.
Many plastics also need careful surface preparation. Some are easy to print, others reject ink unless they are treated first or cleaned well. Static build-up can pull dust onto the surface and in dry Gauteng weather this can happen fast. On a busy line in Aeroton, a missed wipe or a rushed colour setup can mean one side looks sharp and the next looks patchy. That kind of problem is expensive to fix after packing.
- Reduce pressure on thin-wall items to avoid oval movement
- Test ink hold on a sample before running the full order
- Watch for static and dust, especially on dry winter mornings
- Store plastic away from direct sun so the shape stays consistent
Adhesion rules are different for each material
Good print is not only about colour strength, it is about how well the ink bonds and stays there. Glass usually needs very clean, controlled curing and the correct ink match. Plastic may need extra attention on surface energy, drying speed and flex after print. If the ink is too brittle on a squeezable bottle, it may crack during use or in transit.
A practical test is to run a small sample, let it cure fully, then handle it the way the customer will. Rub test it, stack it, pack it and leave a few units in warm conditions. If the surface scuffs easily or the colour shifts, the setup needs adjusting before the production run continues. This is where a good technical team saves time and scrap, not after the complaints start.
Machine setup changes with weight, wall thickness and shape
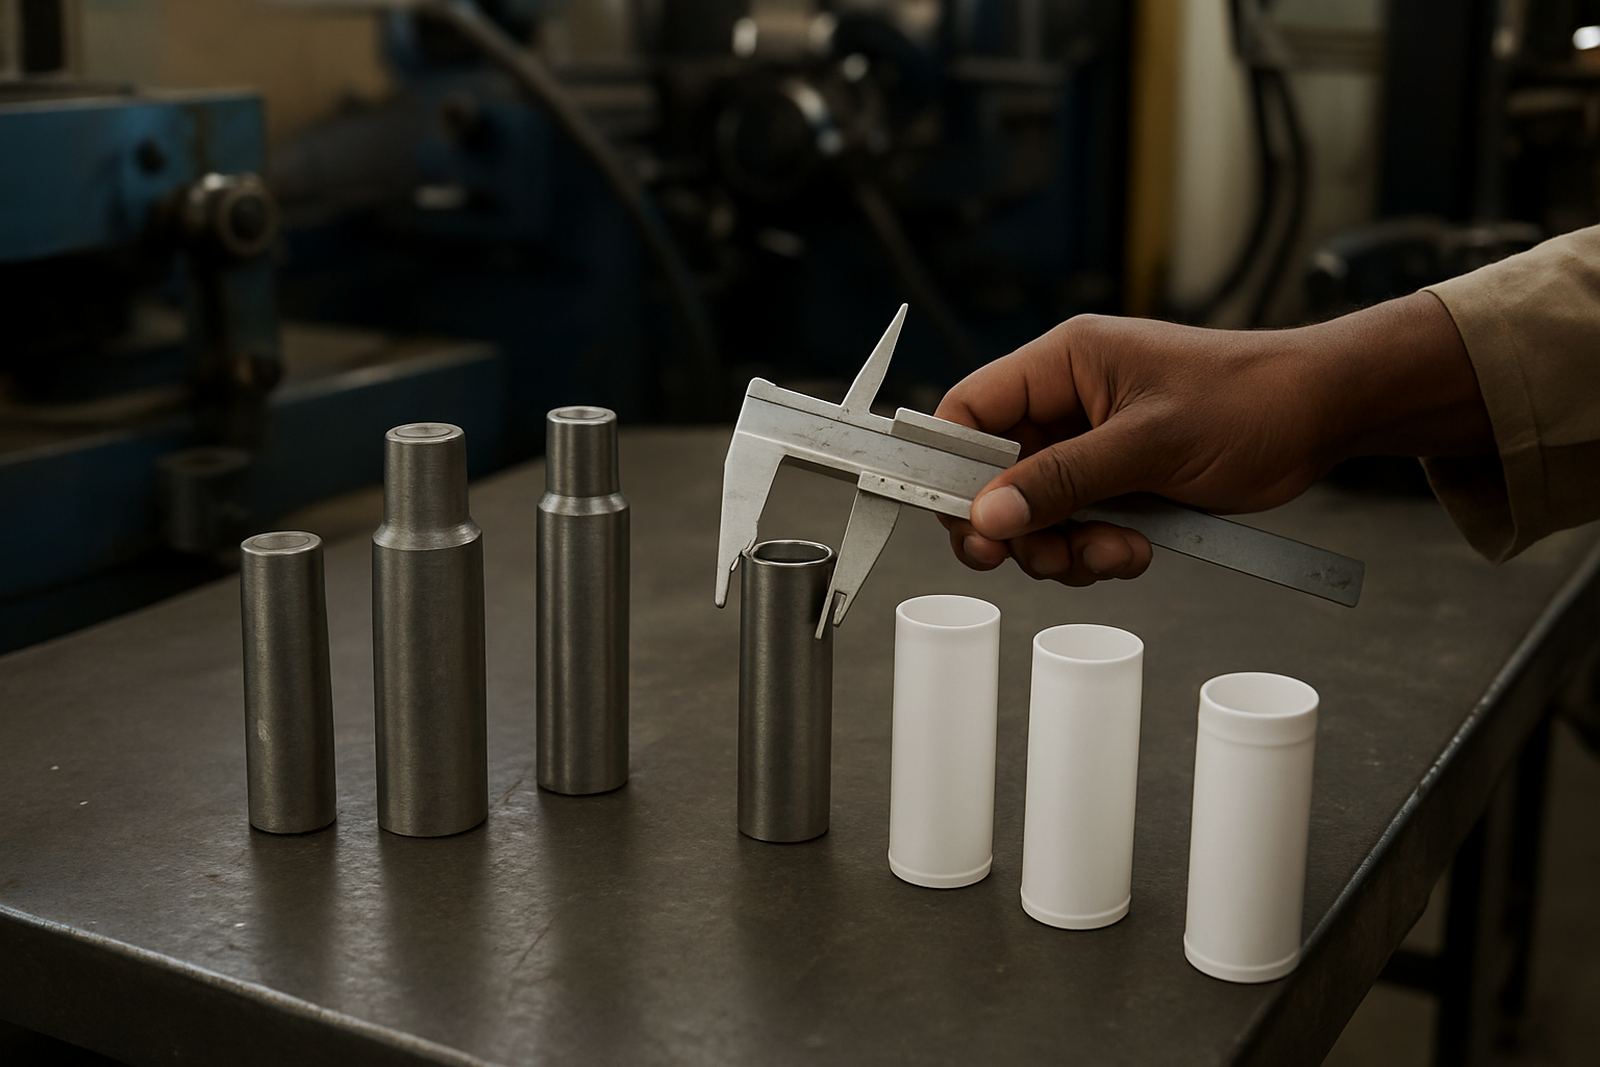
Glass containers are often heavier and more stable on the carriage, but they need secure support so they do not bounce or slip. Plastic items may need softer contact points and better centring because a light container can shift under the print stroke. Wall thickness also changes how much pressure the system can tolerate. A thick glass jar and a thin plastic cup should never be treated the same on the same setting.
Production teams should treat each substrate as its own setup file, even when the artwork is the same. That means checking speed, off-contact, pressure, drying time and the position of the registration mark. One missing adjustment can cause a full shift of rework later and that slows the whole factory down.
- Match support fixtures to the actual diameter and weight
- Set pressure for the thinnest item in the order, not the strongest
- Use sample runs to confirm roundness and print position
- Keep spare parts and rollers ready for quick changeover
Local example from mixed promotional work in Gauteng
A Johannesburg converter handling a batch of corporate gift items may receive glass coffee jars for one client and plastic shaker bottles for another in the same week. The glass order can run well with tighter handling and a stronger cleaning routine, while the plastic order may need a slower start, softer contact and extra attention to ink cure. If the team uses one setting for both, the glass may print neatly but the plastic may show drag marks or poor edge hold.
That is why local installers and production trainers spend so much time on setup on site. Once the operator sees how the substrate behaves, they can adjust speed and pressure in minutes instead of fighting the machine all day. It sounds simple, but it is usually the difference between profitable work and avoidable waste.
Choose the substrate that suits the customer and the process
Glass is often the better choice when the customer wants a premium feel, strong shape retention and a more permanent look. Plastic makes sense when weight, price and transport matter more. There is no single winner, only the right match for the job. The best results come when the team knows how each material behaves before the screens go on press.
If your line handles both materials, keep separate notes for cleaning, ink choice, curing and handling. That habit will save time during load-shedding gaps, night shifts and rushed end-of-month production. It will also help your prints last longer after delivery, which is what customers actually notice.
For support with machine installation, screen making, training or breakdown repairs, our Johannesburg team works with printers across South Africa and can help set the process up properly from the start.