Start with the bottle, not the jig
Before you tighten anything, check the actual bottle, cup or tube you are printing. Cylindrical items are not all the same, even when they come off the same supplier. Measure the body diameter, neck shape, shoulder height and the printable area in millimetres. A straight-sided 330 ml bottle behaves very differently from a curved cosmetic tube or a tapered sports bottle.
Set the jig around the product, not around what you think the product should be. If the item has a mould line, seam or logo panel use that as your visual reference for centring. On clear or tinted containers, a tiny offset shows up fast once the ink hits the surface.
- Check diameter with callipers or a tape marked in millimetres.
- Test the printable length for the full image, including any wrap-around overlap.
- Confirm that caps, closures and handles do not interfere with rotation.
Align the centreline before you chase the print
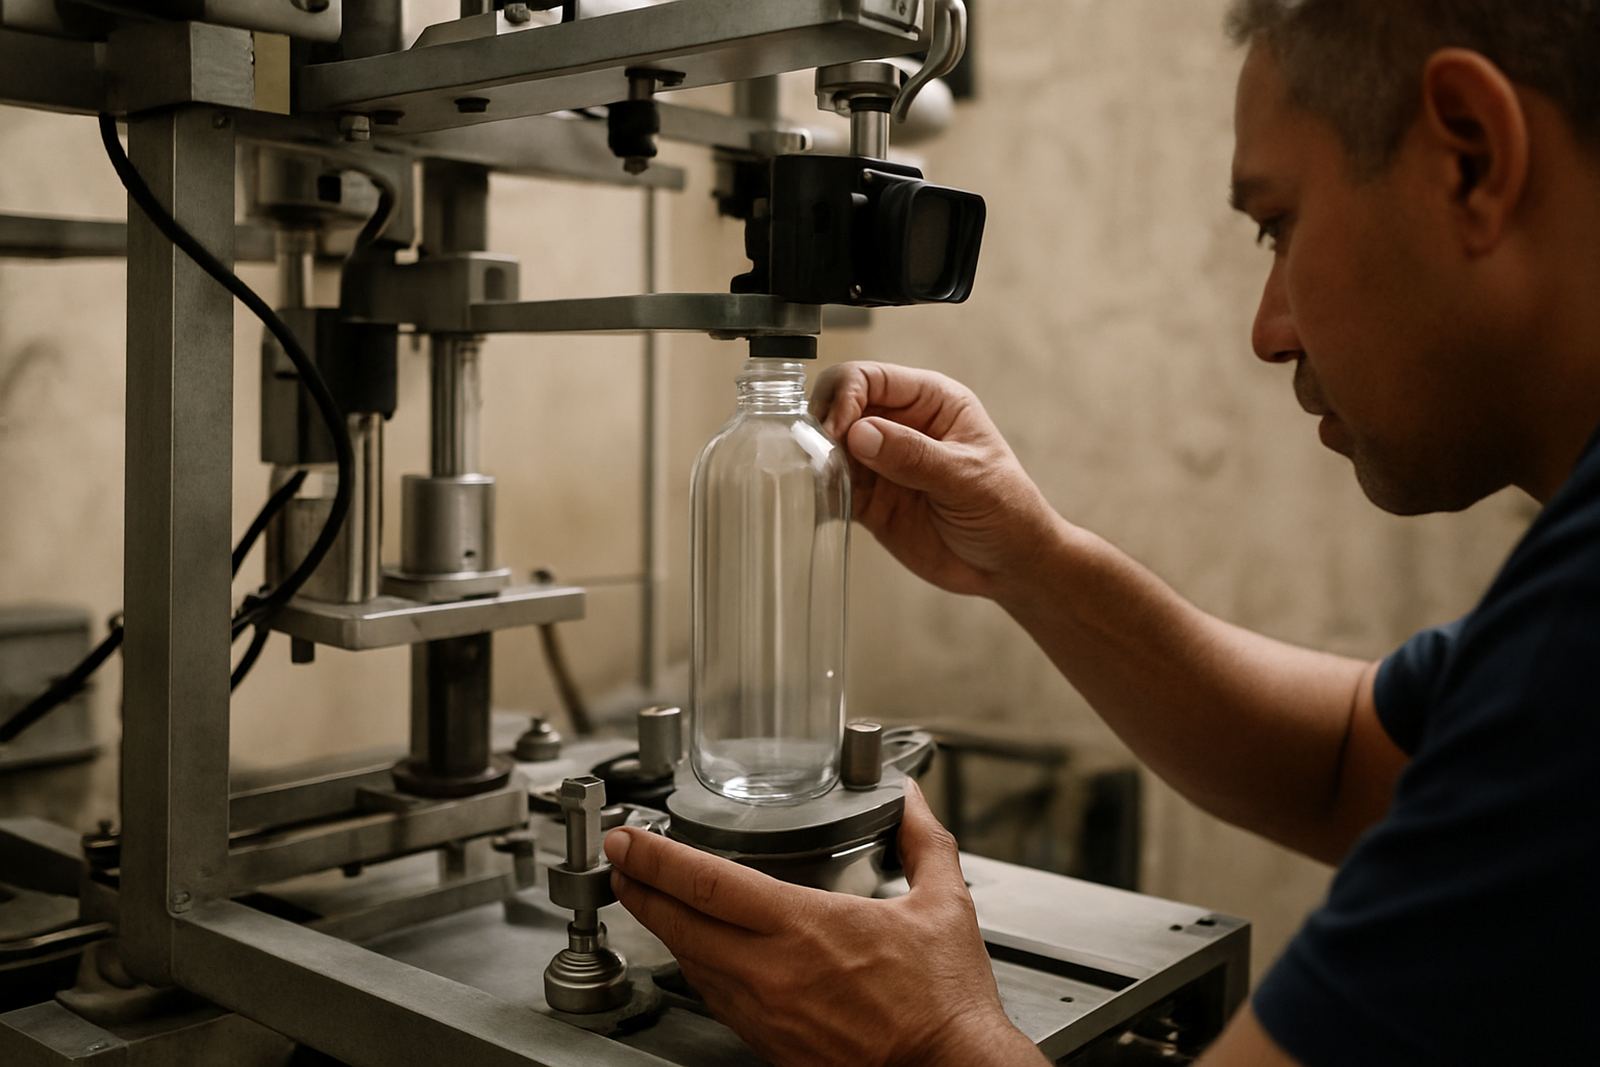
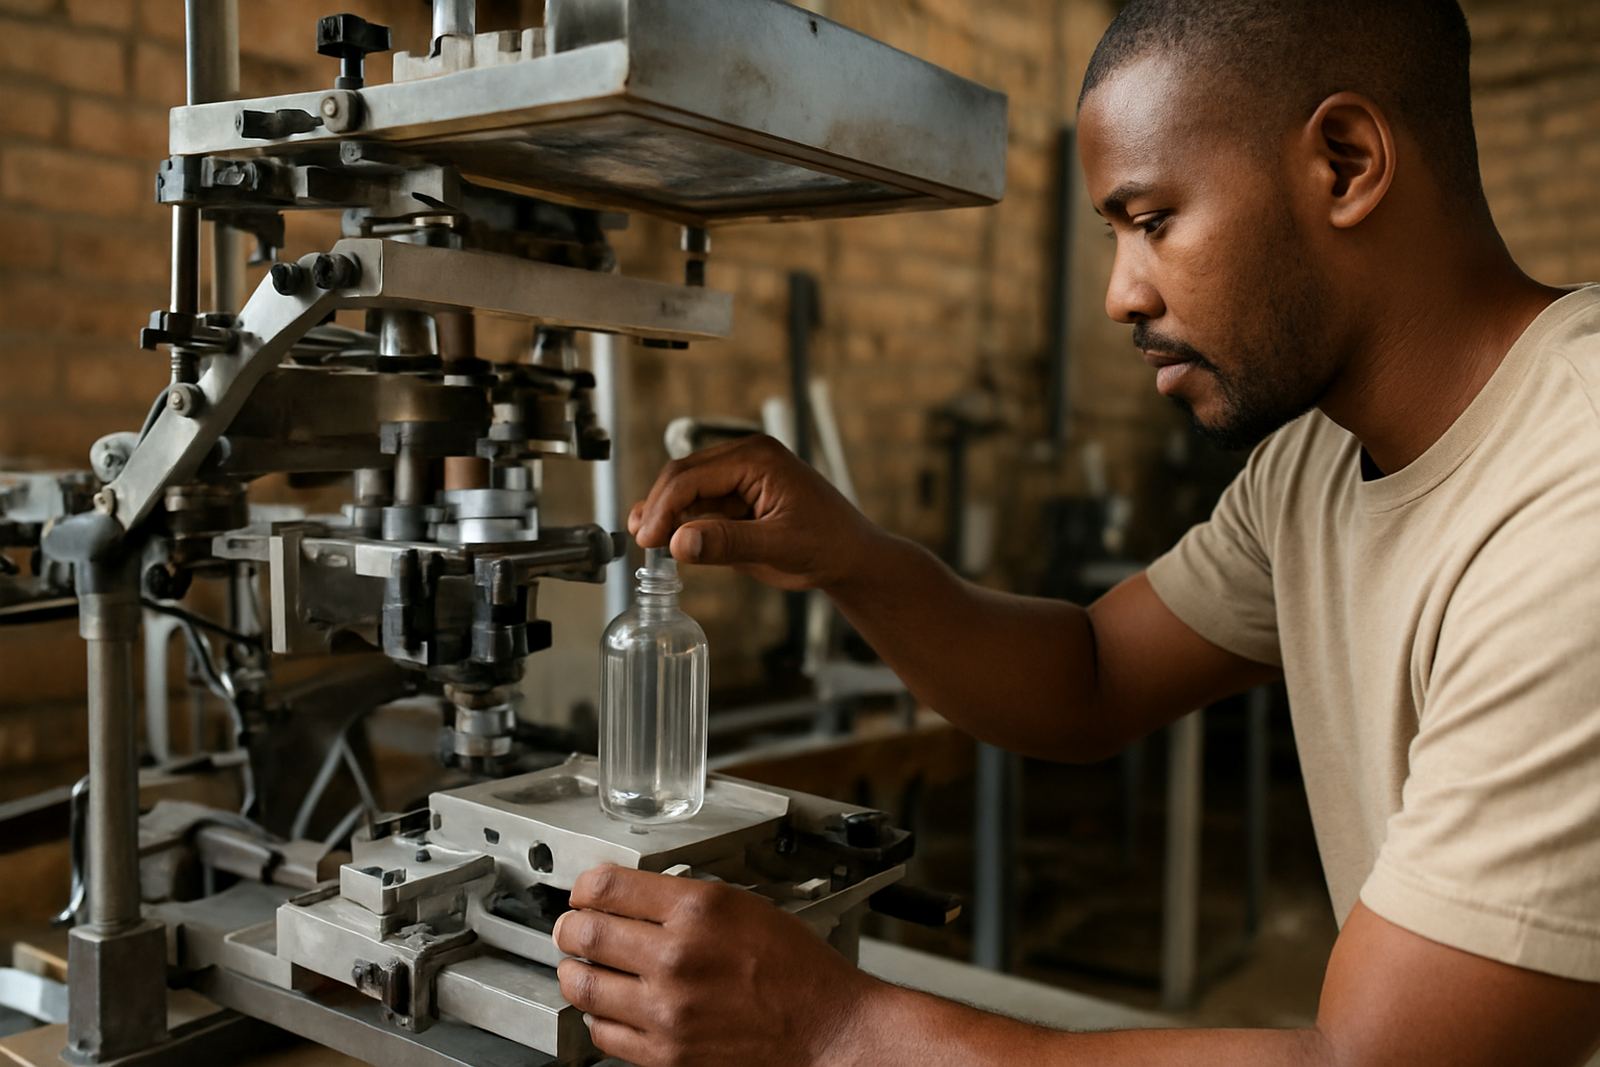
The most reliable jig setup starts with the centreline of the bottle aligned to the centreline of the screen. If that relationship is off, even a perfect mesh tension will not save the job. Use a simple centre mark on the platen or carriage, then bring the bottle to that mark every time. The product should sit square and not twist under light finger pressure.
For round items, rotate the bottle slowly by hand and watch the top edge against a fixed point. If the bottle rises or falls as it turns, the support points are uneven. Adjust the rear stop, front cradle or side guide until the movement is clean. This is especially important on machines running longer shifts where small errors build up by lunch time.
- Mark the centreline on the jig and on the screen carriage.
- Check that the bottle spine stays vertical, not leaning forward.
- Use the same loading position for every operator on shift.
Set rotation tension for clean repeatability
Rotation tension is where many setups go wrong. Too loose and the bottle slips when the squeegee passes. Too tight and you get flat spots, scuffing or stress on soft plastic. The aim is enough grip to keep the item turning with the print stroke, but not so much that the container fights the motion. On metal bottles, a firmer hold may work. On thin-walled plastic, back it off a little.
Test the rotation by loading three sample bottles and printing a single colour band. Watch for lag at the start and overshoot at the end. If the image arrives late on one side, the drive pressure is uneven. If the bottle springs back, there is too much release play. Adjust in small steps and record the setting so the same job can be reset next week without guesswork.
In humid coastal conditions, grips can pick up moisture and lose consistency. In inland workshops, dust and fine paper fibres can do the same. Clean the contact points before setup and again after a long run.
Use quick checks for different container shapes
Not every cylindrical item is truly cylindrical. Some cups flare at the top, some tubes narrow toward the cap and some bottles have a shoulder that changes the angle of the print surface. That means the jig may need different height stops or support blocks for each product type. Keep a simple setup sheet for each recurring size, with notes on stopper position, grip pressure and screen gap.
A useful habit is to run a dry check before the first print. Load the product, bring the screen down, and confirm that the image area clears the top lip and base ring. If the job includes multiple sizes, sort them by body height before production starts. It saves time and avoids the odd bottle that comes off with a shifted logo or clipped text.
- Separate tapered, straight and shoulder-heavy items into different setup notes.
- Use labelled blocks or spacers so operators can repeat the same height.
- Keep sample prints for each bottle size as a reference on future runs.
Keep the jig clean and serviceable
A jig that looks fine can still fail if the moving parts are dirty or worn. Ink mist, adhesive residue and tiny bits of substrate build up around pivots and guides. That build-up affects centring and rotation, and it gets worse on busy days when nobody stops long enough to clean it. Wipe the contact surfaces with a suitable cleaner and inspect the clamps, bearings and stops for play.
Preventive checks should be part of the week, not something done only after a breakdown. Look for cracked grips, loose bolts and worn rubber pads. If a part has started to shine or flatten, replace it before it causes print drift. In a Johannesburg production room that handles multiple short runs, this saves more money than most people expect, because the setup time stays predictable.
If your team works through load-shedding, test the jig after power returns. A machine that stopped mid-run can leave the rotation system slightly out of position, and that small shift is enough to throw the next batch off centre.
Train operators to set the same way every time
The best jig setup is useless if each operator loads bottles differently. Standardise the sequence: check the product, clean the contact points, set the stops, load one sample, test rotation, then confirm centring with a dry pass. Keep that order on a printed sheet near the machine. It reduces mistakes when the shift changes, and it makes handover easier when a job is running late.
For a local example, a packaging shop in Aeroton printing 250 ml squeeze bottles for the Gauteng retail market may run the same artwork on Monday, then switch to tubes by Wednesday. If the operator keeps the same loading habit, the changeover takes minutes not hours. That matters when delivery cut-off is close and the trucks are already waiting.
- Use the same loading sequence for every run.
- Record the final settings for grip, height and rotation pressure.
- Recheck the first five prints after any change in bottle size or screen tension.