Why registration slips on round products
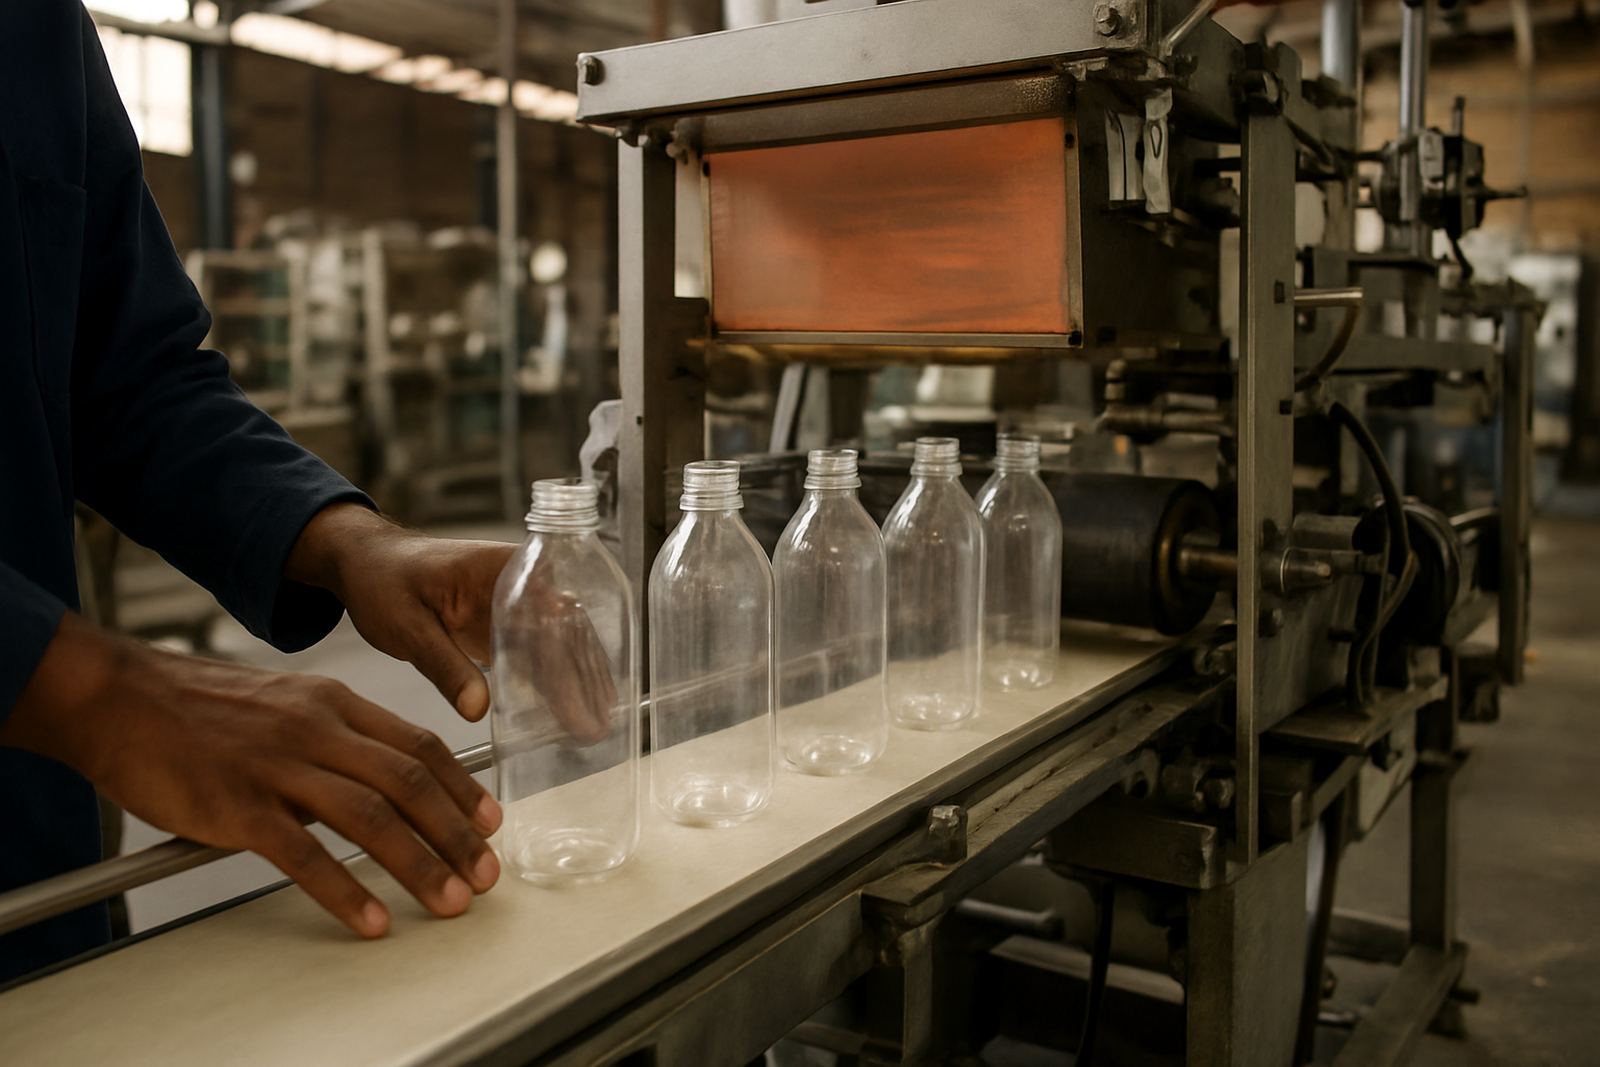
Round items behave differently from flat stock because the print area keeps moving under the screen as the part turns. A bottle that sits 2 mm off centre today can move again after the operator changes pressure, the chuck grip or the drying time. On cups and tubes, the problem often shows up as the logo leaning, the second colour sitting high, or a repeat job no longer matching last month’s run.
Humidity in Durban, dusty handling in Gauteng and uneven power during load-shedding can all affect drying and setup times. If your workshop is rushing to restart after an outage, the first few pieces often tell the story. The key is to treat registration as a process, not a lucky result.
Start with a fixed reference point
Every round product needs a clear home position before printing begins. Pick one point on the container and use it every time, such as the mould seam, handle centreline, or a marked shoulder point. For double-wall cups and slim tubes, the natural seam or cap line can work well as a visual reference.
A simple guide mark on the chuck or fixture helps the team line up each piece the same way. If the operator can place 50 bottles and the first and last one still sit on the same line, you are already saving time on touch-ups. Consistency here reduces waste and makes colour matching easier too.
- Use one reference point for each product size and do not swap it mid-run.
- Mark the chuck, cradle or arm so the operator can see alignment quickly.
- Check the first three pieces before the machine runs full speed.
Build a repeatable setup routine
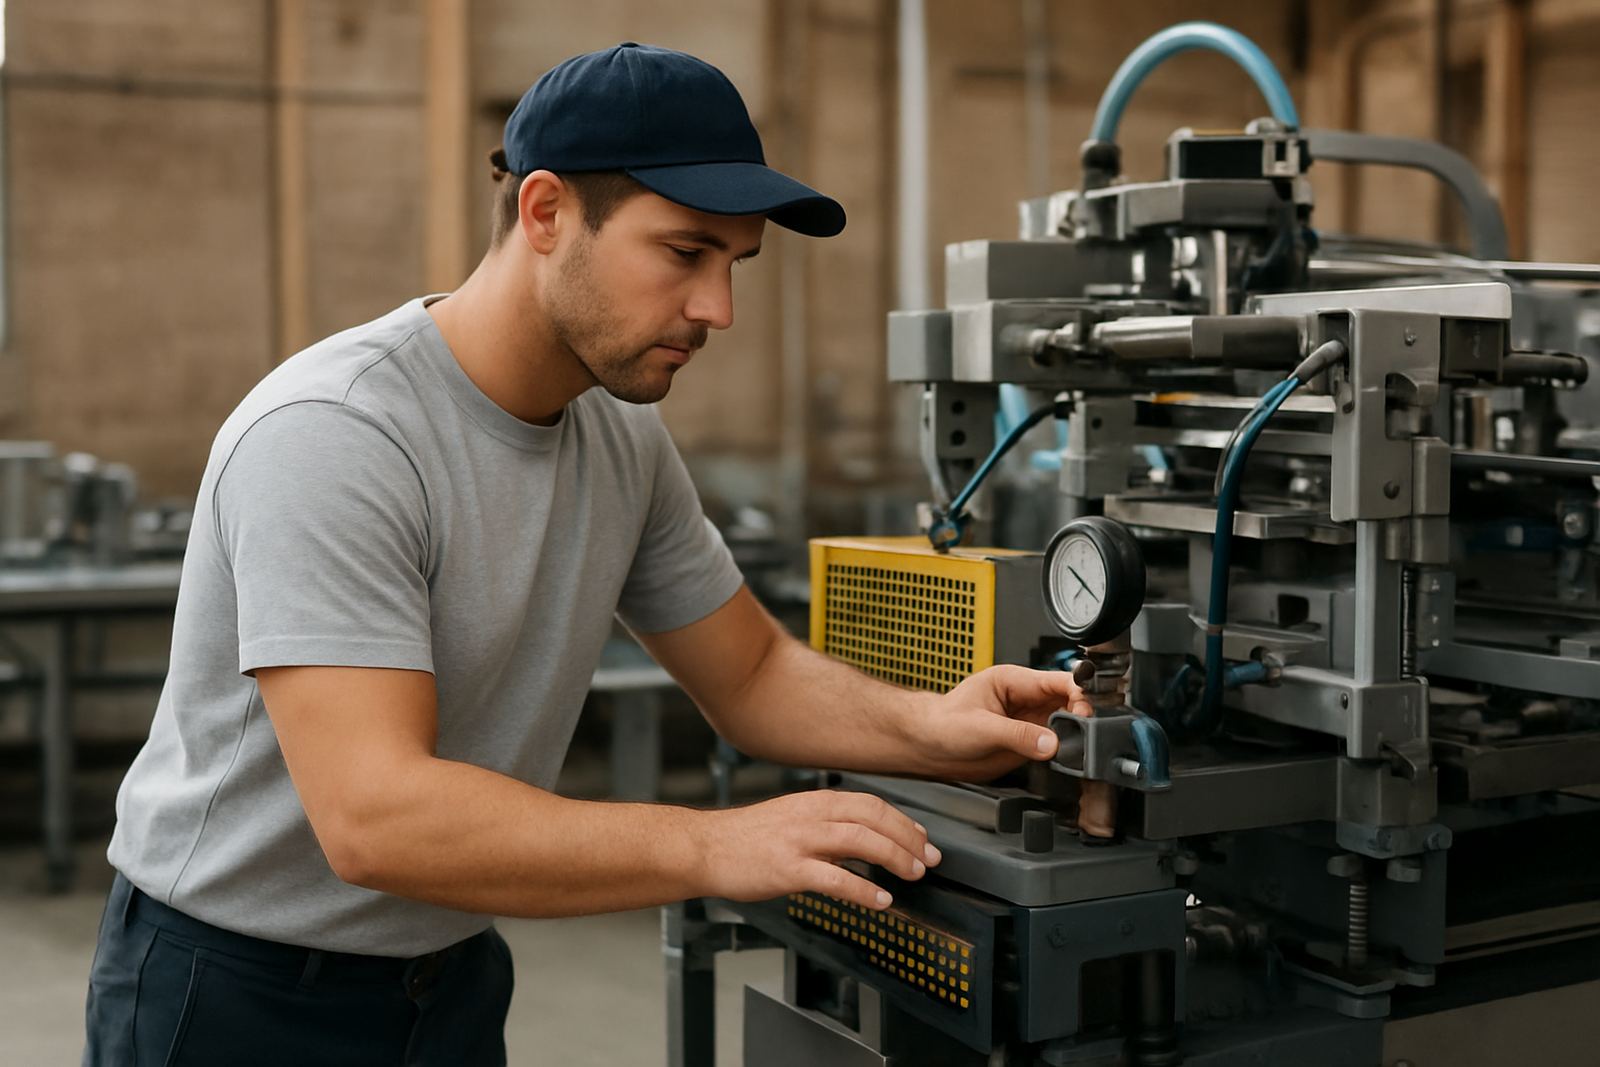
The best registration comes from a setup routine that the whole team follows the same way. That means loading the product, checking the clamp pressure, confirming screen height, and testing the stroke before the first production sheet is approved. If one operator sets the head high and another runs low the print may still land on the bottle, but it will not land in the same place every time.
Keep a written setup card near the machine with the usual settings for each product type. Include bottle diameter, tube length, screen count, squeegee angle and flash time where needed. A short note like “330 ml glass bottle, 180 degree turn, medium pressure” is often more useful than a long general instruction. It keeps the next run honest, especially when the machine changes hands between shifts.
Use tooling that holds the product true
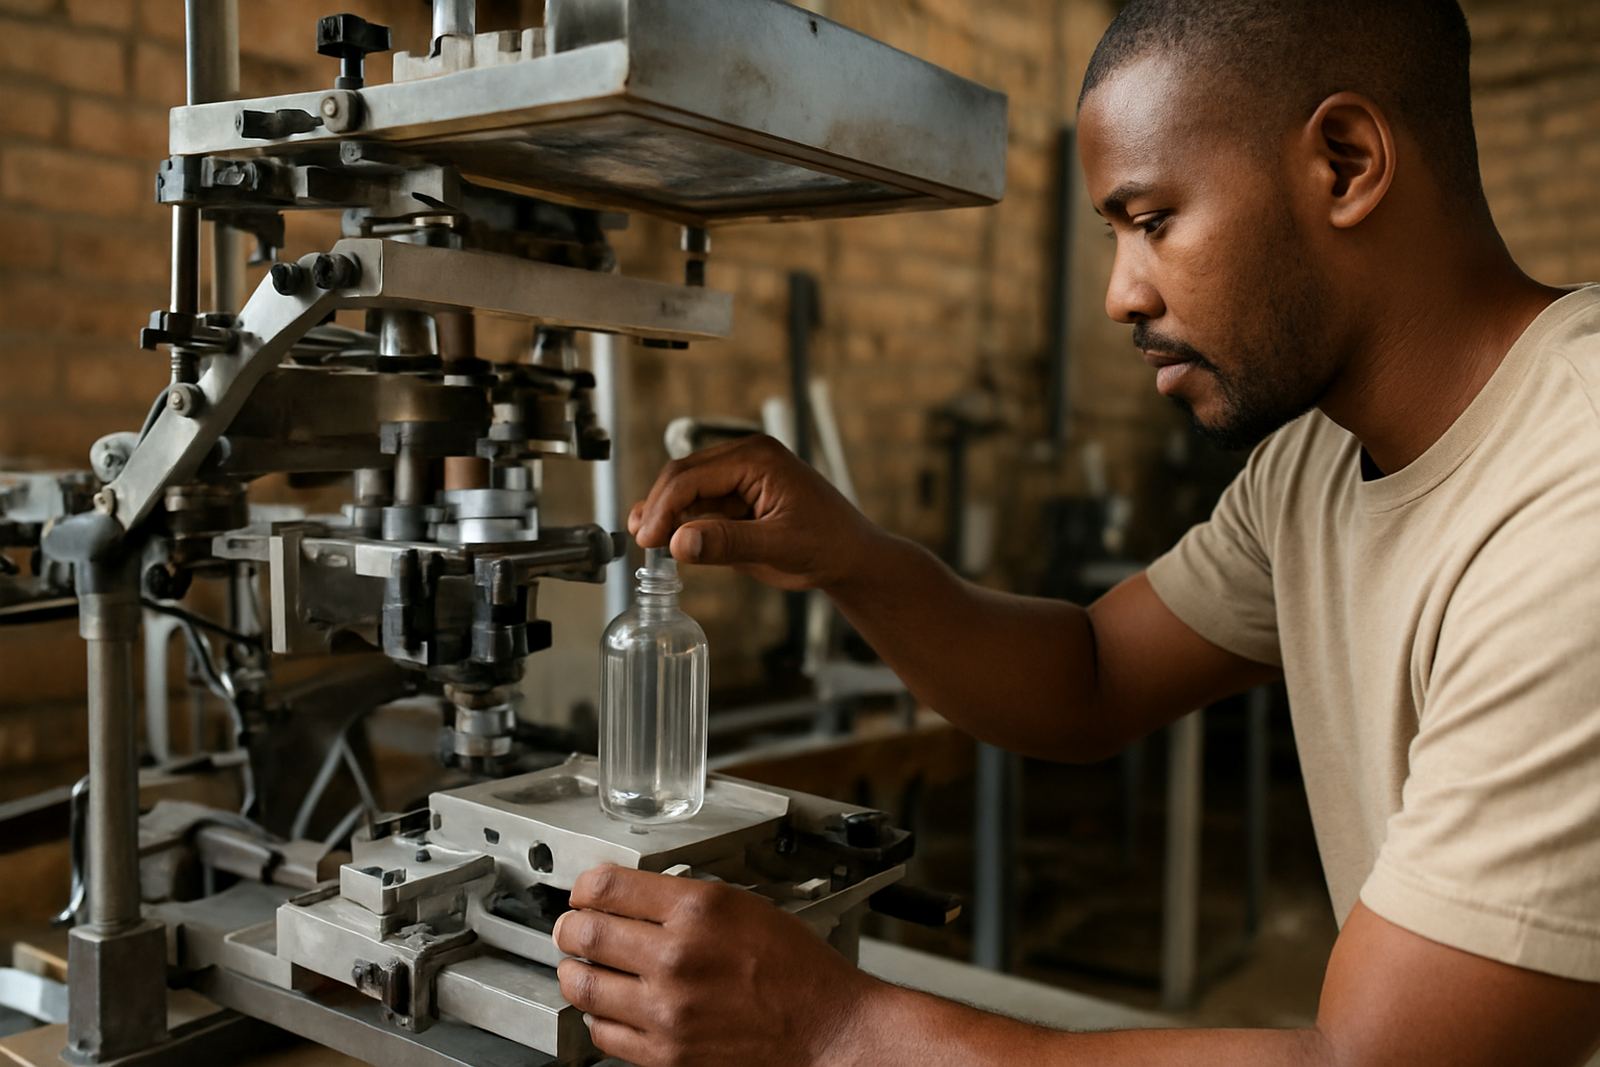
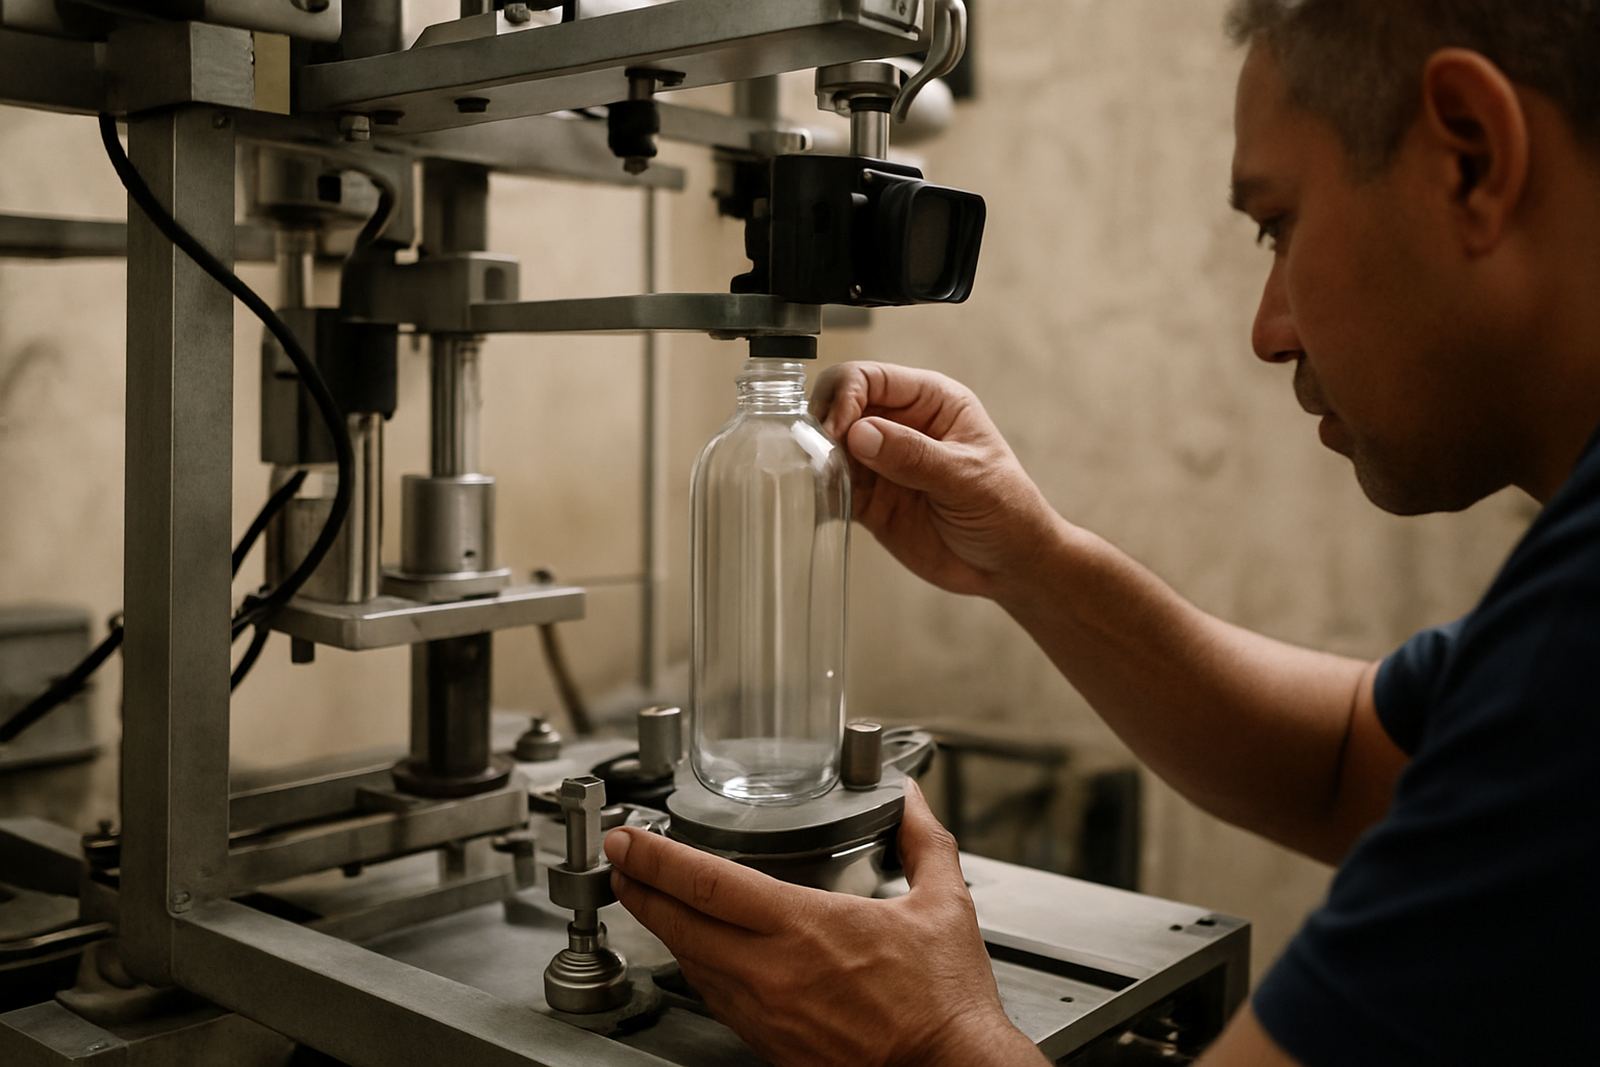
If the fixture does not hold the container square, no amount of operator skill will fully fix registration. The chuck or cradle must fit the round product properly so the container does not wobble as it rotates. On softer plastic tubes, too much pressure can distort the body and throw the image off by the second pass.
When a client in Aeroton brought in a mixed run of glass bottles for a local beverage label, the issue was not the artwork at all. The problem came from two slightly different bottle diameters being loaded into the same fixture without adjustment. Once the team separated the sizes and reset the support arms, the logo sat straight and the spoilage dropped fast.
- Match the fixture size to the exact product diameter.
- Check for worn pads, loose clamps and bent supports.
- Keep spare inserts for common sizes so changeovers are quicker.
Watch the ink, screen tension and dry time
Ink that is too thin can spread past the registration mark, while ink that is too thick may not transfer cleanly and can give the impression of poor alignment. Screen tension also matters because a sagging mesh changes how the image releases onto the curved surface. If the screen is old or damaged, the image can drift slightly from piece to piece.
Dry time between colours has to suit the product and the shop conditions. In hot areas like Pretoria East the surface may flash off faster, while in cooler, more humid coastal spaces it may take longer. Rushing the next colour before the first layer is stable can make the top colour slide. A quick test on five pieces will tell you more than a long argument at the machine.
Train operators to spot the small warning signs
Good operators do not only print, they watch the pattern of the fault. If the first bottle is right and the tenth is off, the team should ask whether the product is moving in the fixture, whether the screen is drifting, or whether the operator is changing hand pressure during the run. Small changes often show up as a tiny shadow on one side before they become a full misprint.
Training should cover how to stop the line early, inspect a sample and correct the cause before the whole batch is affected. A short refresher on colour setup and production pace can save a full afternoon of rework. When a team knows what to look for, they stop blaming the print and start checking the process.
- Teach operators to compare the first, middle and last pieces in a run.
- Keep a sample approved by the client at the machine for quick checks.
- Record any adjustment made during setup so the next shift can repeat it.
Use local production discipline to protect your margins
For South African shops, registration problems cost more than ink. They use labour, delay dispatch and can upset a customer who is waiting for a launch or a retail order. In Johannesburg South, Midrand and Pretoria, many shops work with short lead times and mixed product ranges, so a calm process matters. In Cape Town and Durban, coastal moisture can slow curing and make a rushed setup look worse than it really is.
The practical fix is to keep a standard of care every day, even on smaller jobs. Clean the fixtures, confirm the reference point, run a short test, and note what changed if the image moves. That habit keeps round product printing steady through load-shedding, shift changes and the usual pressure to finish quickly. It is not fancy, but it works.