Start With A Clean Machine And Clear Bench
Before the first run, wipe down the print area, table, guides and any contact points where dust or dried ink can build up. In Johannesburg and other inland areas, fine dust gets into moving parts fast, and on coastal sites the bigger issue is humidity that makes residue tacky. A clean machine is easier to set, easier to inspect and less likely to mark products.
Check that the floor around the machine is dry and free of off-cuts, empty containers and loose tools. Operators often lose time because a spanner, rag or empty ink tin gets left near the feed point. It only takes one small obstruction to knock a batch out of line. Keep the work area simple and make sure every item has a place before the shift begins.
- Wipe print heads, guides and support points.
- Clear the floor and the operator path.
- Remove old ink skins, tape and dried adhesive.
- Check that emergency stops are easy to reach.
Inspect Screens Before The First Run
Screens need a quick visual check every morning. Look for blocked mesh, pinholes, torn edges, damaged tape and poor tension. If the screen was washed the day before, make sure it is fully dry before mounting. Moisture trapped in the mesh can affect ink release and leave faint marks or soft prints.
It helps to check registration marks and screen alignment while the machine is still idle. A screen that sits slightly out can cause repeat rejects over a full run, not just the first few pieces. If a screen was stored overnight, inspect it for dust settling on the open area. This small habit saves time, especially when the order is short and the client wants same-day dispatch.
- Look for holes, frayed mesh or frame damage.
- Confirm the screen is dry and clean.
- Check tension and straight seating in the holder.
- Make sure artwork and registration marks are readable.
Check Ink Viscosity And Colour Setup Before Production
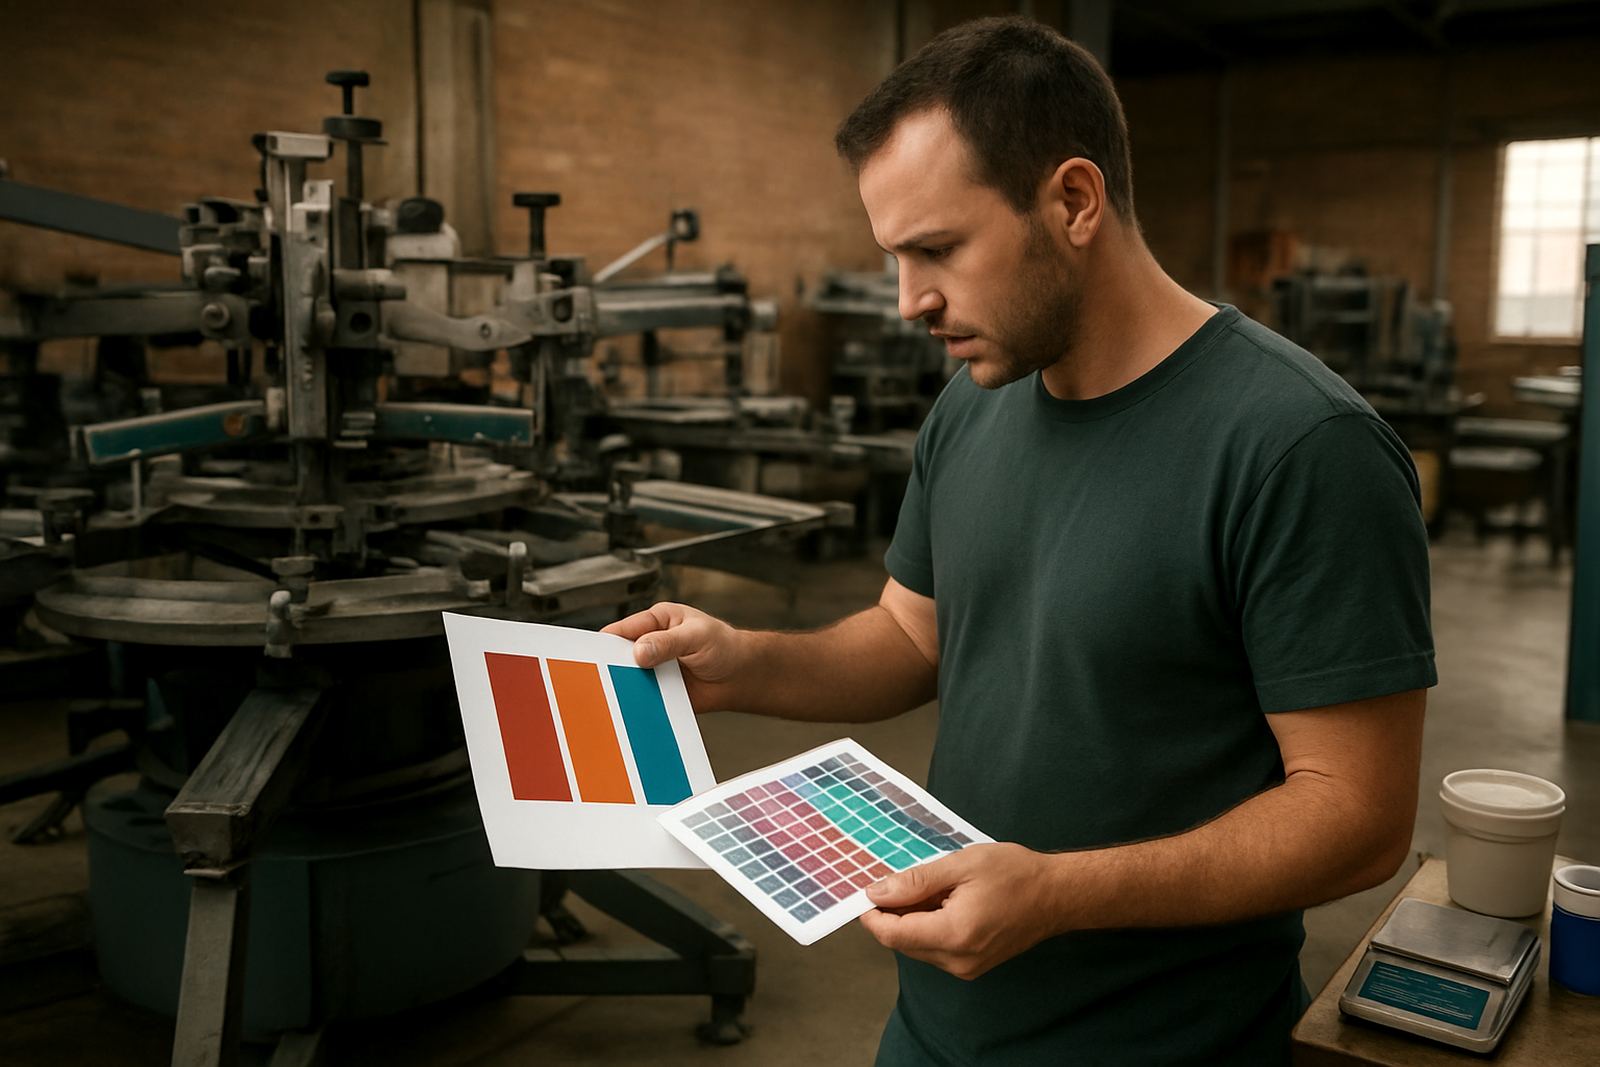
Colour setup is one of the easiest areas to lose time if it is rushed. Operators should confirm that ink is mixed to the right body and that the colour matches the approved sample before production starts. If the shop has had a hot day, ink may thicken. If the weather is damp in Durban or Cape Town, the same ink can behave differently and need a small adjustment. Keep notes from previous jobs so the next setup begins from a known point.
Stir ink thoroughly, then test a small amount on the first few items. Watch for bleed, poor coverage, dragging or an uneven edge. If the print looks heavy on one side and light on the other, stop and correct it early. A few minutes spent here can save a whole tray of rejects later on. It is also worth confirming that thinners or additives are within the correct limit for the material and print speed.
- Stir each colour properly before use.
- Match against the approved sample under good light.
- Test the first prints before full production.
- Record any mix changes for the next batch.
Make Sure Fixtures, Jigs And Guides Are Set Tight
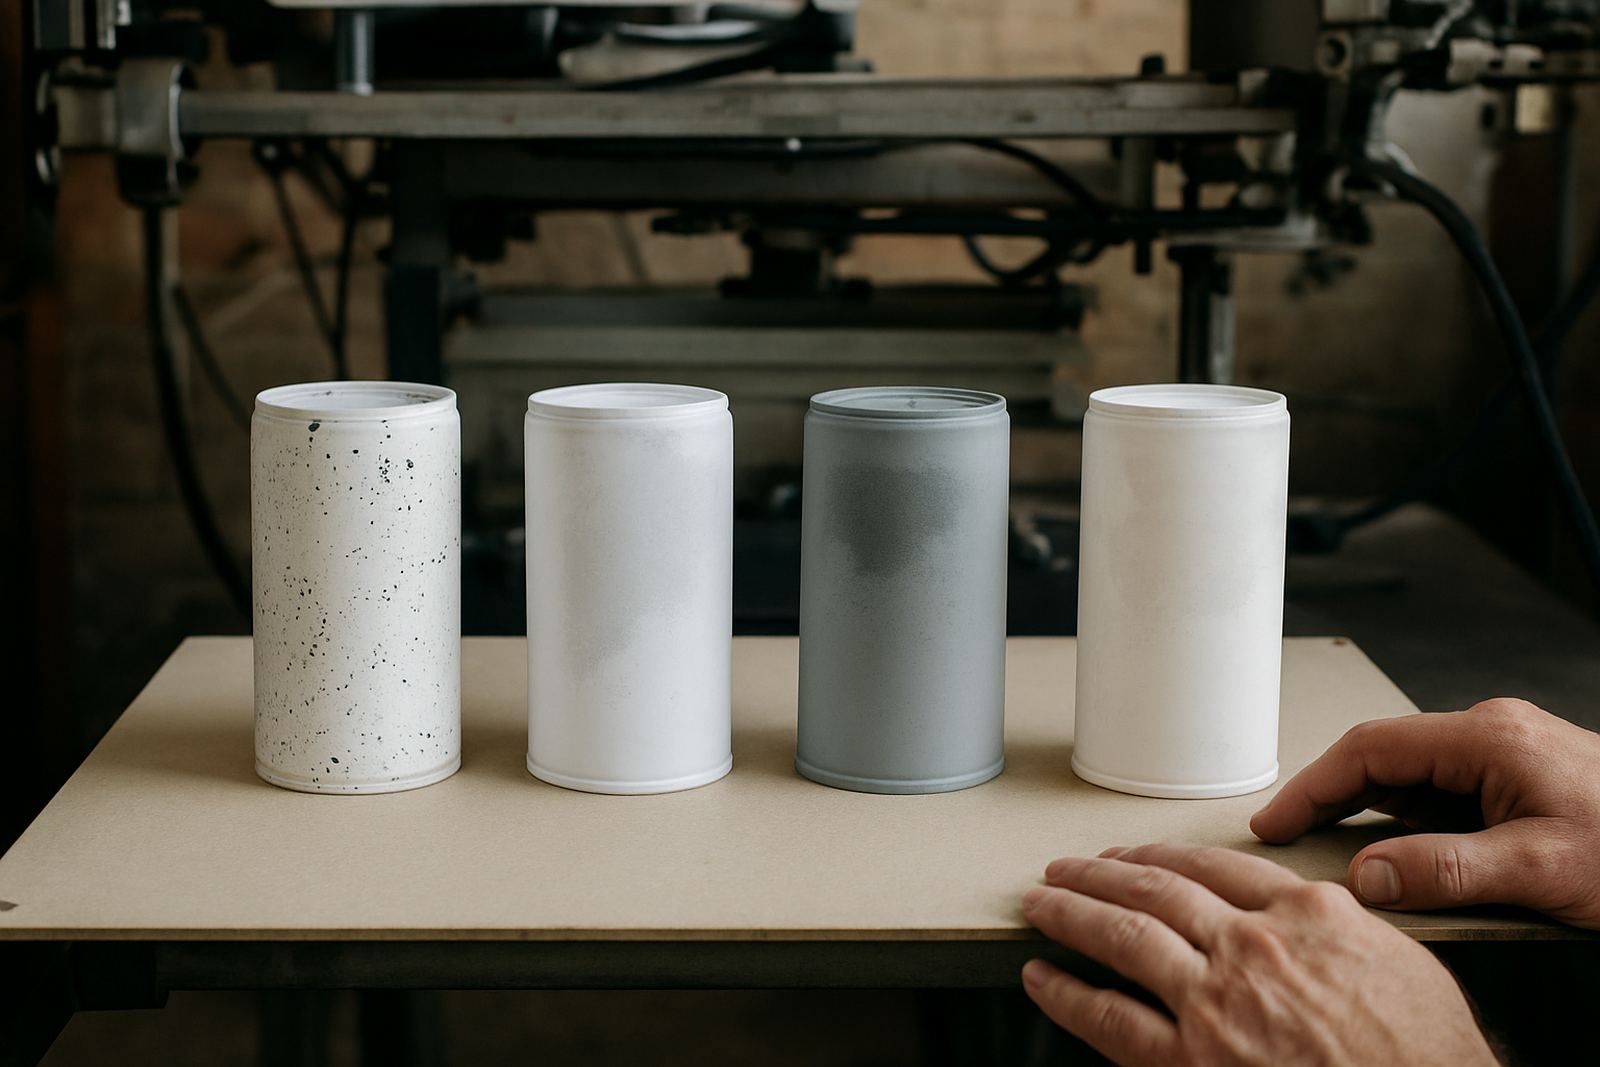
Daily checks should include every clamp, jig, stopper and guide that controls product position. Cylindrical items move differently from flat items, so even a small shift can cause poor wrap, wobble or image drift. Before starting, lock each fixture and check that the product sits the same way every time. This matters on bottles, cups and tubes, especially where the print must land in the same place across hundreds of units.
If a jig feels loose, do not run the job and hope it holds. A loose guide causes slow problems that only become obvious after the operator has already printed too many pieces. For contract work, that can mean rework, extra labour and missed delivery. It is better to tighten, reset and confirm with three or four test pieces than to gamble on a long production run.
Operators should also check for wear on contact points. Plastic and rubber parts flatten over time, and worn parts can let the product twist under pressure. On busy lines in Aeroton or Midrand, this is often the difference between a steady shift and repeated stops.
Test Motion, Pressure And Safety Functions
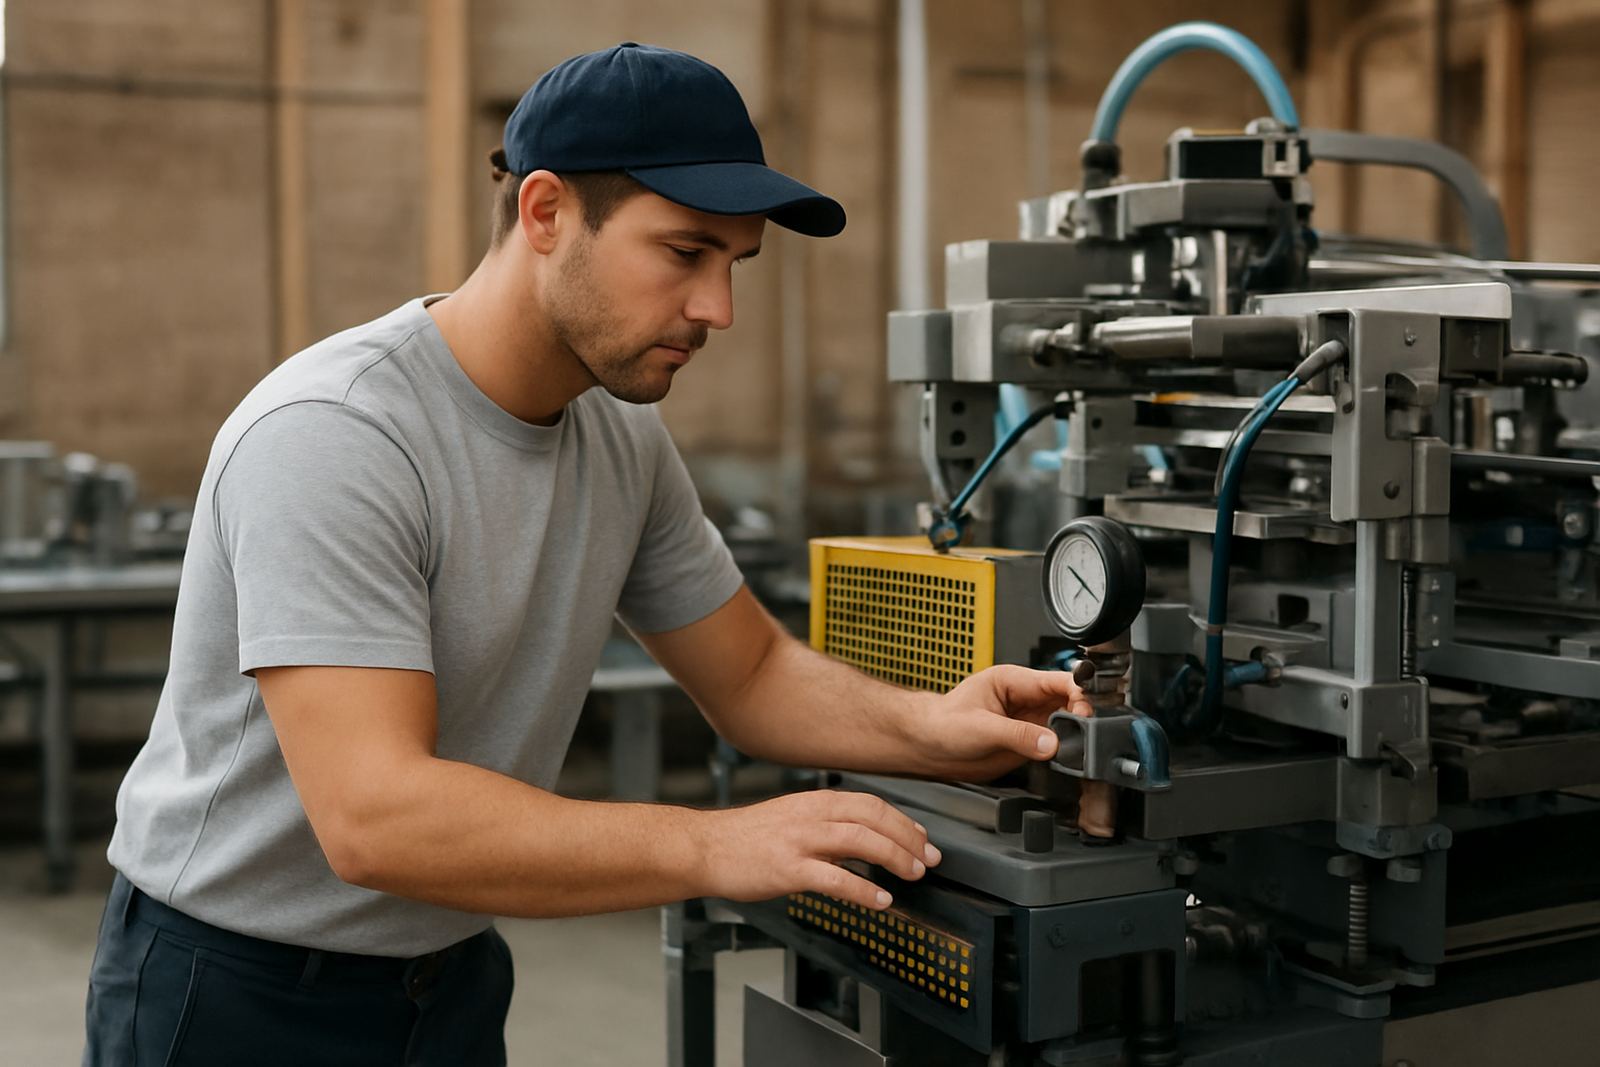
Before production, run the machine through a short dry cycle and listen for odd sounds. Grinding, knocking or a change in motor tone can point to a part that needs attention. Check pressure settings and motion controls before loading a full run. If the print stroke is too hard, products can slip or frames can wear faster than expected.
Safety checks must be part of the daily routine, not something done only after a fault. Confirm that guards are in place, sensors work, and emergency stop buttons stop the machine cleanly. Operators should never bypass a safety point to keep the line moving. In a small production room, one missed safety check can affect the whole team.
- Run a brief dry cycle before loading stock.
- Listen for noise changes or vibration.
- Check guards, sensors and stop buttons.
- Confirm pressure settings match the job.
Watch Air, Power And Light Conditions Through The Shift
South African production rooms often deal with unstable power, load-shedding and inconsistent air supply. Operators should check that electrical supply is stable before the job starts and again after any outage. After power returns, confirm that settings, counters and presets have not drifted. A machine may restart, but that does not mean it has returned to the same position or speed.
If your process uses compressed air, check the gauge, drains and hoses for leaks. A slow leak can cause weak movement, poor repeatability and extra strain on the compressor. Also make sure the lighting is good enough to judge colour and alignment properly. In a dim room, an operator can miss a print fault until the client opens the cartons. That is an expensive way to learn a simple lesson.
For coastal sites, keep an eye on moisture in lines and on machine surfaces. For inland sites, dust control matters more. The daily check should follow the conditions in that specific room, not a generic checklist copied from somewhere else.
Close The Shift With Notes That Help Tomorrow
The final daily check is a short handover note. Write down any fault, adjustment, rejected batch, screen issue or colour change that was made during the shift. This gives the next operator a head start and prevents the same problem from being repeated. If a part is wearing out, log it before it fails completely. That gives the service team time to plan a fix instead of responding to a stoppage.
For a plant in Johannesburg South or Pretoria, this habit is especially useful when shifts change hands or the workload moves between products. A good note can explain why a screen was re-tensioned, why a fixture was adjusted or why the ink needed a longer stir. Over time, the log becomes a practical record of what keeps the line running.
Daily checks are not about adding admin. They are about cleaner starts, fewer stoppages and better print consistency. When operators keep the routine simple and honest, the machine tells you early when something is off, and that saves time for everyone.