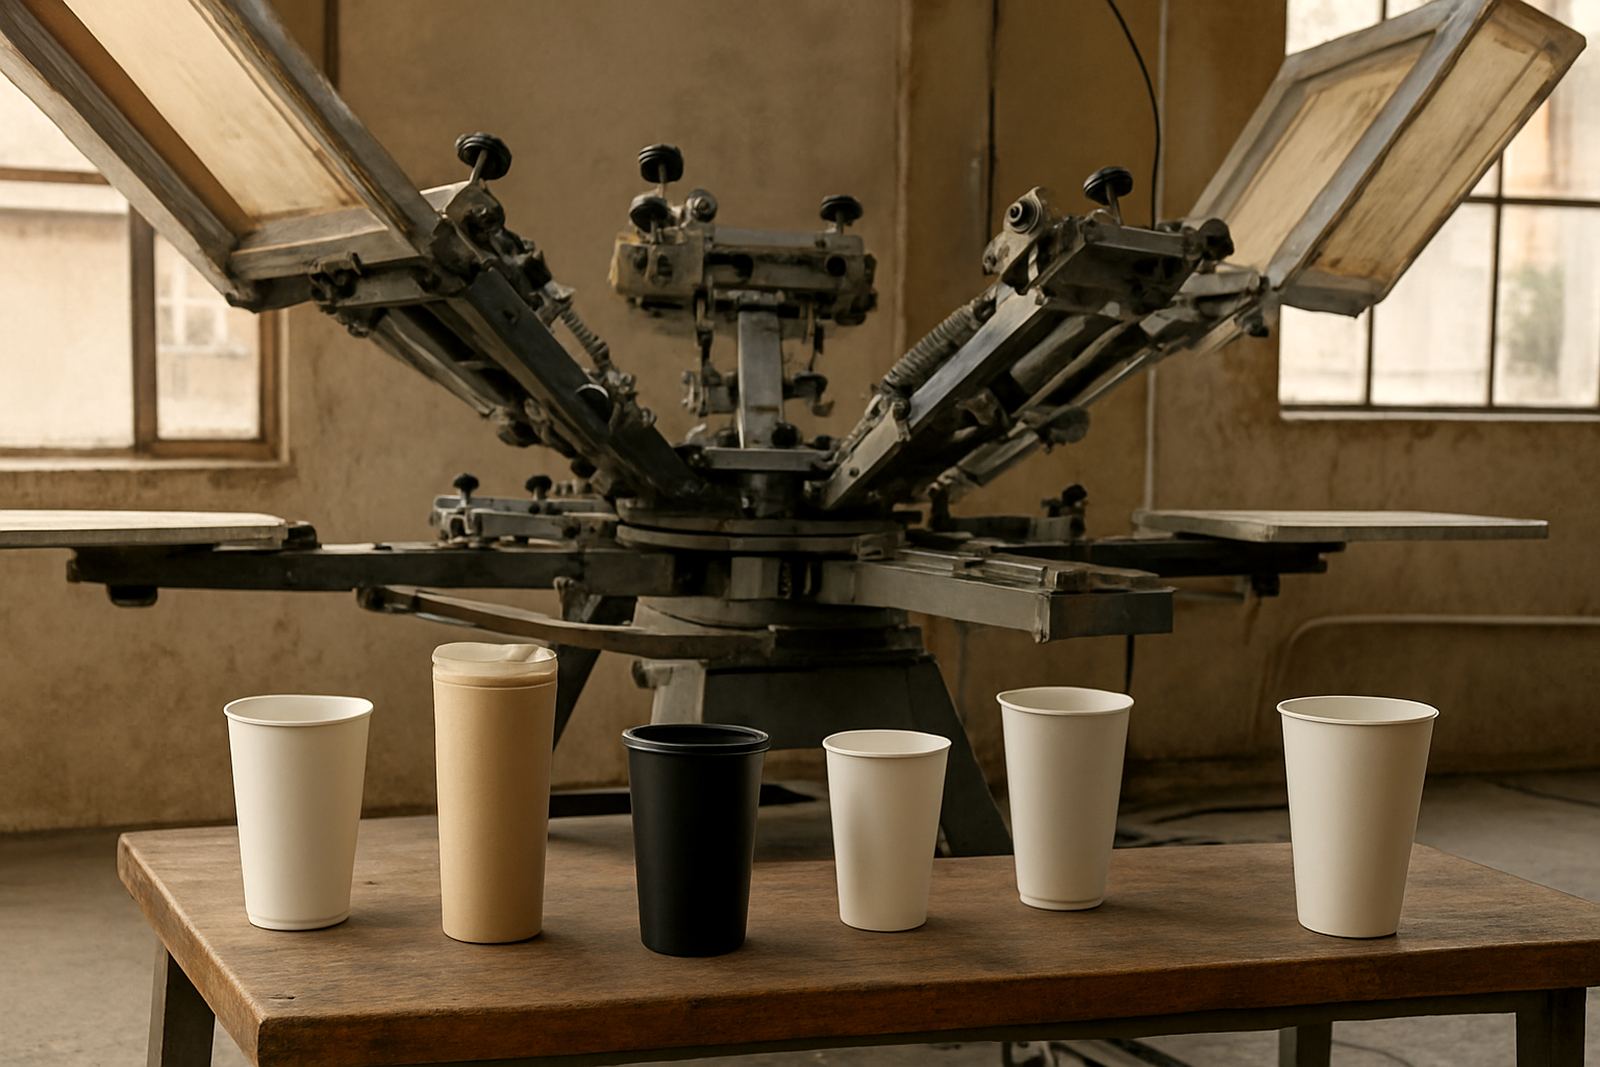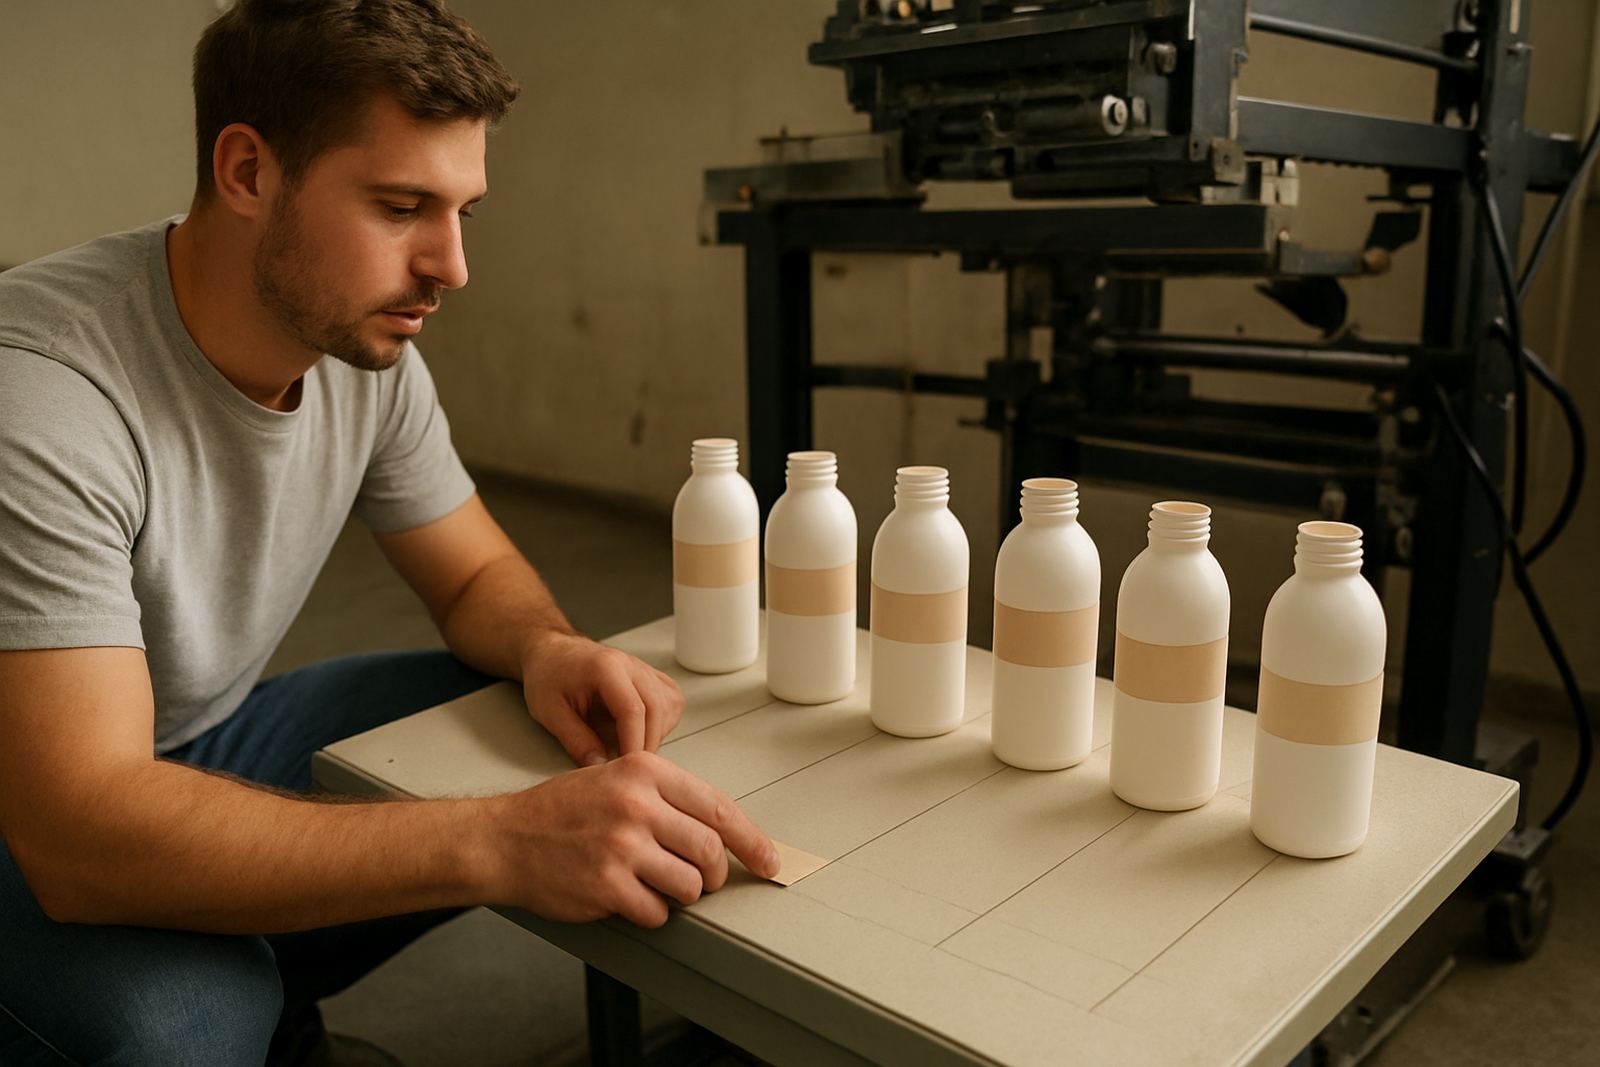
Start With a Written Colour Standard
If you want repeatable colour, begin with a clear standard for every job. That means the same ink formula, mesh count, squeegee pressure, print stroke, flash time and final cure settings should be written down before production starts. Too many shops rely on memory, then wonder why the second shift prints a lighter red or a duller blue.
Keep a sample bottle from the approved run and label it with the product code, date, ink batch and curing settings. Store it away from direct sun and dust. In a Johannesburg plant, heat can push solvent loss up during the afternoon, while in Durban humidity can slow drying and make colour look heavier than it really is. A proper standard helps the team compare like with like.
Control Ink Condition Before the First Print
Ink that is too thick, too thin or badly mixed is the quickest way to get colour drift. Stir from the bottom of the container, not just the top, and allow enough time for pigments to blend fully. If the job uses multiple colours, mix each one in the same order every time so the batch notes stay consistent.
- Check viscosity at the start of each shift and again after lunch
- Record the amount of thinner or reducer added, even if it seems small
- Keep lids closed between runs so skinning does not change the mix
- Use the same measuring cups or scales for every colour batch
For bottle and tube work, small changes matter because the print area is compact and the customer sees the bottle up close. A tiny shift in white opacity can make a premium pack look cheap. If the ink starts dragging on the screen, stop and correct it before the next 20 units are printed.
Keep Screen Prep and Reclaiming Consistent
Screen condition has a direct effect on colour density. A screen with blocked mesh, poor degreasing or uneven emulsion thickness will transfer ink differently from one side of the cylinder to the other. That is why reclaiming must follow the same method every time, not a rushed rinse when orders pile up.
After reclaiming, inspect the mesh under good light. Any haze, soft spots or pinholes can alter how much ink passes through. If you are printing fine logo text on cups or narrow artwork on tubes, even a small defect can show up in the final pack. In wet coastal areas, screens can pick up moisture during storage, so keep them in a clean, dry rack and not leaning against a wall where damp creeps in.
- Use the same exposure settings for repeat jobs
- Label screens clearly so the right one returns to the right artwork
- Check tension before long runs and after wash-up
- Replace damaged mesh before it starts affecting tone
Match Print Pressure and Speed Across Shifts
One of the common reasons colour changes between operators is a small difference in hand pressure or machine speed. On cylindrical work, the bottle or cup must sit correctly, the screen must track evenly and the squeegee angle must stay steady. If one operator leans harder on the handle or sets a slower cycle, the print can become darker, smudged or uneven.
Create a setup sheet with the correct stroke length, pressure point, cure time and loading position. Train every operator to work from the same sheet. At a plant in Aeroton, for example, a morning shift may print perfectly then the afternoon team gets pale logos because the machine was adjusted for a faster target without confirming ink deposit first. The result is rework, wastage and a lot of explainin to do with the client.
Where possible, do a first-off approval at the start of each shift and again after any stop longer than 15 minutes. That simple habit catches drift early.
Watch Drying and Curing Closely
Colour can look right when it leaves the screen and wrong after curing if the drying stage is not controlled. Under-curing can leave the print dull and soft, while over-curing can yellow light colours or flatten the finish. This is important on plastic bottles and tubes, where the substrate itself can react to heat.
Set drying and curing according to the ink maker's guidance and confirm them with actual production tests, not assumptions. Check the first few units after cure, then check again halfway through the run. If the plant has load-shedding interruptions, record exactly how the process was paused and restarted, because heat recovery may change the result. An interrupted curing cycle can create colour inconsistency even when the print stage looks fine.
- Use the same conveyor or dwell time for repeat jobs
- Measure surface dry before packing or stacking
- Avoid mixing cool and hot product straight off the line
- Let the line recover fully after power interruptions
Use Batch Records and a Quick Operator Routine
The best colour control usually comes from simple records. Keep a production log that captures date, operator name, machine settings, ink batch, screen reference, ambient conditions and any corrections made during the shift. That way, when a customer reorders six weeks later, you are not starting from zero.
A short routine at the start of every shift helps more than people think. Check the screen, mix the ink, print a test piece, compare it to the approved sample, then sign it off before the run starts. This only takes a few minutes, but it saves hours of scrap later on. In busy shops around Midrand, Pretoria or Durban, that process often separates the stable print room from the one always chasing colour. Keep it practical and keep it on paper if need be, as long as it is used every day.
When the team sees colour control as part of normal production, not extra admin, repeat batches stay closer and customer complaints drop.