Start with the cup, not the machine
When people ask about cup fixture selection, the first mistake is usually choosing a holder before measuring the product. A fixture must suit the cup shape exactly, otherwise the print area shifts, the item twists during the stroke, and the artwork ends up slightly off centre. On short runs that may be a nuisance, on repeat production it becomes wasted time and spoiled stock.
Measure the cup at the top edge, the base, and the point where the image must sit. A straight 250 mm cup and a tapered 250 mm cup will not use the same support. Even a small taper can change how the cup meets the screen. If the item is lightweight plastic, the grip pressure must be lower than with a thick stainless-steel mug, because the surface flex can affect print consistency.
In practice, the best fixture is the one that holds the item securely without crushing it. That balance matters even more in Johannesburg, where many decorators are running mixed batches for promotions, hospitality and retail packs, often under tight turnaround times.
Match the fixture to the material and wall thickness
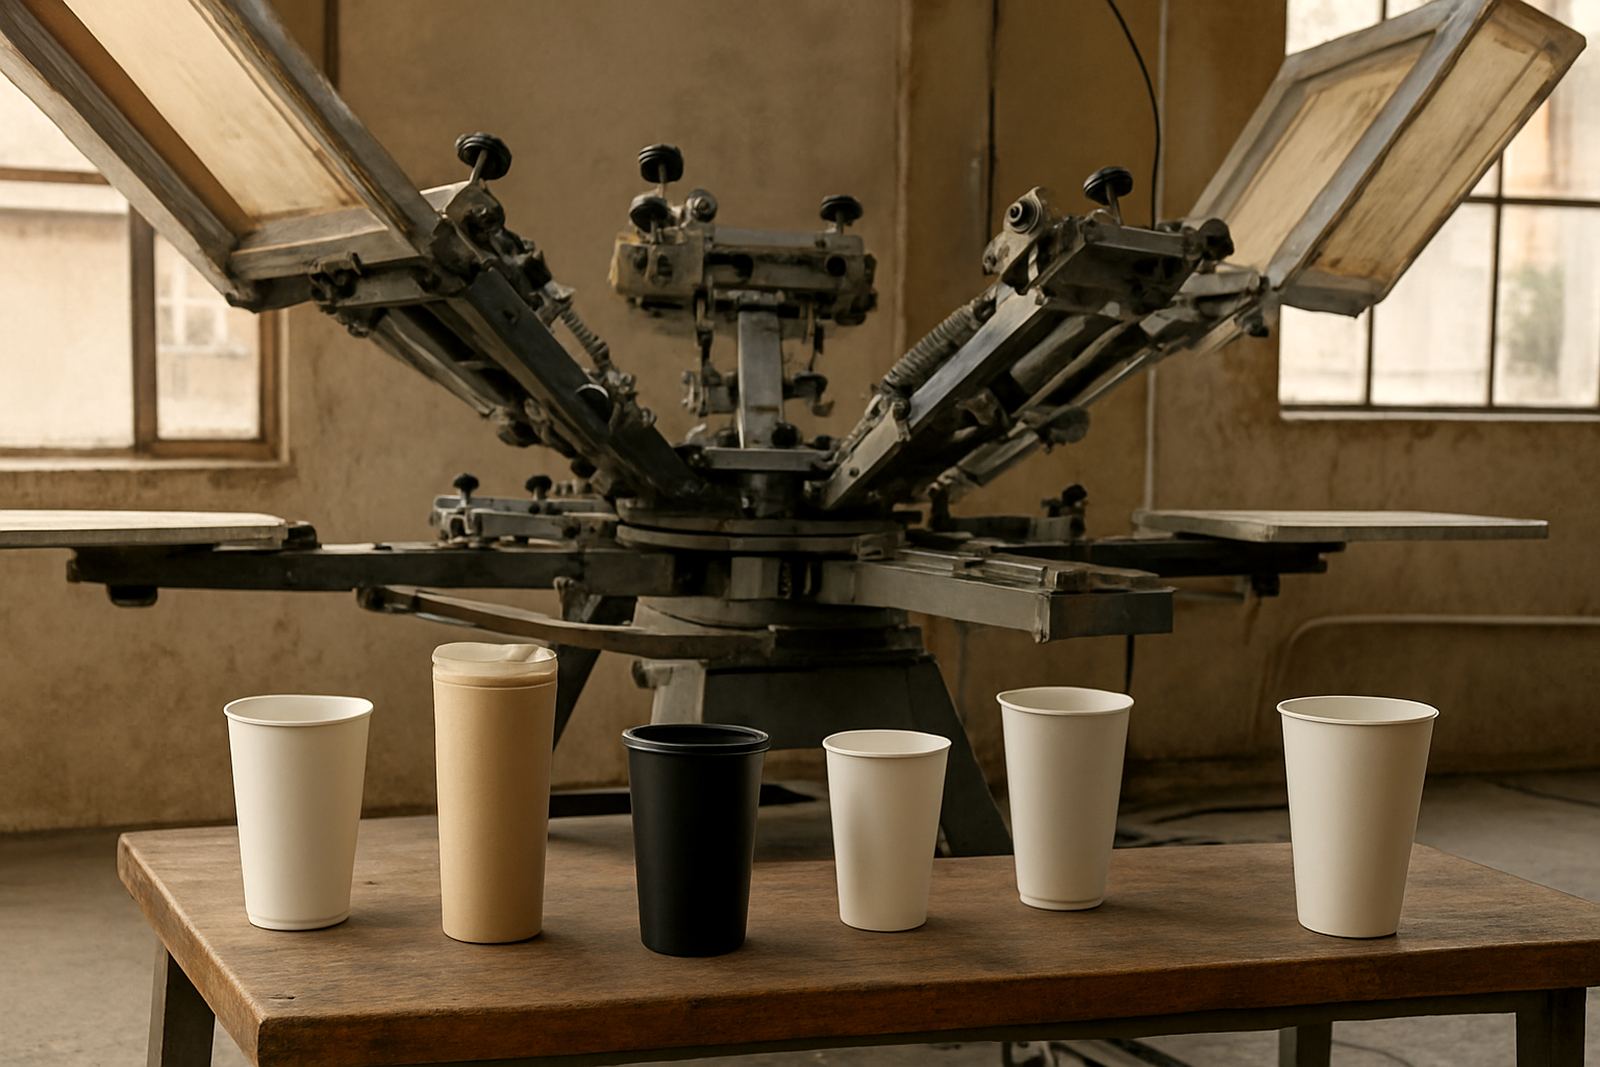
Different cup materials behave differently on press. Plastic cups can flex, glass needs careful support to avoid chipping, coated metal cups need even contact, and paper-based items can deform if the clamp pressure is too high. Wall thickness also changes how the fixture should grip the product. A thin disposable cup needs a gentle hold, while a thick tumbler can take firmer support.
Material choice also affects ink behaviour and drying. On smoother surfaces, a stable fixture helps keep the print edge clean because the cup does not move while the mesh releases ink. On textured or slightly curved surfaces, the fixture must keep the item still through setup and print count changes. If your team is printing in Durban or Cape Town, coastal humidity can also affect curing and handling, so secure support becomes part of controlling the full process, not just the print stroke.
- Plastic cups: allow light but firm support to prevent flex.
- Glass cups: use a fixture that prevents point pressure and slipping.
- Metal tumblers: check for coating finish and consistent clamp contact.
- Paper or fibre cups: keep pressure low to avoid crush marks.
Taper and diameter decide repeatability
Taper is one of the main reasons a fixture works on one cup and fails on another. A straight-sided cup sits differently from a taper that narrows toward the base. If the taper is ignored, the print may look correct at first but drift by the second or third cycle. That becomes a problem on jobs where the same logo must sit in the same position across hundreds of items.
Diameter matters just as much. Fixtures must match the cup body snugly enough to hold it, but not so tightly that operators struggle to load and unload the job. For small-diameter cups, a fixture that is too open creates movement. For wide tumblers, a fixture that is too narrow can distort the print position. On a busy line, a proper fit saves seconds per item and those seconds add up quickly.
- Check the top diameter, base diameter and usable print height.
- Test the item on the fixture before setting screen registration.
- Look for twist or lift when the carriage moves across the print path.
- Re-check fit after changing to a new product batch from the supplier.
Choose fixtures for the job volume you actually run
A small shop doing custom souvenir cups needs different support from a production floor running thousands of branded drinkware items. If the job mix changes often, quick-change fixtures can reduce setup time and keep the operator moving. If the same cup is printed every week, a dedicated fixture may be better because it locks in repeatability.
High-volume work also places more demand on the fixture body and moving parts. If a support starts to wear, cup position becomes less consistent and the first sign is often a slight image shift or uneven ink deposit. That is why preventive maintenance matters. It is easier to replace a worn support than to recover a full run of misprinted stock.
For businesses in Pretoria, Midrand or Johannesburg South, where small promotional runs and contract work often happen side by side, the right fixture mix can keep changeovers manageable without slowing the day down.
Set up the fixture with print quality in mind
Good fixture selection is only half the job. The setup must also allow proper screen clearance, smooth squeegee movement and clear access for registration checks. If the cup sits too high or too low, the artwork will not meet the image area correctly. If the fixture sits unevenly, the print may be heavier on one side and lighter on the other.
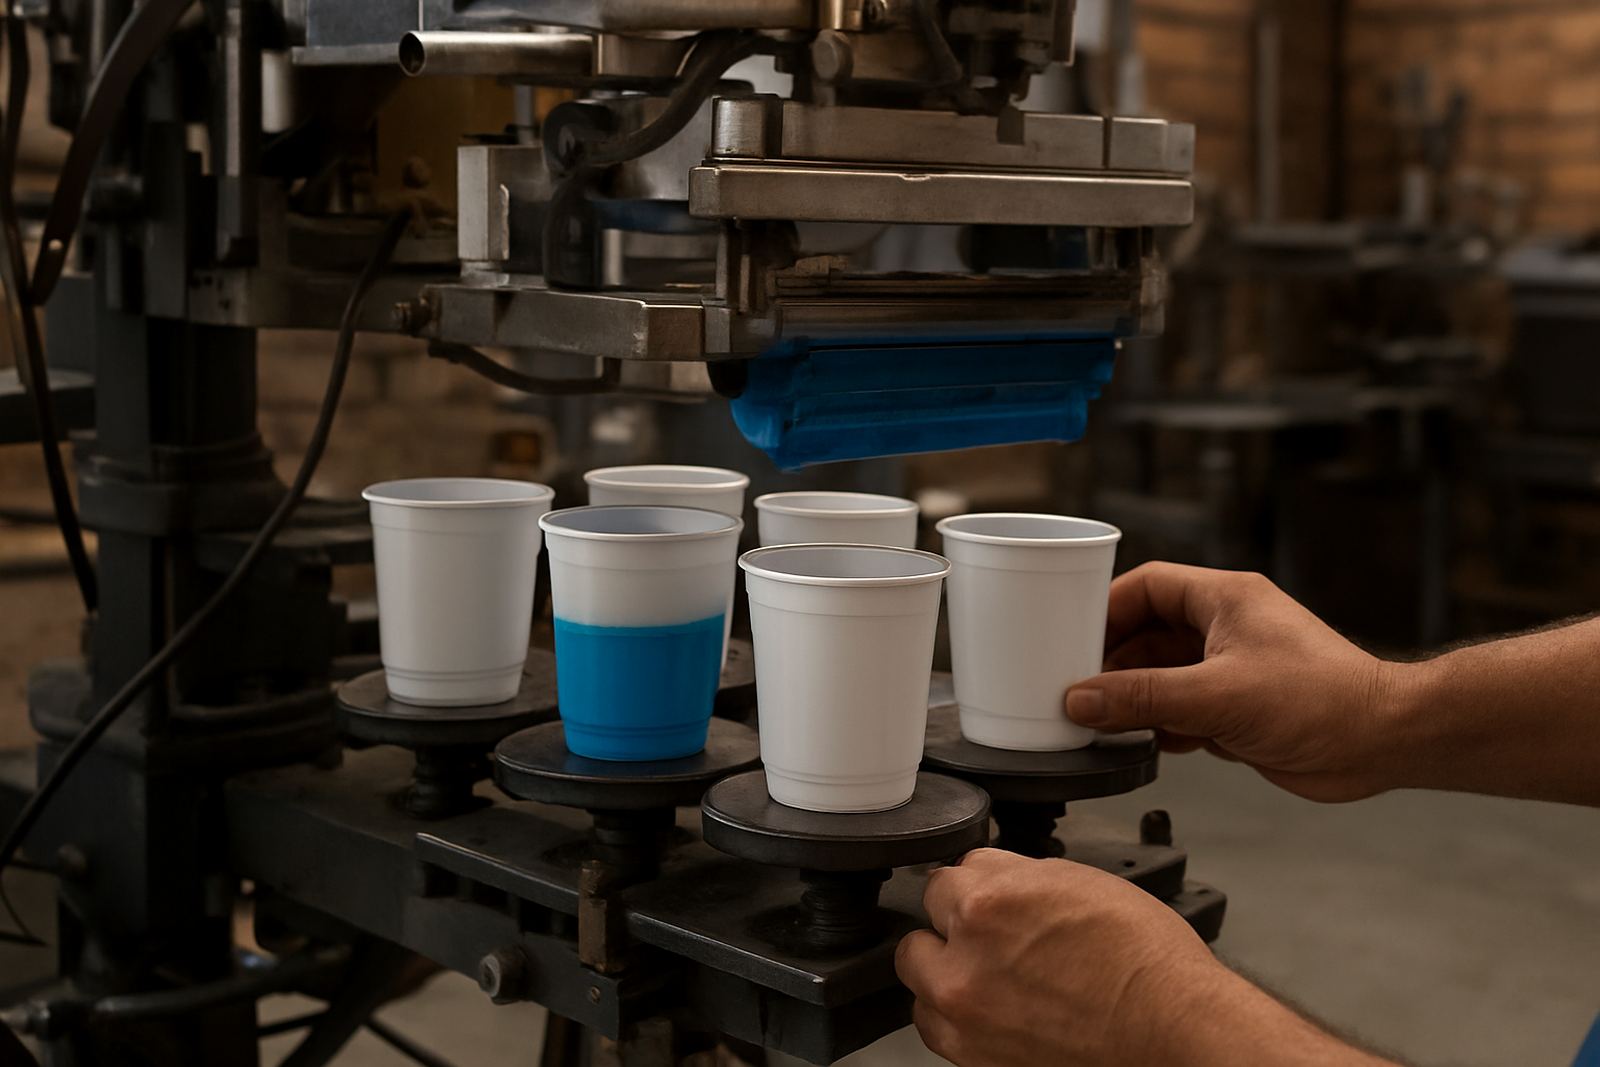
During setup, operators should check three things: the cup must not move, the print path must be clear, and the screen should land where the design was planned. A tidy setup also helps when training new operators because they can see how the fixture supports the item through the full cycle. That is especially useful on machines that switch between cups, bottles and tubes, where each product type needs its own handling routine.
Where a site is dealing with load-shedding or generator changeovers, stable setup becomes even more important. A half-finished job interrupted by power changes can throw off temperature, ink flow and timing, so the fixture needs to keep the product steady whenever production resumes.
A Johannesburg example that shows why fit matters
A customer in Aeroton recently needed to print promotional cups for a corporate event in Sandton and the supplier had changed the cup batch at the last minute. The new cups were the same height, but the taper was slightly different and the base sat narrower than the sample used during quotation. On the first trial, the artwork began creeping a few millimetres to one side. That small shift would have been visible on every cup once the batch was packed.
After measuring the new batch properly and adjusting the fixture support points, the print settled back into place. The run was completed without rework and the client received the stock on time. It is a simple lesson, but an important one: even if the product looks the same in the box, a change in taper or diameter can change the entire printing setup.
That is why cup fixture selection should always be treated as part of the production process, not an afterthought. If the support is right from the start, the machine runs cleaner, the operator works faster and the finished product looks better on shelf or at the event table.