What Direct Cylindrical Printing Does Well On Cups
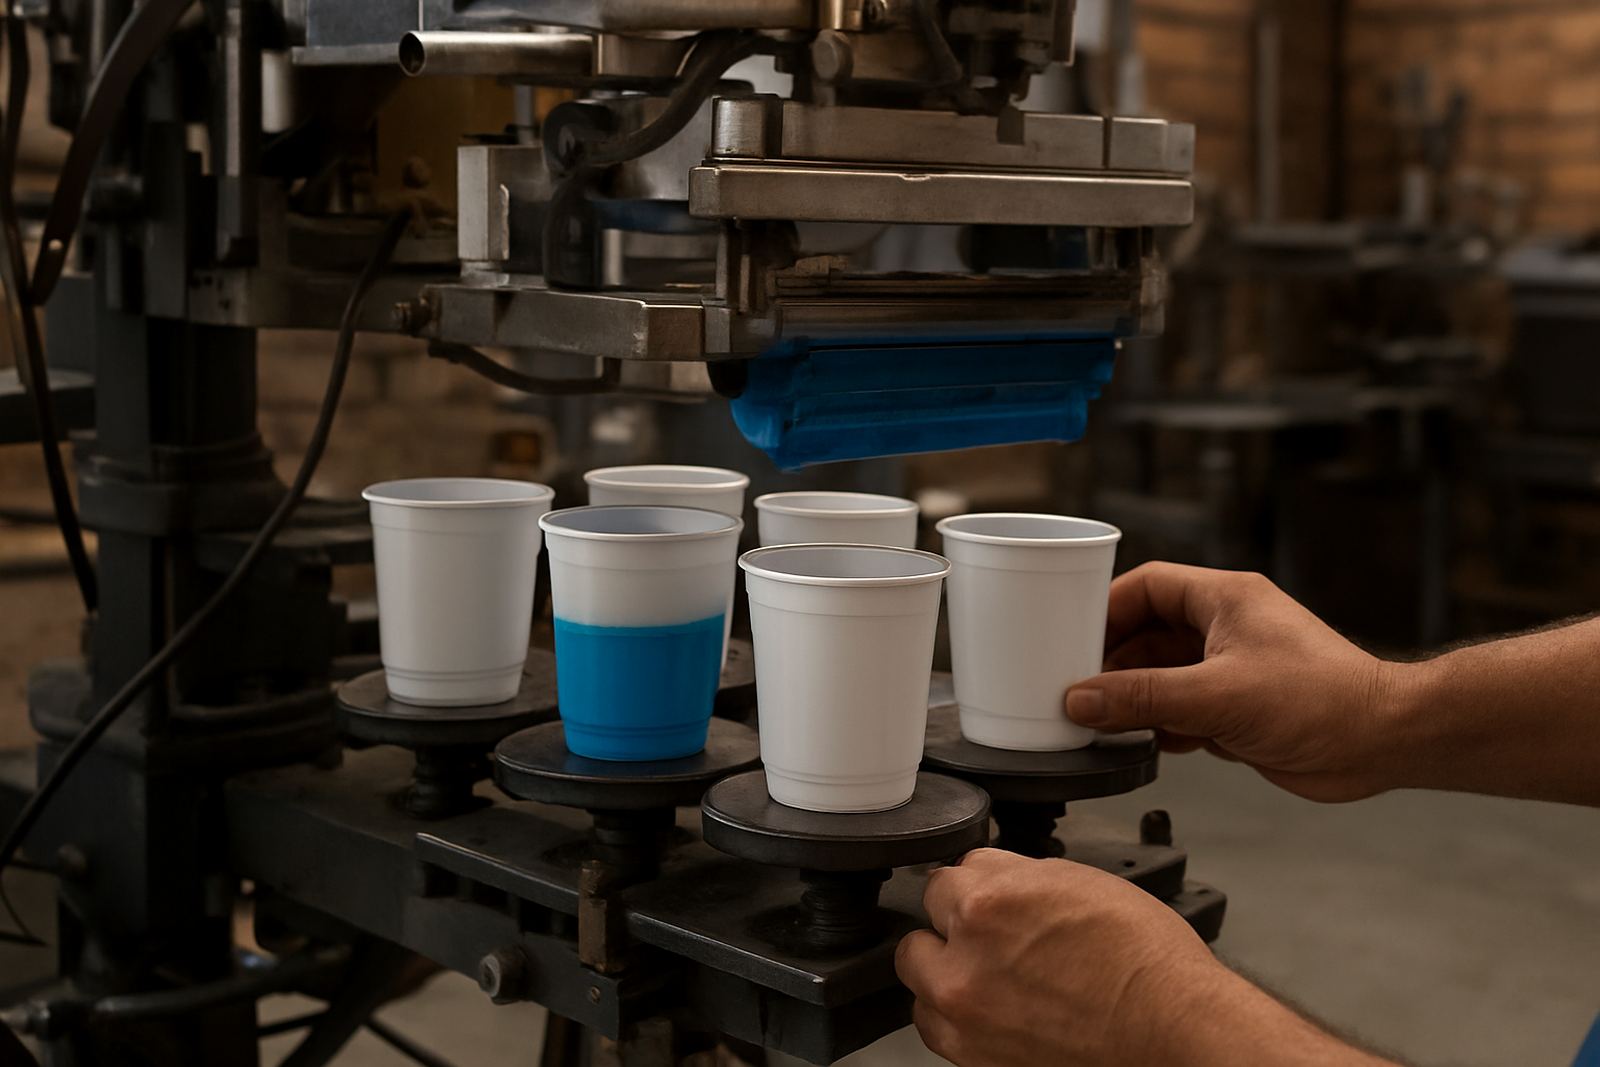
Direct cylindrical printing puts the image straight onto the curved cup body, which is why it suits promotional cups, reusable drinkware and packed gift items. When the cup turns under the screen, the print stays in the same position all the way around, so logos, text and solid blocks of colour line up cleanly.
The method works best on cups with a steady round form and a surface that accepts the ink properly. Plastic, coated metal and some powder-coated or treated cups can print well if the surface is prepared right. Smooth mould lines, deep ribs and sudden taper changes make the job more difficult, so it helps to test the cup before committing to a full production run.
In practice, good cup printing is less about the artwork alone and more about repeatability. If you need 500 cups on Monday and 5 000 by month end, the machine, screen and curing process all need to hold the same tolerances.
What To Check Before You Start A Cup Job
Before any printing starts, confirm the cup dimensions, print area and material type. A 350 ml plastic cup does not behave like a 500 ml stainless cup, and the same artwork can stretch differently on each one. The operator should know the cup diameter, the usable print height and whether the finish is glossy, matte or textured.
- Measure the cup diameter at the print zone, not only at the rim
- Check for taper, seams or mould marks that may affect contact
- Confirm the ink system suits the substrate and the final use
- Test drying or curing time on a small batch before full production
- Inspect the artwork for fine text that may close up on a curved surface
It also helps to think about the end user. A cup going into a cool drink promotion for a Gauteng events company will face different handling than a branded insulated cup sold at a coastal resort in Durban, where humidity and wash cycles may be more demanding.
How Setup Affects Print Quality On Curved Surfaces
Cup printing depends heavily on setup. The screen angle, squeegee pressure, registration and cup support all need to work together. If the cup sits slightly off-centre, the image may drift and you will see heavier ink on one side. If pressure is too high, fine detail can blur. If it is too light, the print can look patchy.
For a clean result, the cup should rotate evenly and the screen should meet the curve without forcing the material. On smaller runs this may only mean a few minutes of adjustment. On a full production line, that adjustment time can become expensive if it is not done properly from the start.
Good setup also reduces operator fatigue. In many Johannesburg and Pretoria workshops, cup orders run alongside bottle and tube work, so the changeover needs to be quick but controlled. That is where proper screen making and colour setup help, especially when a customer wants a second colour that must sit tight against the first.
Ink, Drying And Cure Times You Cannot Ignore
The ink system is a major part of the final finish. On cups, the print must bond well enough to handle packing, stacking and daily use. Some jobs need a fast dry, others need a stronger cure. The choice should match the surface and the conditions in the workshop.
Drying is often where problems start. A print may look fine when it comes off the machine, then scuff in the box because it was not fully cured. That risk goes up during load-shedding or when curing equipment is underpowered. If a printer is in a warm Aeroton workshop in summer, the curing window may be shorter than in a cooler Midrand site, but the team still needs to test every batch.
- Keep the cure time consistent from the first cup to the last
- Do a rub test before packing the order
- Allow for slower drying in wet or humid conditions
- Separate freshly printed cups so they do not mark each other
- Record settings for repeat orders
Common Cup Printing Problems And How They Show Up
Most cup printing issues show themselves quickly. A faded patch may point to poor screen contact, while a double image usually means the cup is slipping during rotation. Ink bleeding at the edges can mean the mesh count or squeegee pressure is wrong. If colours shift between runs, the issue may be in the screen reclaiming, the ink mix or the operator setup.
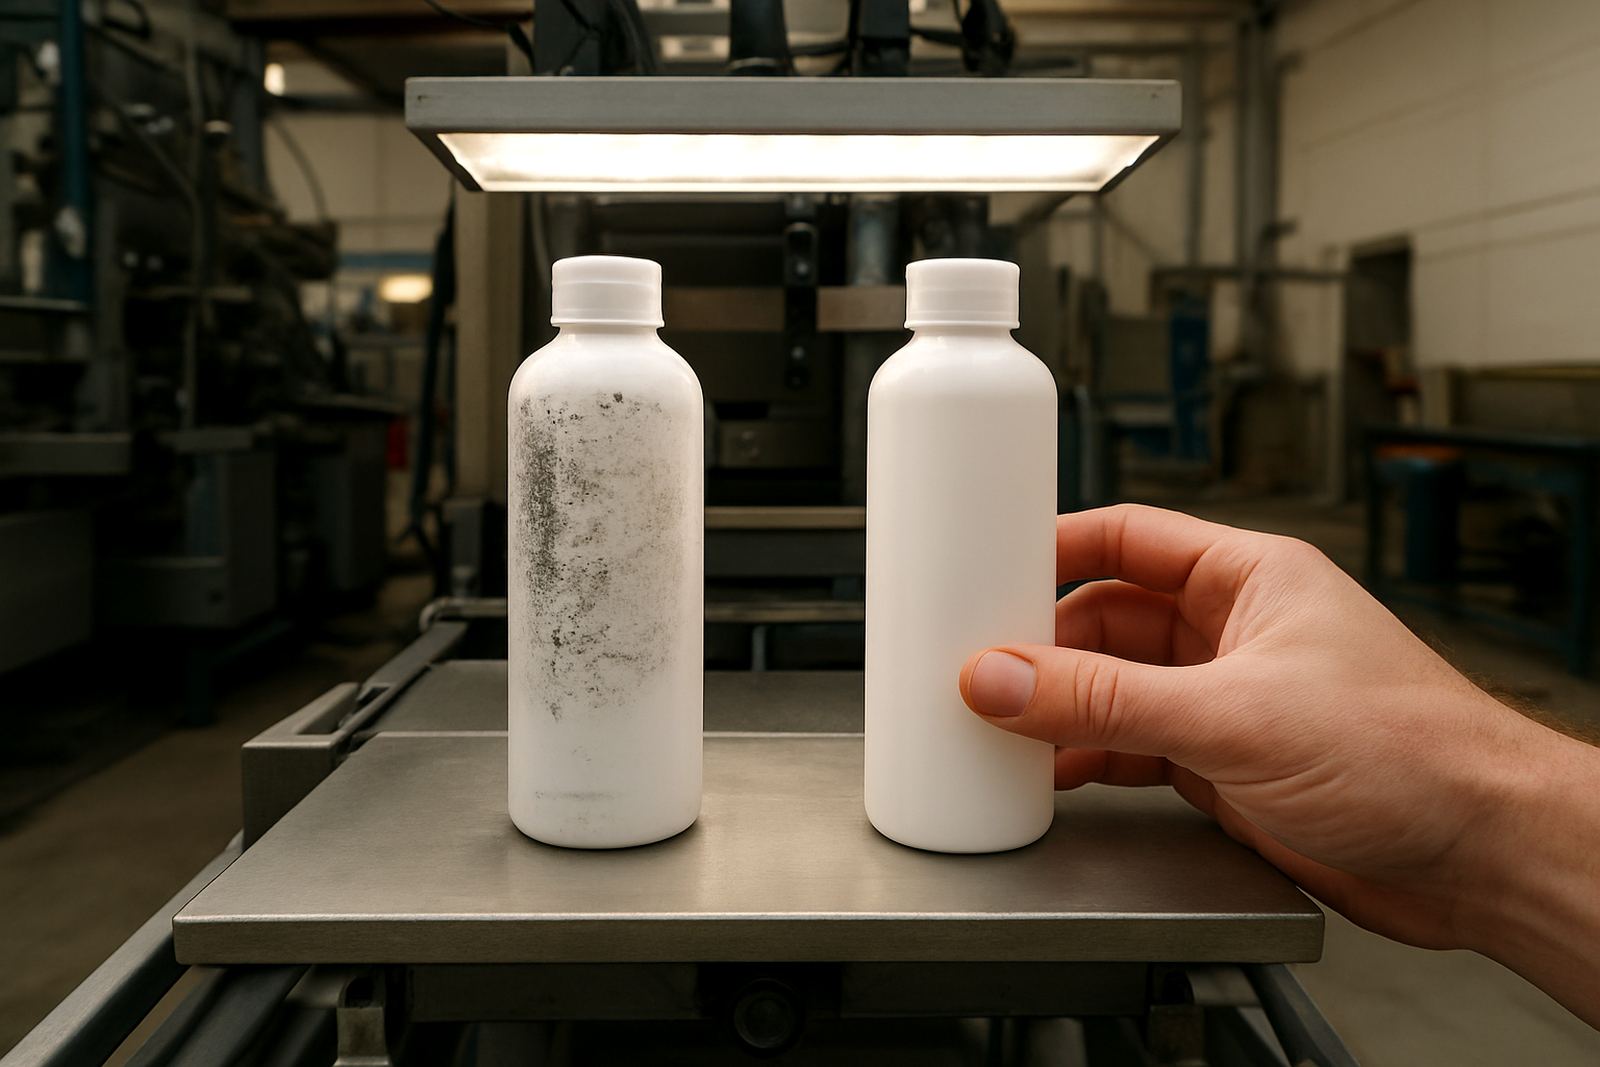
Some jobs also fail because the cup was never intended for print in the first place. Cheap promotional cups with weak coatings can reject ink or scratch too easily. In that case, no amount of extra pressure will fix it. It is better to test first than to try and recover a full batch later.
For businesses in places like Durban and Cape Town, salt air and storage conditions can also play a role. Cups kept in a damp storeroom may pick up dust or moisture before printing, which affects adhesion more than many people expect.
A Johannesburg Example That Shows Why Testing Matters
A small events supplier in Johannesburg South may order 2 000 branded cups for a conference at short notice. The artwork looks simple, just one logo in two colours. But the cups are slightly tapered, the stock is stored near a roller door, and the order needs to be packed before a weekend delivery. Without a test run, the team could find that the second colour shifts or the logo breaks near the curve.
In that kind of job, a short setup session saves a lot of grief later. The operator checks one cup, adjusts the screen, prints a sample and leaves it to cure properly. Once the sample passes the rub test, production can move faster. That is the sort of practical step that keeps repeat orders profitable.
It is also where on-site training makes a difference. If the crew knows how to keep screens clean, spot wear early and handle the cups carefully after print, fewer units get rejected at packing.
What Good Support Looks Like After Installation
A cup-printing line works best when the support continues after installation. Machines need regular checkups, screens need proper reclaiming and spare parts need to be on hand before a breakdown stops production. If a workshop is producing cups, tubes and small cylindrical items all week, a small fault can affect the whole day.
Preventive maintenance is usually cheaper than waiting for a full stoppage. That includes checking motion parts, alignment, air supply and the condition of screens. It also includes helping the team refine production so they waste less ink and get steadier output. For many South African businesses, that support matters as much as the machine itself.
- Schedule maintenance before peak trade periods
- Keep spare consumables and critical parts in stock
- Refresh operator training when new cup sizes are introduced
- Review print settings after any power interruption or machine move
For businesses working out of Aeroton, Midrand, Pretoria, Durban or Cape Town, reliable service coverage matters because the order book does not stop when a machine does. A good cup printing process should be practical, repeatable and suited to local working conditions, not just to a sample on the bench.