What UV-curing ink does on cylindrical work
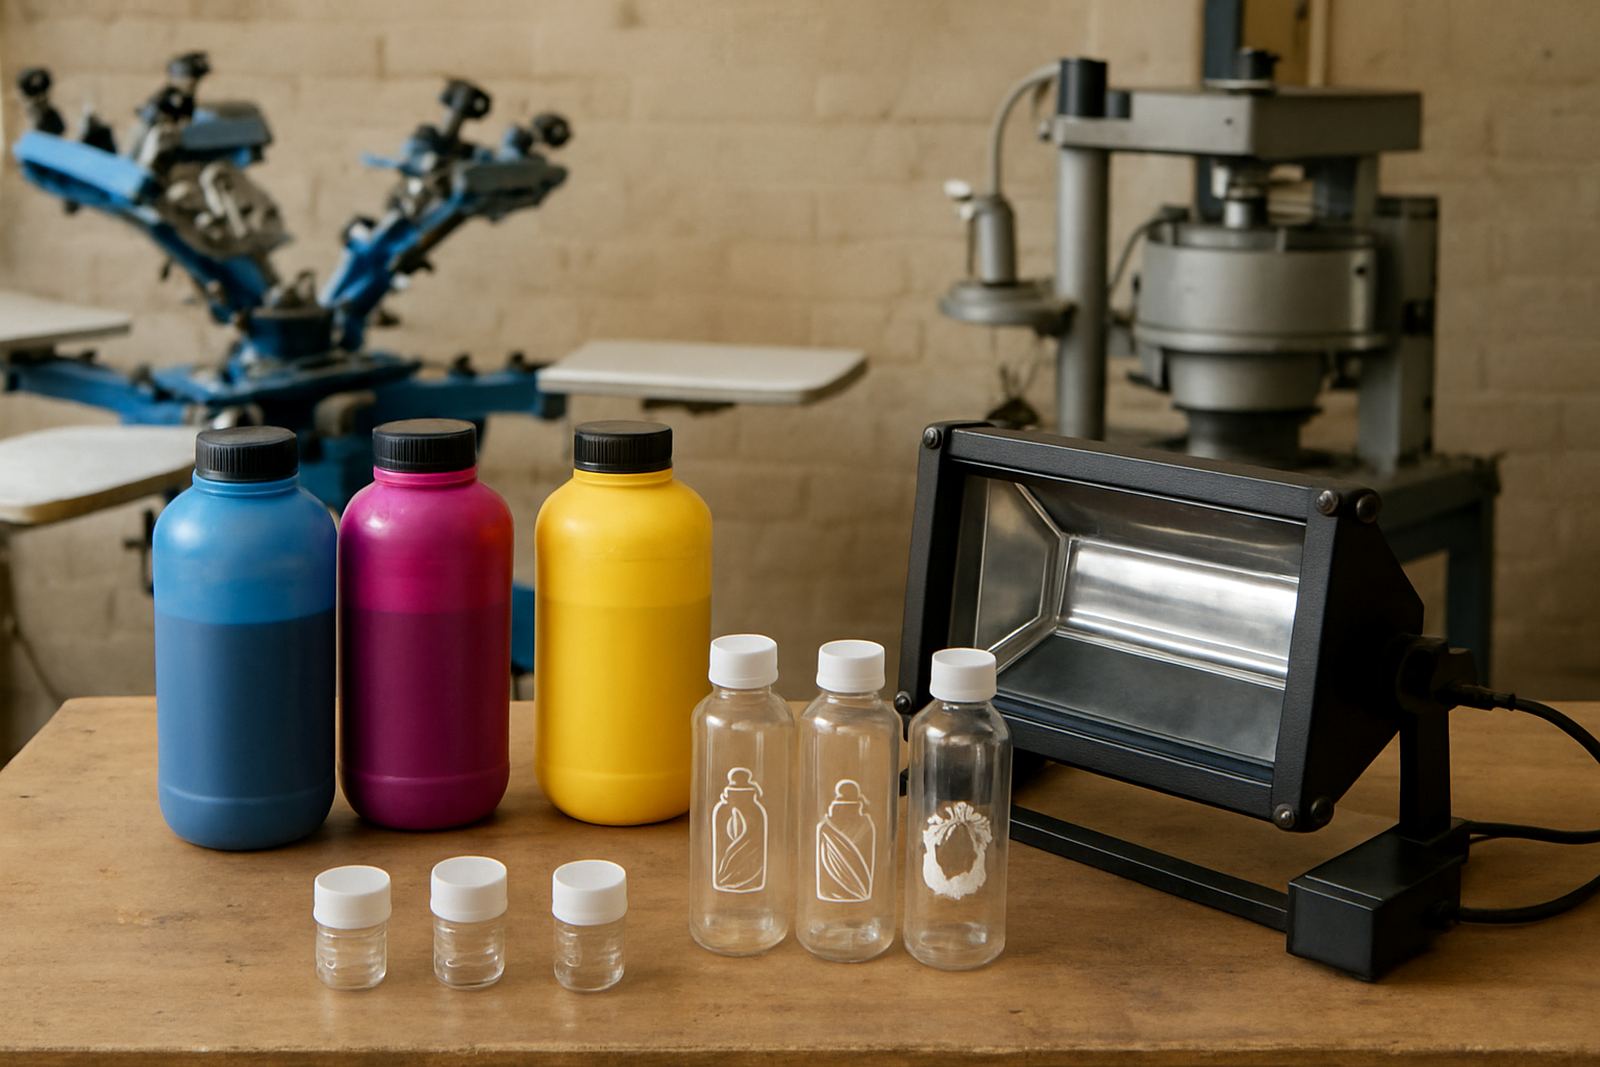
UV ink is made to stay liquid until it passes under a UV lamp, where it hardens almost immediately. That quick cure is useful on bottles, cups and tubes because the printed item can move on to handling, packing or a second colour without waiting for long drying times.
On a busy production floor in Aeroton or Pretoria, that time saving matters. If your line is running short batches for promotional bottles or repeat orders for a beverage client, UV ink helps keep the job moving. It also reduces the risk of dust settling into a wet print, which is a common issue in warmer workshops and open packing areas.
The key point is that UV ink is not only about speed. It must match the substrate, the screen mesh and the curing setup. A good print is clean, properly cured and able to resist scratching, transport rub and normal handling. If one of those parts is off, the result can look fine on the day but fail later.
Where UV ink works best on bottles, cups and tubes
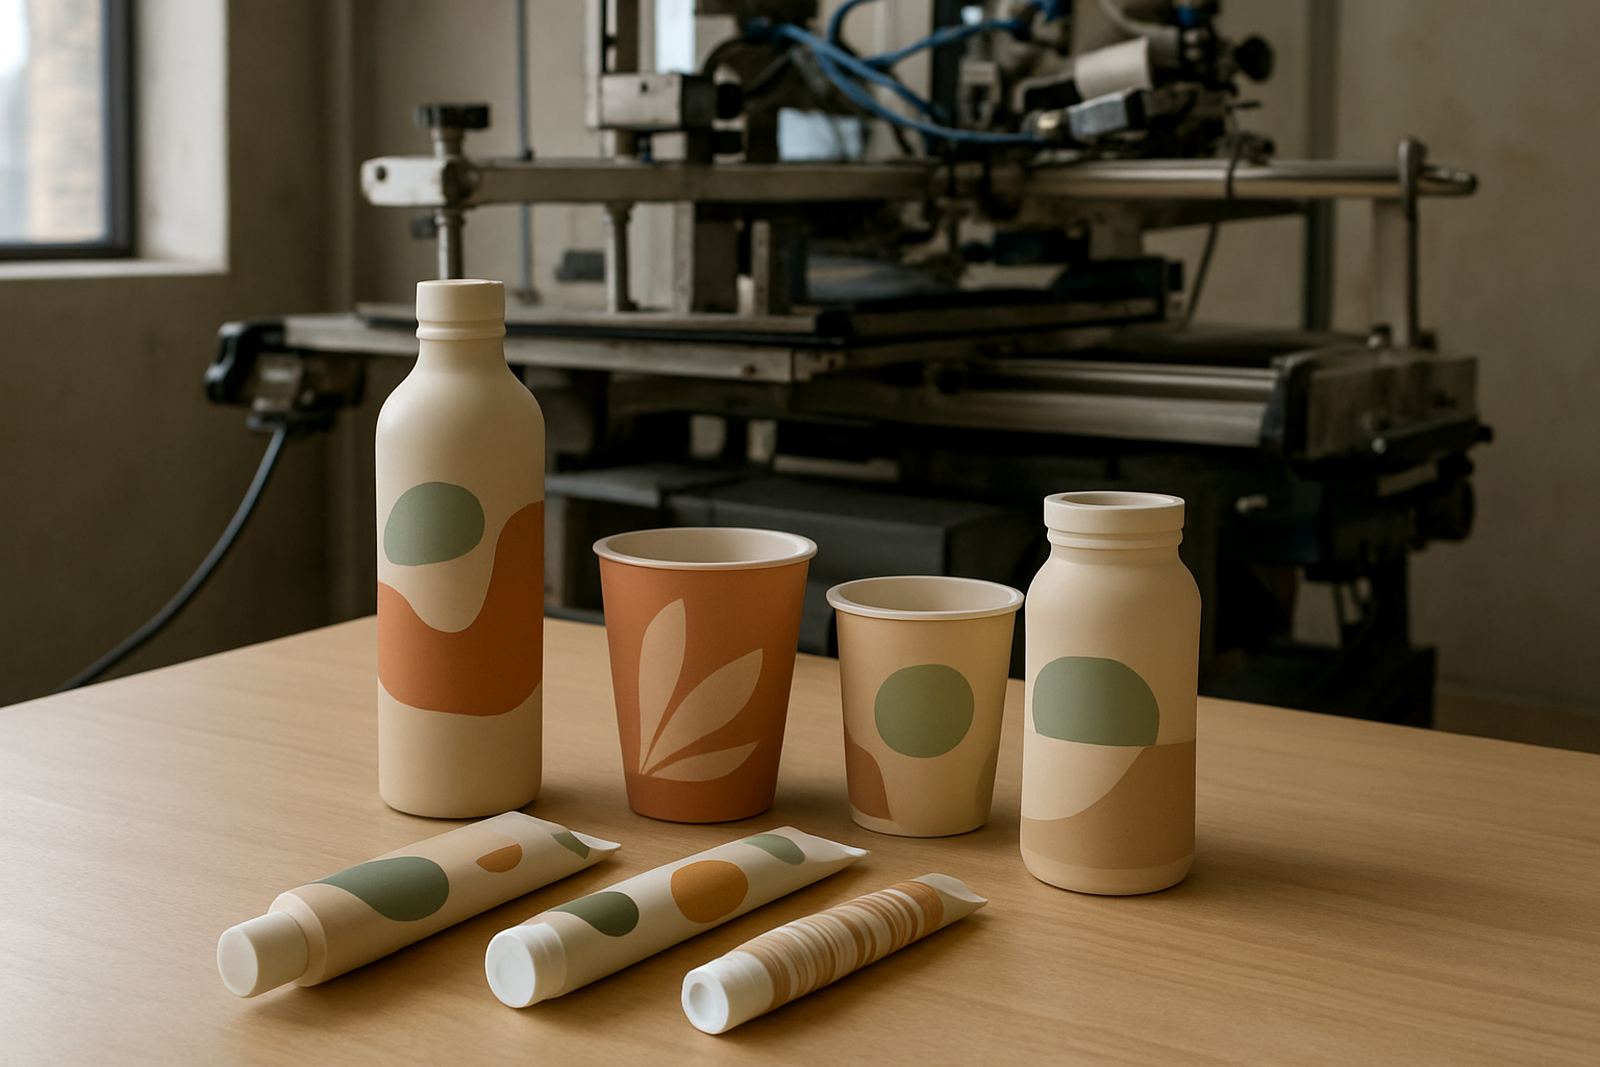
UV-curing systems are often chosen for rigid or semi-rigid containers where print consistency matters. They are especially useful on cylindrical items that need repeatable registration and a crisp logo, barcode or product name.
- Plastic bottles used for supplements, cosmetics and household products
- Powder-coated or treated metal cups and drinkware
- Cosmetic tubes, squeeze tubes and sample packs
- Rigid promotional containers where fast turnaround is needed
In South Africa, many customers want short lead times and smaller batch runs, particularly for events, retail promotions and private label launches. UV ink suits that kind of work because it supports quicker changeovers. It is also handy where space is tight and you cannot leave racks of wet product standing around for hours.
That said, not every item is suitable straight away. Smooth plastics, coated surfaces and some specialty containers may need pretreatment, a test print or an adhesion check before full production starts.
How curing time affects output and colour
UV ink starts working only when the lamp output, exposure time and print thickness are in balance. If the cure is too light, the print can feel tacky or smear under pressure. If it is too strong, the surface may become brittle or the colour can shift slightly.
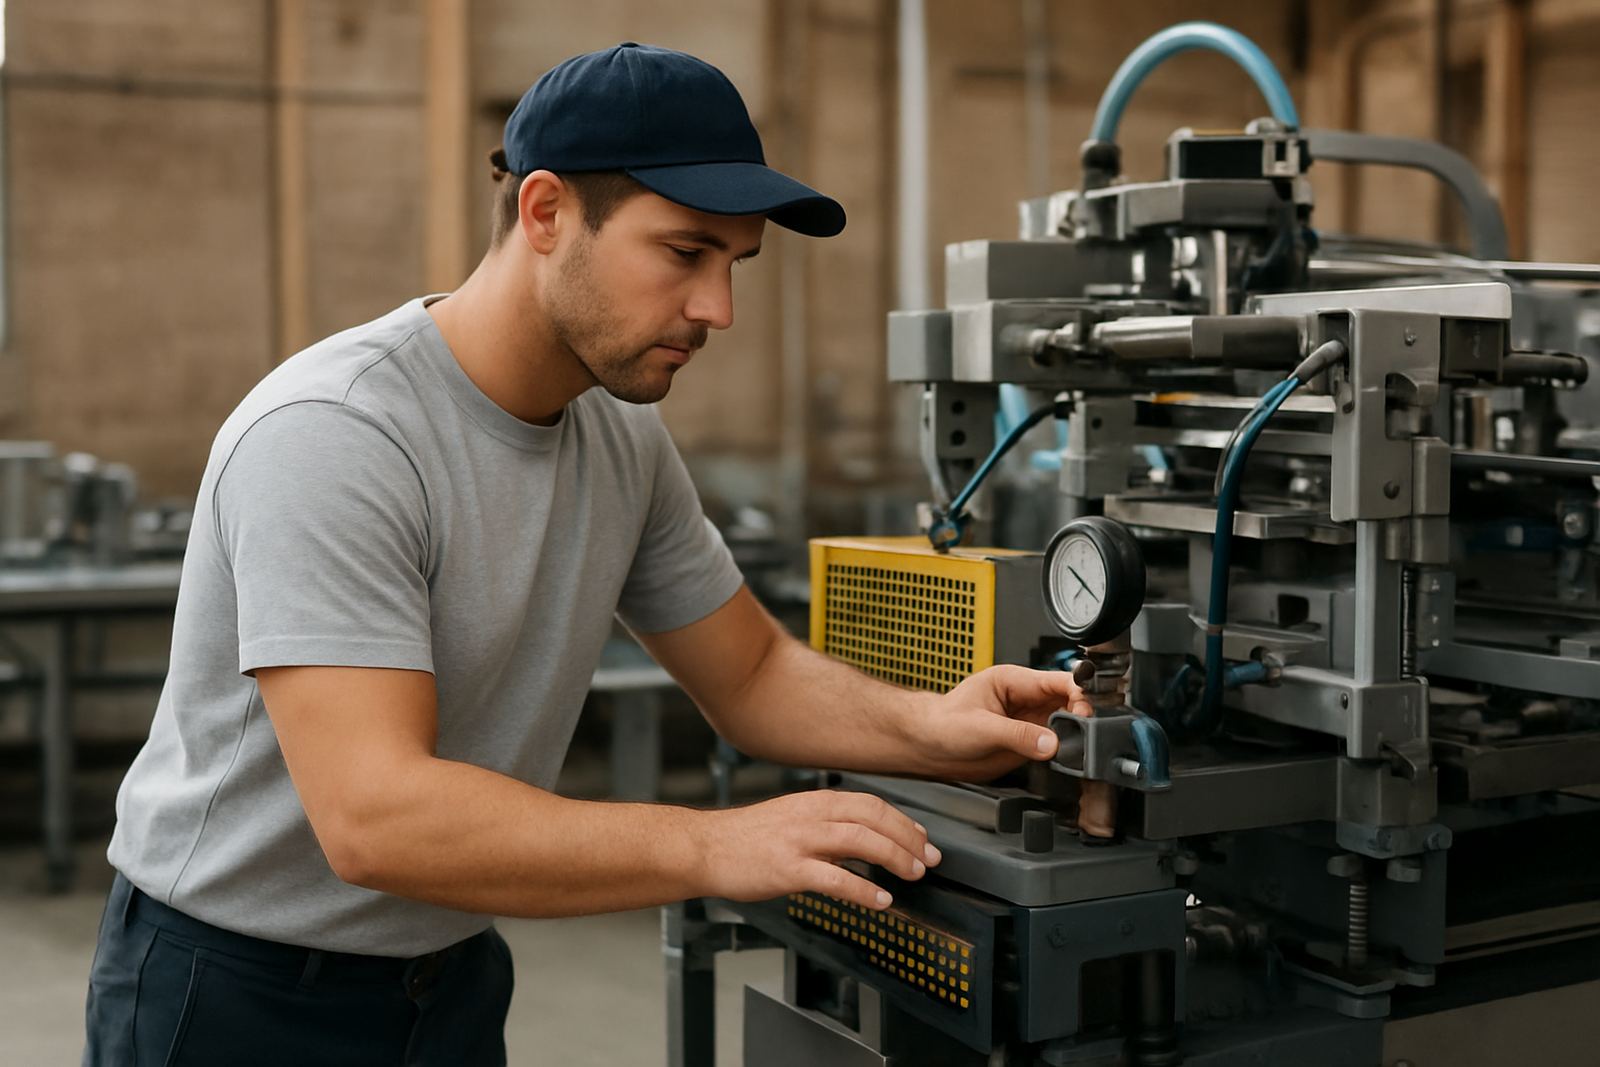
For cylindrical production, the challenge is that every part of the print must receive even exposure as the item rotates. Uneven cure can show up on the edges of a wrap print or on fine text near the seam. This is where setup and operator discipline matter. Ink viscosity, squeegee pressure and lamp position all influence the finish.
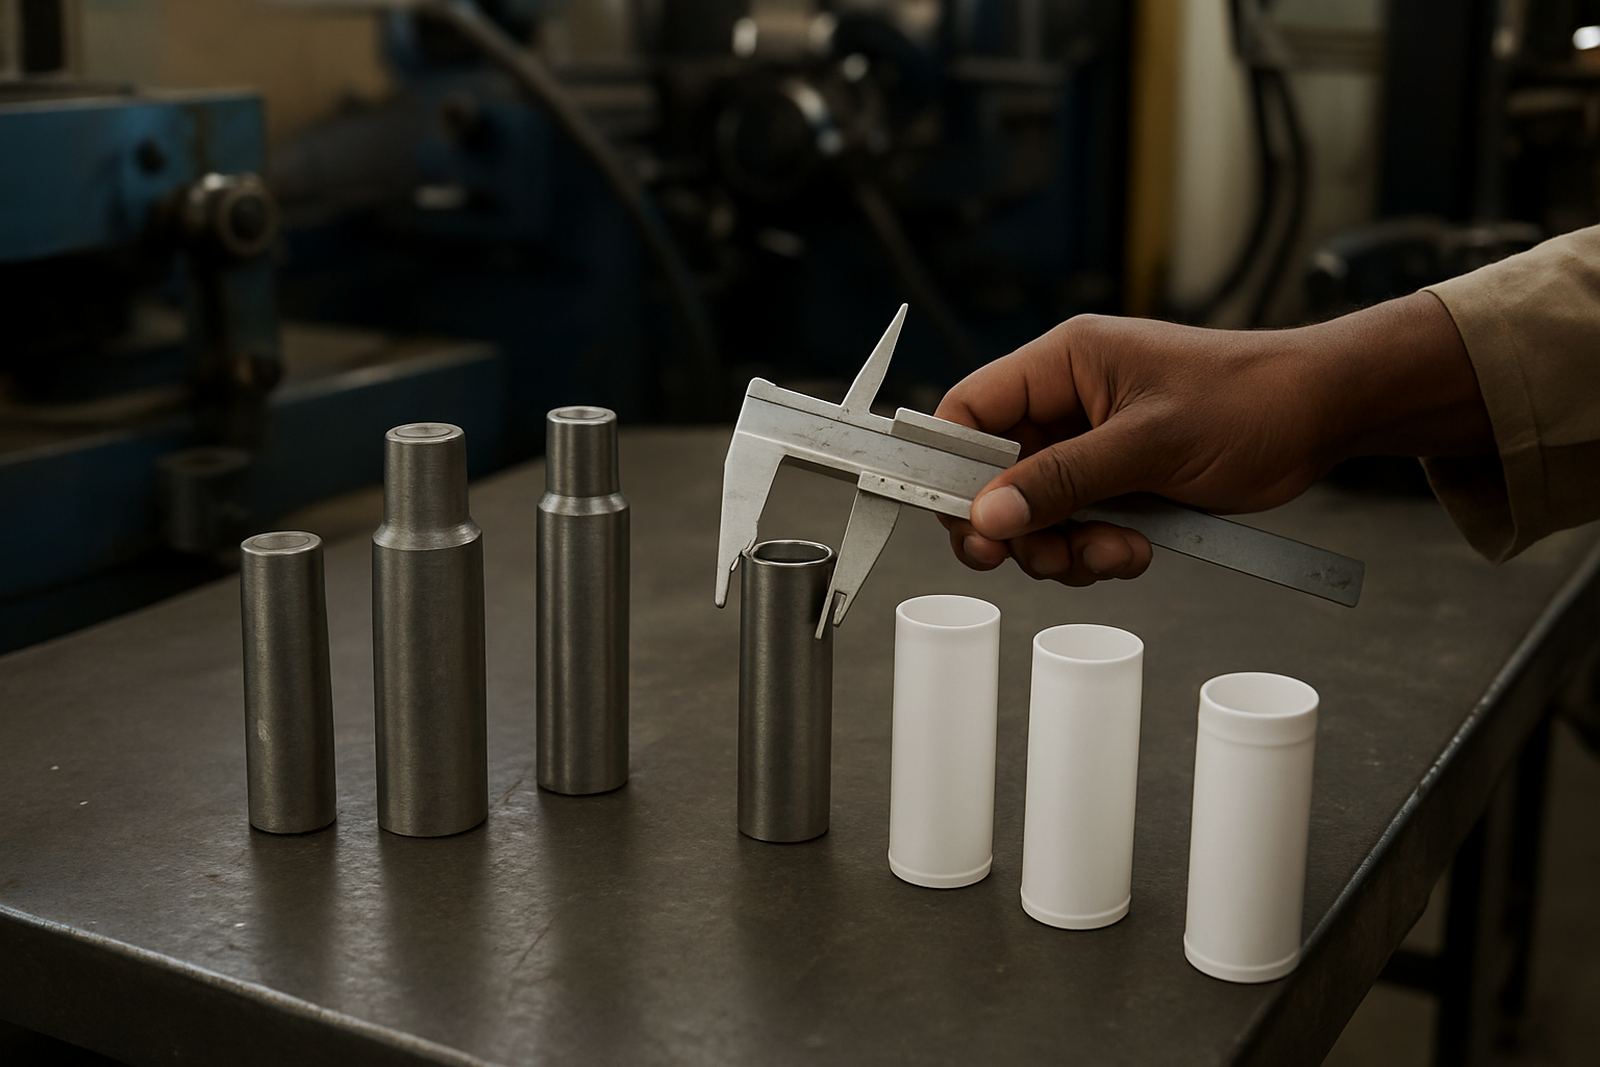
In practical terms, a cup printed in Midrand for a corporate run may need a different setting from a narrow tube going out to a beauty brand in Durban. The item diameter, wall thickness and surface finish all change how the ink behaves. A small adjustment at the start can save a lot of rework later, and less waste too.
If you are chasing speed, do not ignore the test strip. A proper cure test on each new material is worth the time, especially when the job is for retail stock or export packing.
Setting up the line for cleaner UV printing
Good results start before the ink goes onto the screen. Screens need to be correctly reclaimed, dried and coated so the stencil holds detail without breaking down too soon. Mesh choice also matters. Fine detail usually needs a finer mesh, while heavier coverage may need a different setup depending on opacity and the ink body.
Keep the workshop conditions stable where possible. Heat, dust and humidity can alter how the ink flows and how the print lands on the object. In coastal areas like Cape Town or Durban, humidity can make handling and storage a bit trickier, so covered drying and proper storage help. Inland, load-shedding is the bigger headache, because lamp output and production timing can be interrupted if power is unstable.
- Check lamp intensity before the shift starts
- Keep ink containers closed when not in use
- Mix only the amount needed for the batch
- Wipe down jigs and chucks to avoid contamination
- Test the first 3 to 5 items before full run production
Small habits like these keep rejects down. They also make fault-finding easier, because you are not dealing with three problems at once.
Common problems and what usually causes them
Most UV ink issues on cylindrical work come back to setup, cure or surface prep. The print might look patchy, or the colour may not cover evenly around the curve. Sometimes the problem is simply a dirty surface. Other times the ink is too thick for the screen or the substrate has a release coating that needs attention.
Another common problem is poor adhesion after the cure. That often shows up when the lamp is too far from the product or the exposure is not long enough. On some jobs the ink cures on top but not through the full layer, so it scratches off under fingernail pressure. If a print fails a simple rub test, it should be stopped before the run continues.
Screen condition matters too. A worn stencil can give soft edges and pinholes, which are not always obvious until the customer starts inspecting stock. Preventive maintenance and proper screen making save time here because they keep the process steady from one batch to the next.
A practical Johannesburg example for short-run production
Picture a small brand in Johannesburg South needing 1 500 printed drink bottles for a trade event in Sandton. The job includes a 2-colour logo and a batch number. With UV ink, the shop can print, cure and pack in a tighter window than with slower drying systems, which helps when delivery must go out before the weekend.
But speed still needs control. The operator should confirm the substrate, check registration on the first sample and make sure the curing setup is matched to the bottle diameter. If the bottles are slightly different from the sample, the screen gap and rotation speed may need a small adjustment. That is normal, not a fault.
For local businesses, this approach is often the difference between meeting a launch date and missing it. A clean UV print gives the product a sharper retail finish, and it can be done without taking up half the warehouse with drying racks. Simple, but it makes a real difference to the day.
If your team is planning to move into UV work, start with a sample run, record the settings and keep the notes for the next order. Those notes become valuable very quickly.