Why small faults become costly on cylindrical items
On bottles, cups and tubes, even a narrow fault can spoil a full batch because the print wraps around a curved surface. A slight shift in registration, a weak cure or a dirty screen may only look minor at first, but once the job is packed and sent out the issue becomes expensive to sort out. That is why print defects must be checked early, not after the run is finished.
In Johannesburg and the surrounding industrial areas, many teams work with mixed stock from different suppliers. Wall thickness, surface finish and mould release residue can vary from one carton to the next. That means a setting that worked on Monday may need a tweak on Wednesday, especially when the weather changes or the workshop runs warm in the afternoon.
- Check the first 10 to 20 units before settling into full production.
- Keep a sample from every approved run for comparison.
- Note ink mix, squeegee pressure, drying time and substrate batch number.
Blurred edges, heavy ink and shadowing
Blurred edges usually point to movement during print, ink that is too thin, or too much pressure from the squeegee. Heavy ink build can also happen when the mesh opening is wrong for the job or the screen is not clean enough. Shadowing, where you see a faint second edge, often comes from poor registration or the item slipping in the holder.
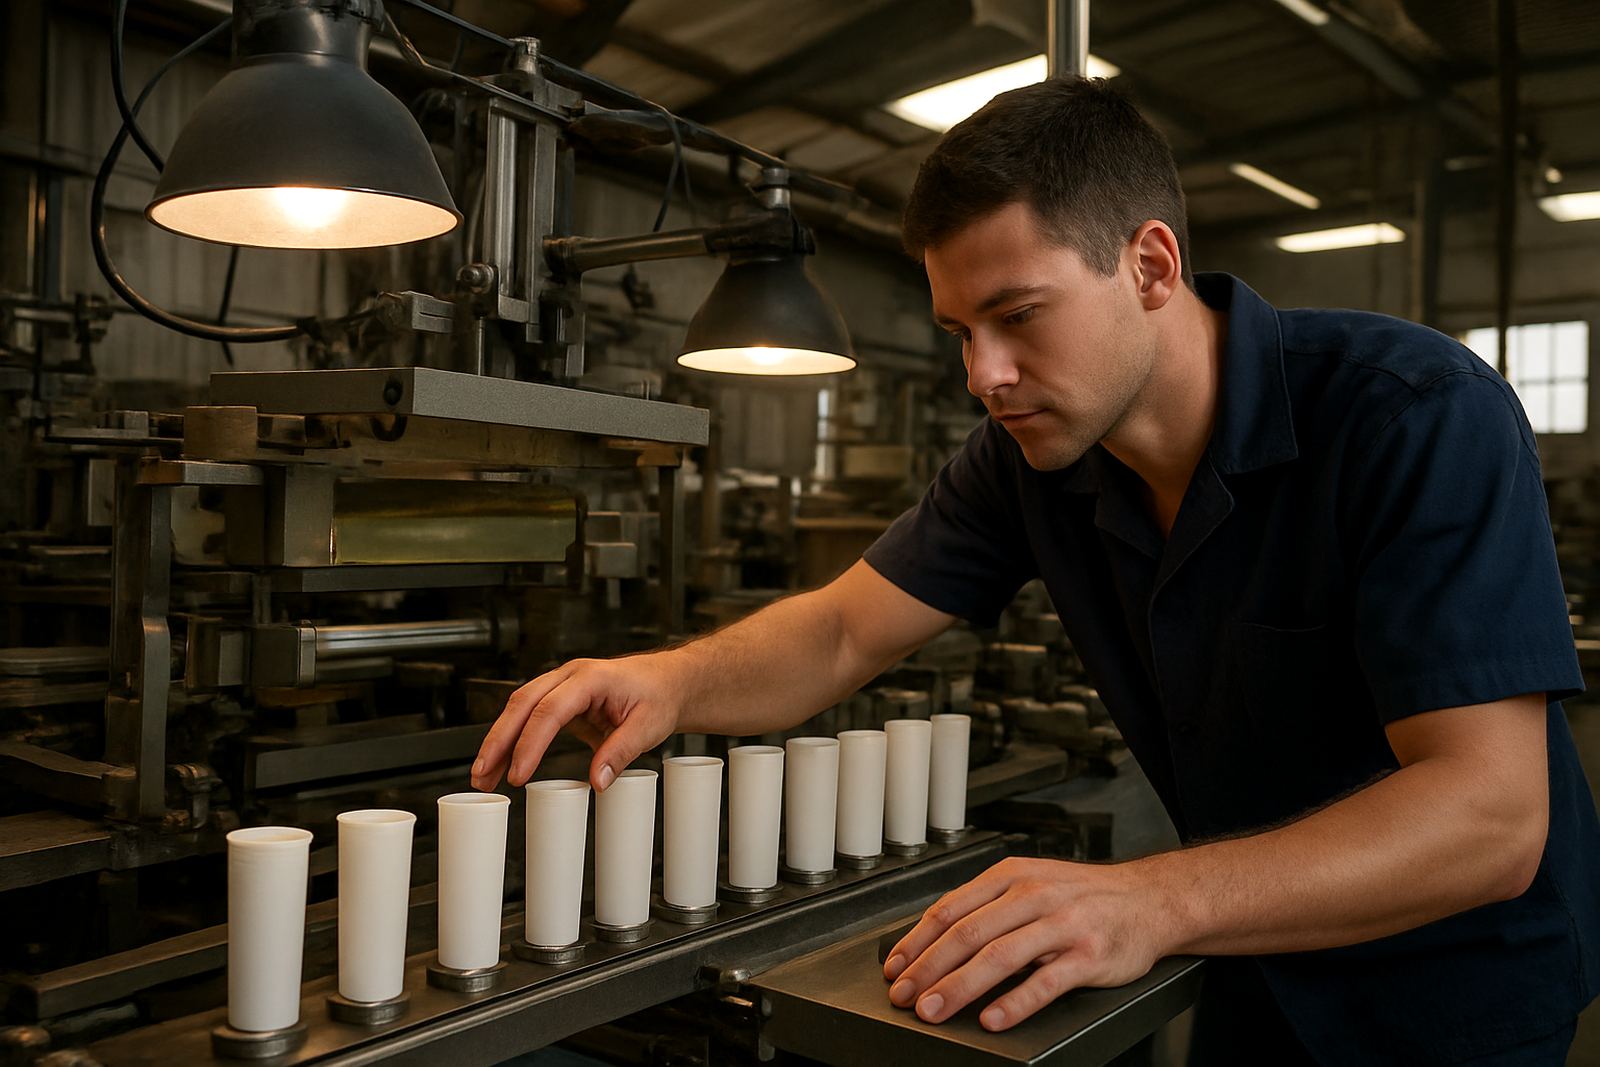
On cups and slim tubes, a small wobble is enough to spoil fine text. Operators should check item location and the hold-down method before touching the artwork file. If the print is soft on one side and sharp on the other, the screen angle or flood stroke may be uneven. Sometimes the issue is simple, the substrate was dusty and the ink did not grip properly.
- Reduce print pressure before changing the whole setup.
- Verify the item sits square in the jig or fixture.
- Clean the surface with the correct wipe and let it flash off fully.
Pinholes, missing spots and blocked mesh
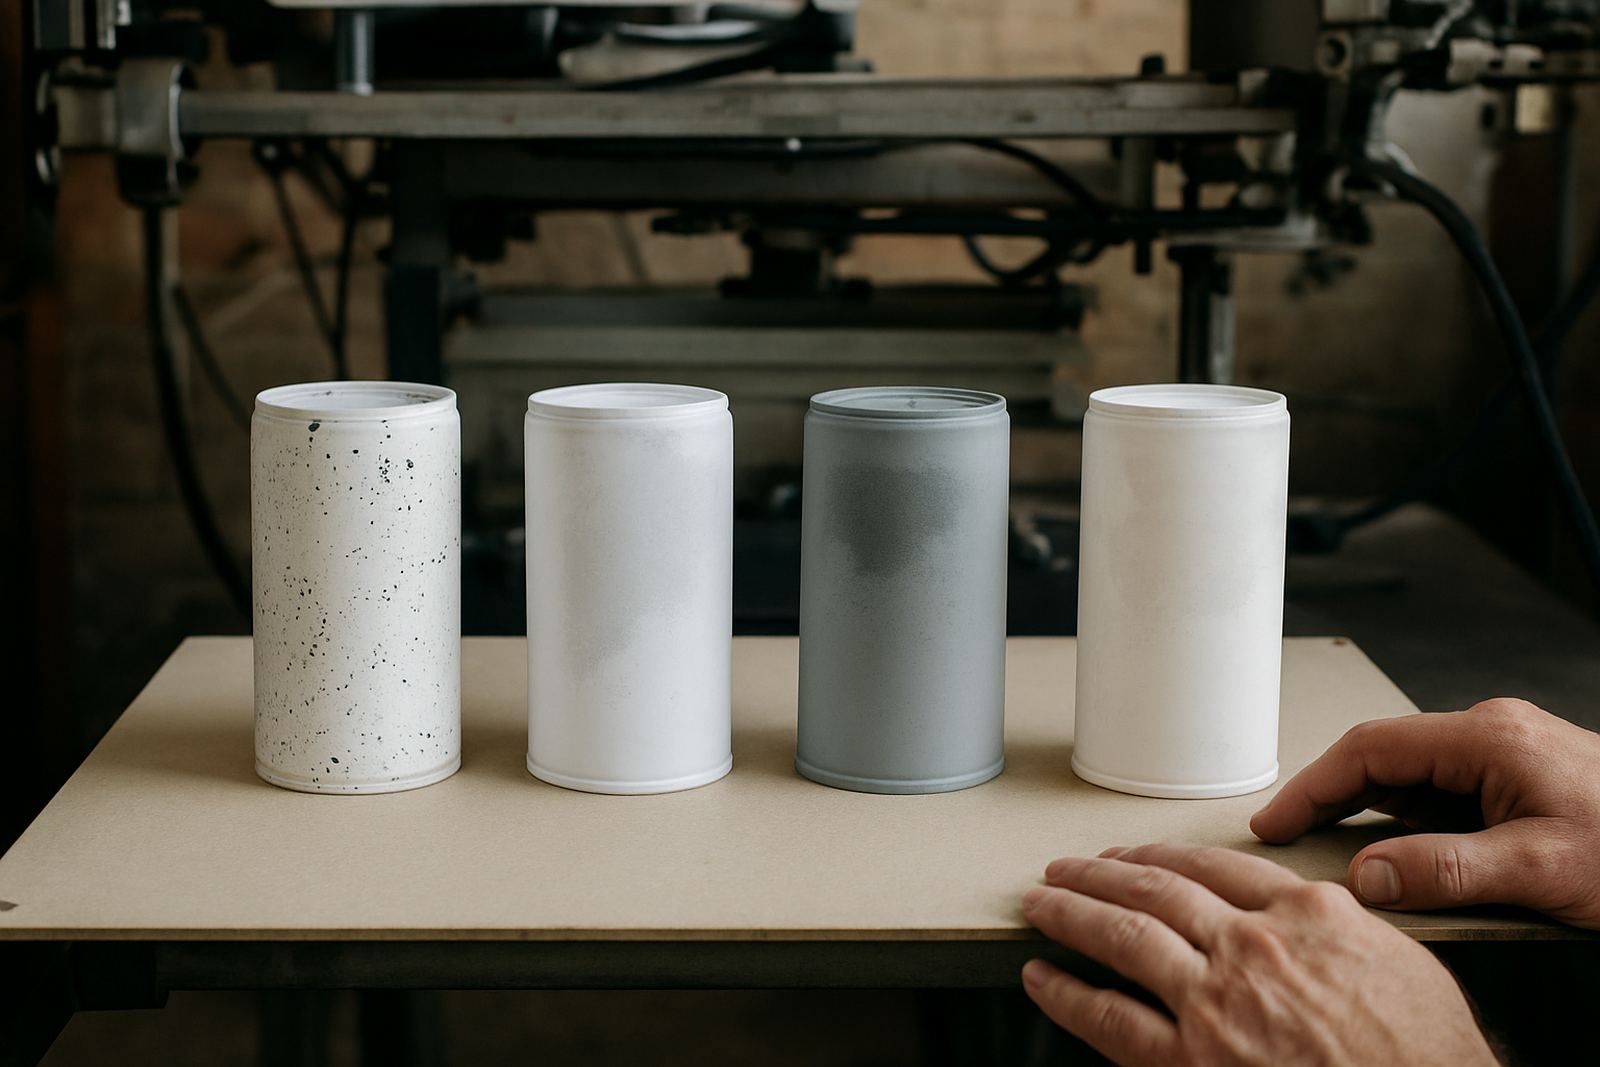
Pinholes are small unprinted dots inside the image, and they often come from dust, dried ink in the screen, or contamination on the product. Missing spots, on the other hand, can show up where the mesh is blocked or the stencil has started to break down. If the defect repeats in the same place, inspect the screen carefully before blaming the substrate.
In humid coastal conditions, especially around Durban and Cape Town, moisture can slow drying and make fine dust stick to screens. That is why screen reclaiming and proper drying room habits matter just as much as the press itself. A clean screen with a weak stencil will still fail under pressure, so both the mesh and the coating need attention.
- Filter ink before use to remove dried particles.
- Keep screens covered when not in use.
- Store coated screens in a dry area away from splash and fumes.
Smearing, offset marks and poor cure
Smearing is often blamed on speed, but the real cause may be insufficient drying between colours or handling too soon after print. On some plastics and coated containers, ink can sit on the surface and move if the unit is stacked before it is ready. Offset marks happen when fresh prints touch shelves, conveyors or each other.
Load-shedding adds another layer. If drying time changes because heaters or extraction are interrupted, the line can drift without anyone noticing. Teams should keep a written process for power cuts, restart checks and test rubs. A print that looks dry can still fail a simple rub test and that means it is not ready for packing.
- Run a rub test before packing every batch.
- Allow extra cure time when humidity is high or power has been unstable.
- Keep printed items spaced so they do not touch while cooling.
Colour shift, weak coverage and registration errors
Colour shift shows up when the same artwork looks different from one batch to the next. This can happen if the ink mix changes, the screen tension drops, or the operator adjusts pressure to chase coverage. Weak coverage is common on dark tubes and glossy bottles where the first pass does not give full opacity. Registration errors appear when one colour sits outside the other, especially on multi-colour logos.
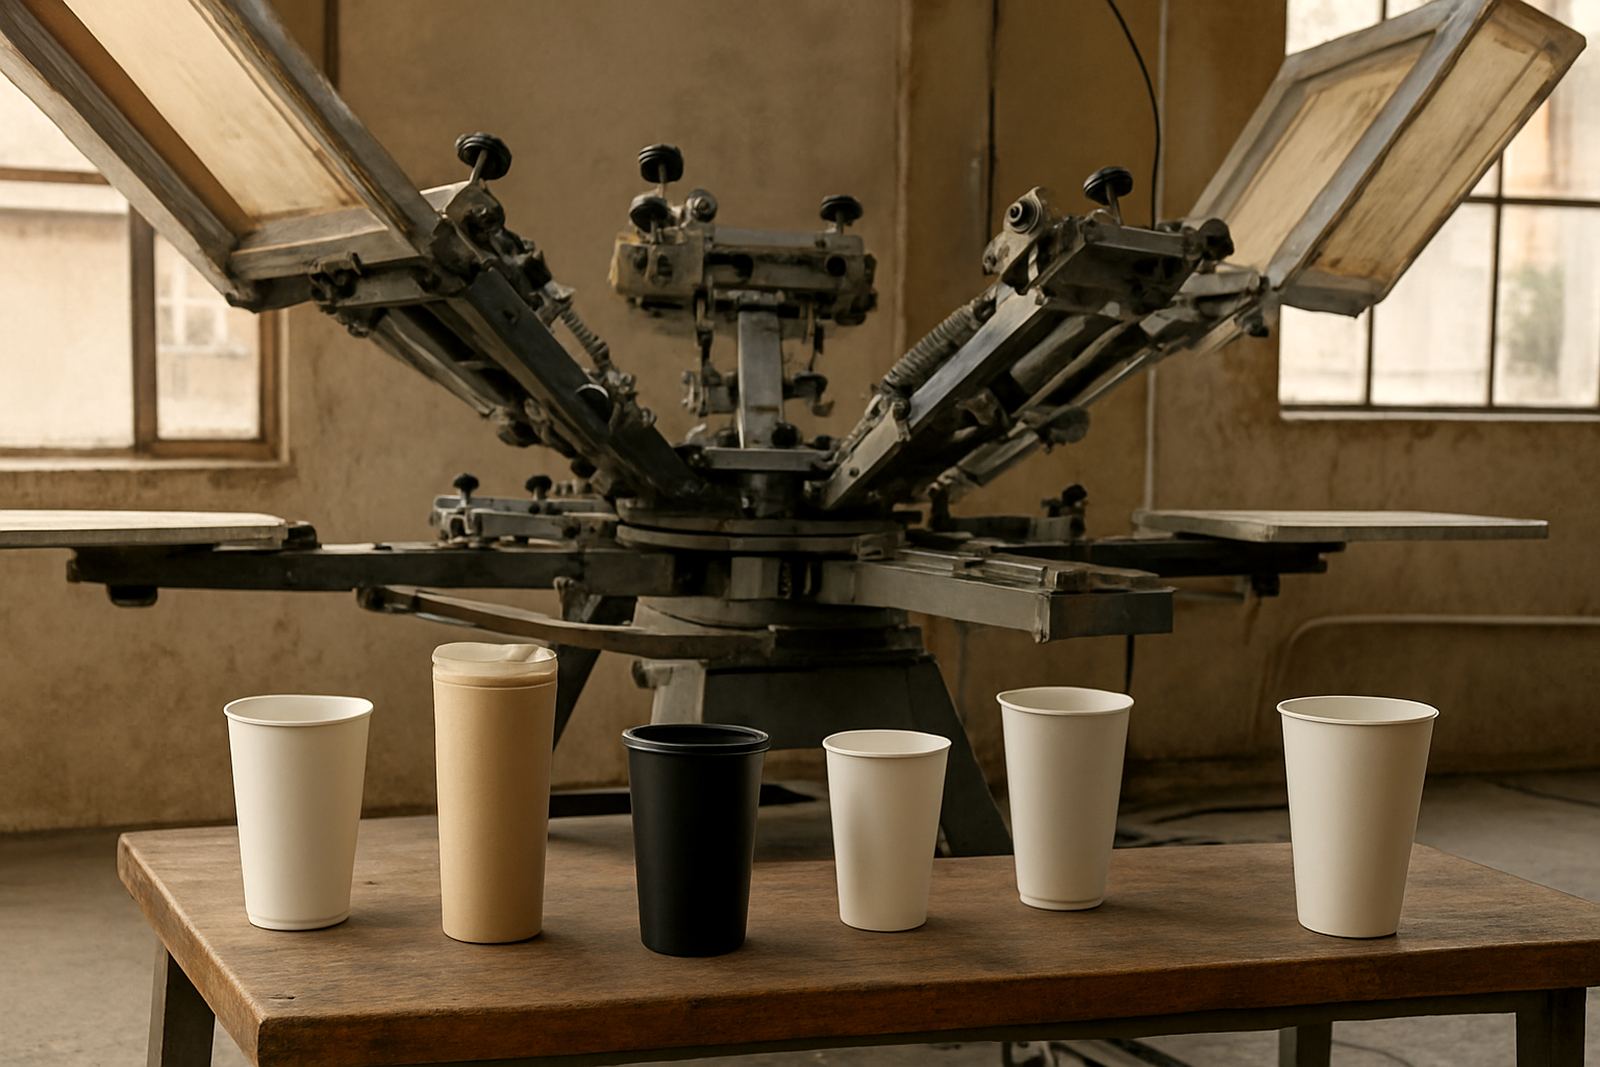
A practical example from a Gauteng production floor: a drinks supplier in Midrand may run white text on dark bottles in the morning, then switch to a two-colour logo on aluminium-style cups after lunch. If the screens are not checked again after cleaning, the second job can drift by a millimetre or two. That sounds tiny, but on a circular item it is visible straight away. Good colour setup help saves far more time than reprinting later.
- Keep a standard sample under the same light used on the floor.
- Record ink ratios and drying settings for repeat orders.
- Check registration after every screen change, not only at start-up.
How to stop repeat defects before the next run
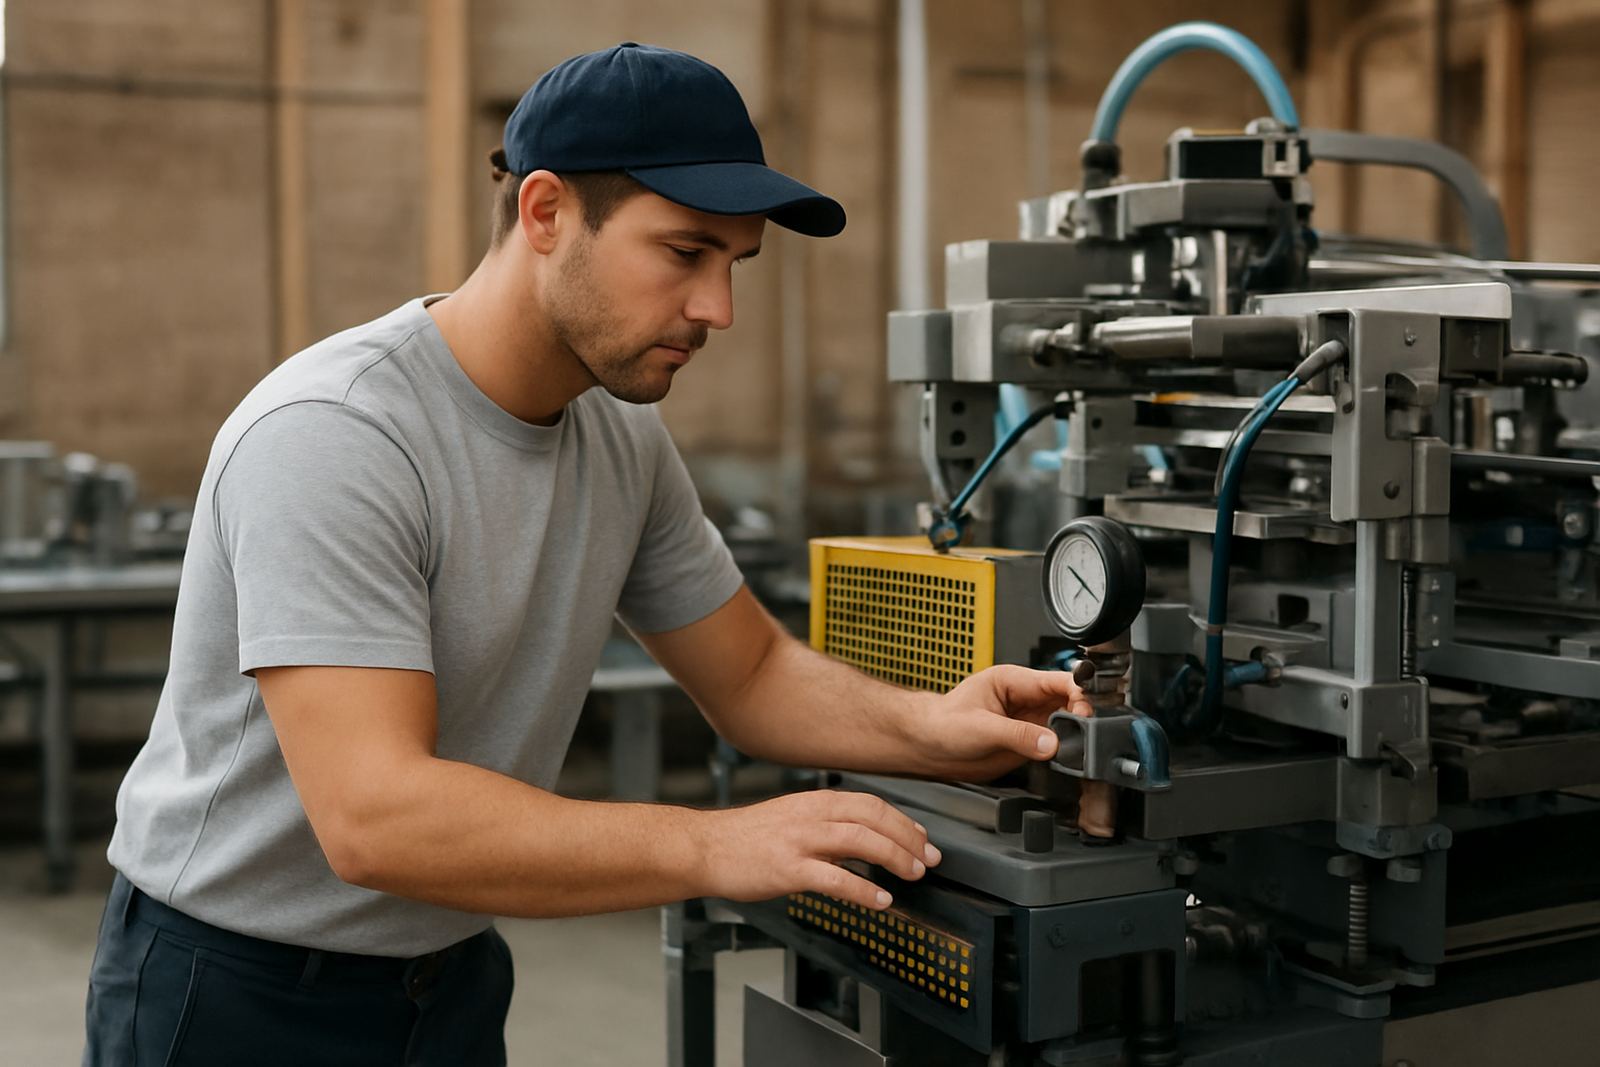
The best way to reduce faults is to treat each run as a controlled process, not a rush job. Preventive maintenance on the press, holder checks, screen making discipline and regular operator training all cut down avoidable waste. When a machine drifts, the first signs are often subtle: a faint edge, a longer cure, or a colour that no longer matches last week’s sample.
Teams in Aeroton, Pretoria, Johannesburg South and beyond benefit from a simple fault log. Write down what went wrong, what was changed, and what fixed it. After a few jobs you start to see patterns. Maybe one ink line always needs extra drying. Maybe a certain tube size slips in the fixture. That information helps the whole crew work faster and waste less.
- Do a start-up checklist at the beginning of every shift.
- Replace worn squeegees and damaged holders before they cause drift.
- Use a fault log to track the same issue across different jobs.