Why tube printing behaves differently from bottle work
Tubes are not the same as rigid bottles. They squash a little when clamped, bounce back after printing, and often have thinner walls than a bottle or jar. That movement changes the print gap and can pull fine detail off position if the fixture is not set properly. With personal care, cosmetic, adhesive and food packaging, the tube material may also vary from batch to batch so a setting that worked in the morning can drift by afternoon.
The first thing to watch is tube form. Round tubes are usually straightforward, but oval tubes, shoulder transitions and soft squeeze packs need more attention. If the tube flexes too much under pressure, the print can distort or show uneven ink laydown. On shorter runs, operators often blame the screen when the real issue is gripping pressure or a worn locating part.
- Check tube diameter, wall thickness and length before the job starts
- Confirm if the tube is rigid, semi-rigid or soft squeeze stock
- Test the clamp pressure on an actual production sample
- Allow for variation if the supplier changes moulds or packaging grade
Artwork setup that keeps lettering and logos readable
Tube artwork must be planned around the visible panel, not just the flat artwork file. A logo that looks fine on screen can become too wide once it wraps around a narrow tube. Fine serif text, thin lines and small reverse type are risky unless the tube diameter and print repeat have been checked first. For many South African brands, the label space is tight and the packaging must carry batch codes, ingredients and compliance text as well, so every millimetre counts.
The safest approach is to work from a measured tube sample and confirm the live print area. Keep important text out of areas where the tube curves sharply near the cap or shoulder. If the product is sold in pharmacies or supermarkets, remember that the pack must still look clean after handling, transport and shelf stacking. A print that rubs easily may pass at the machine but fail once cartons move through Gauteng heat and delivery trucks.
- Measure the true print panel, not only the overall tube length
- Keep critical artwork inside the stable central wrap zone
- Avoid hairline strokes on small tubes
- Leave space for date coding and legal text where needed
Screen, mesh and ink choices for narrow surfaces
Good tube printing starts with the right screen build. Narrow cylindrical work needs stable tension and a mesh count matched to the artwork detail. Too coarse and the edges fill in, too fine and you fight poor ink transfer. Ink choice matters just as much. Some tubes need a softer cure, others need better abrasion resistance. If the pack is used in humid coastal areas like Durban or stored in warm warehouses, the ink system must hold up under real conditions not only in the print room.
Screen reclaiming also affects repeatability. Old emulsion residue, blocked mesh and uneven tension create pinholes and image shifts. If you are running multiple tube sizes on one line, keep screens and squeegee settings clearly marked so operators do not mix them up during changeover. This saves time and reduces scrap, especially when the shift is under pressure and the order book is full.
- Match mesh count to the level of detail and ink body
- Use ink suitable for the tube material and end use
- Keep reclaimed screens clean and fully checked before reuse
- Label screens by size, artwork and substrate type
Machine setup, fixtures and pressure control
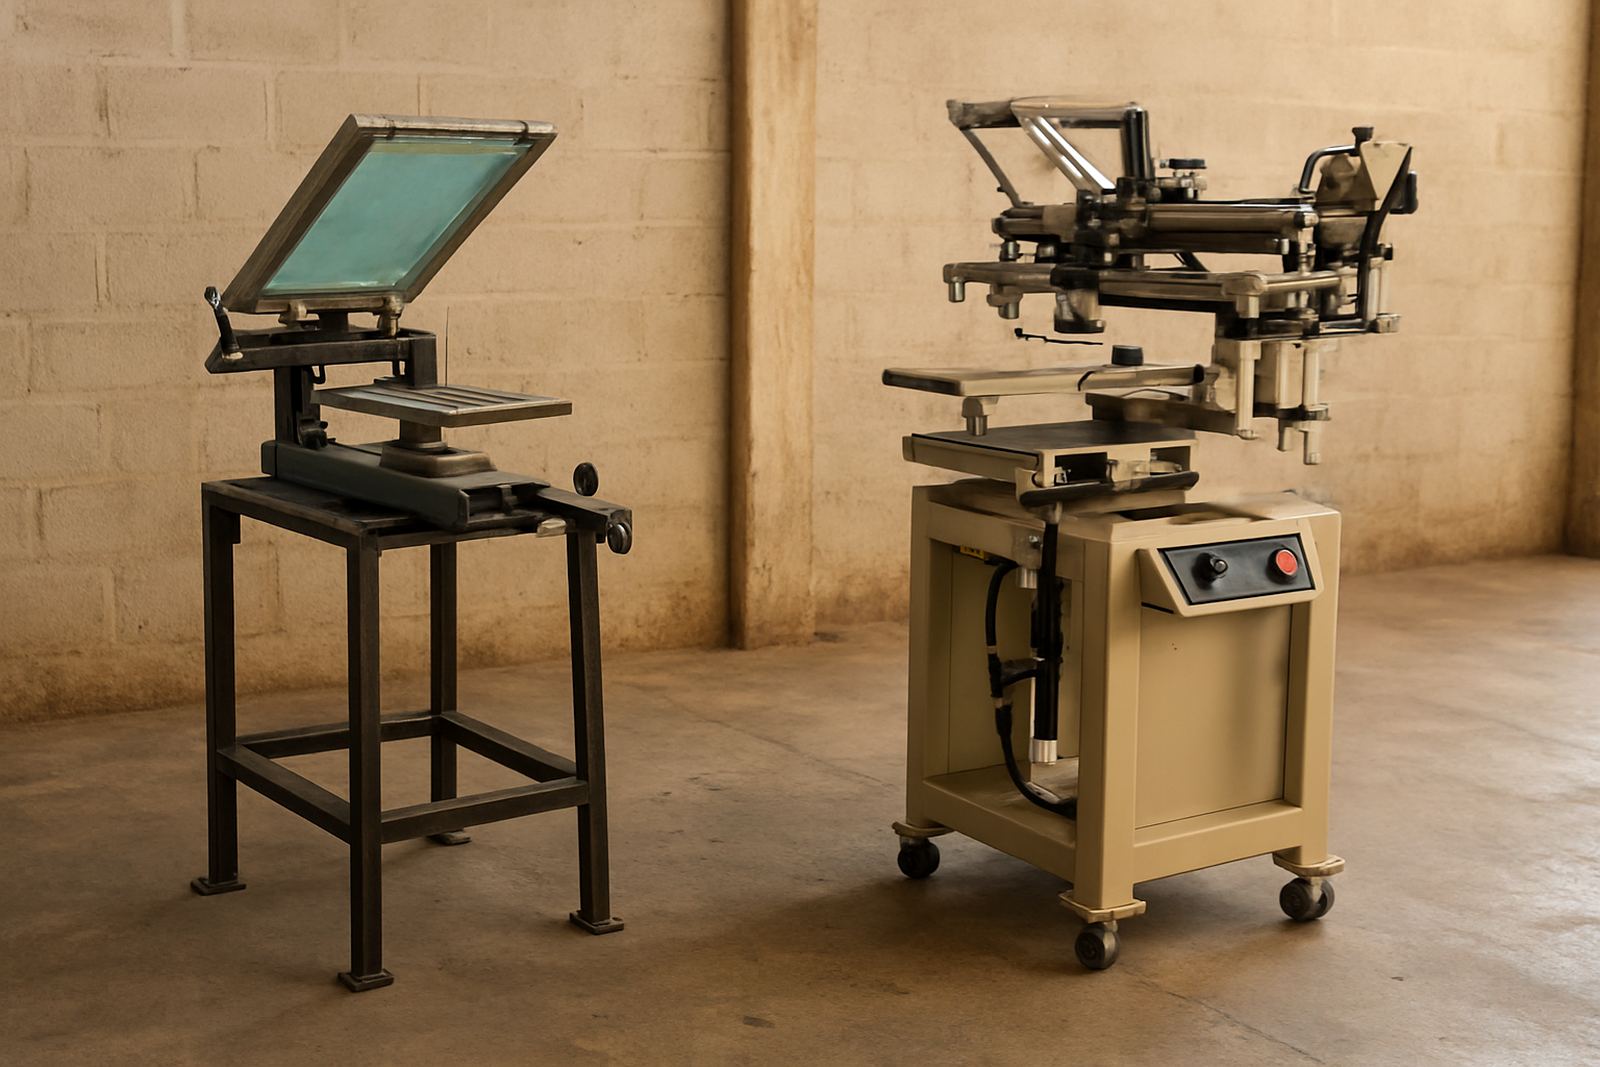
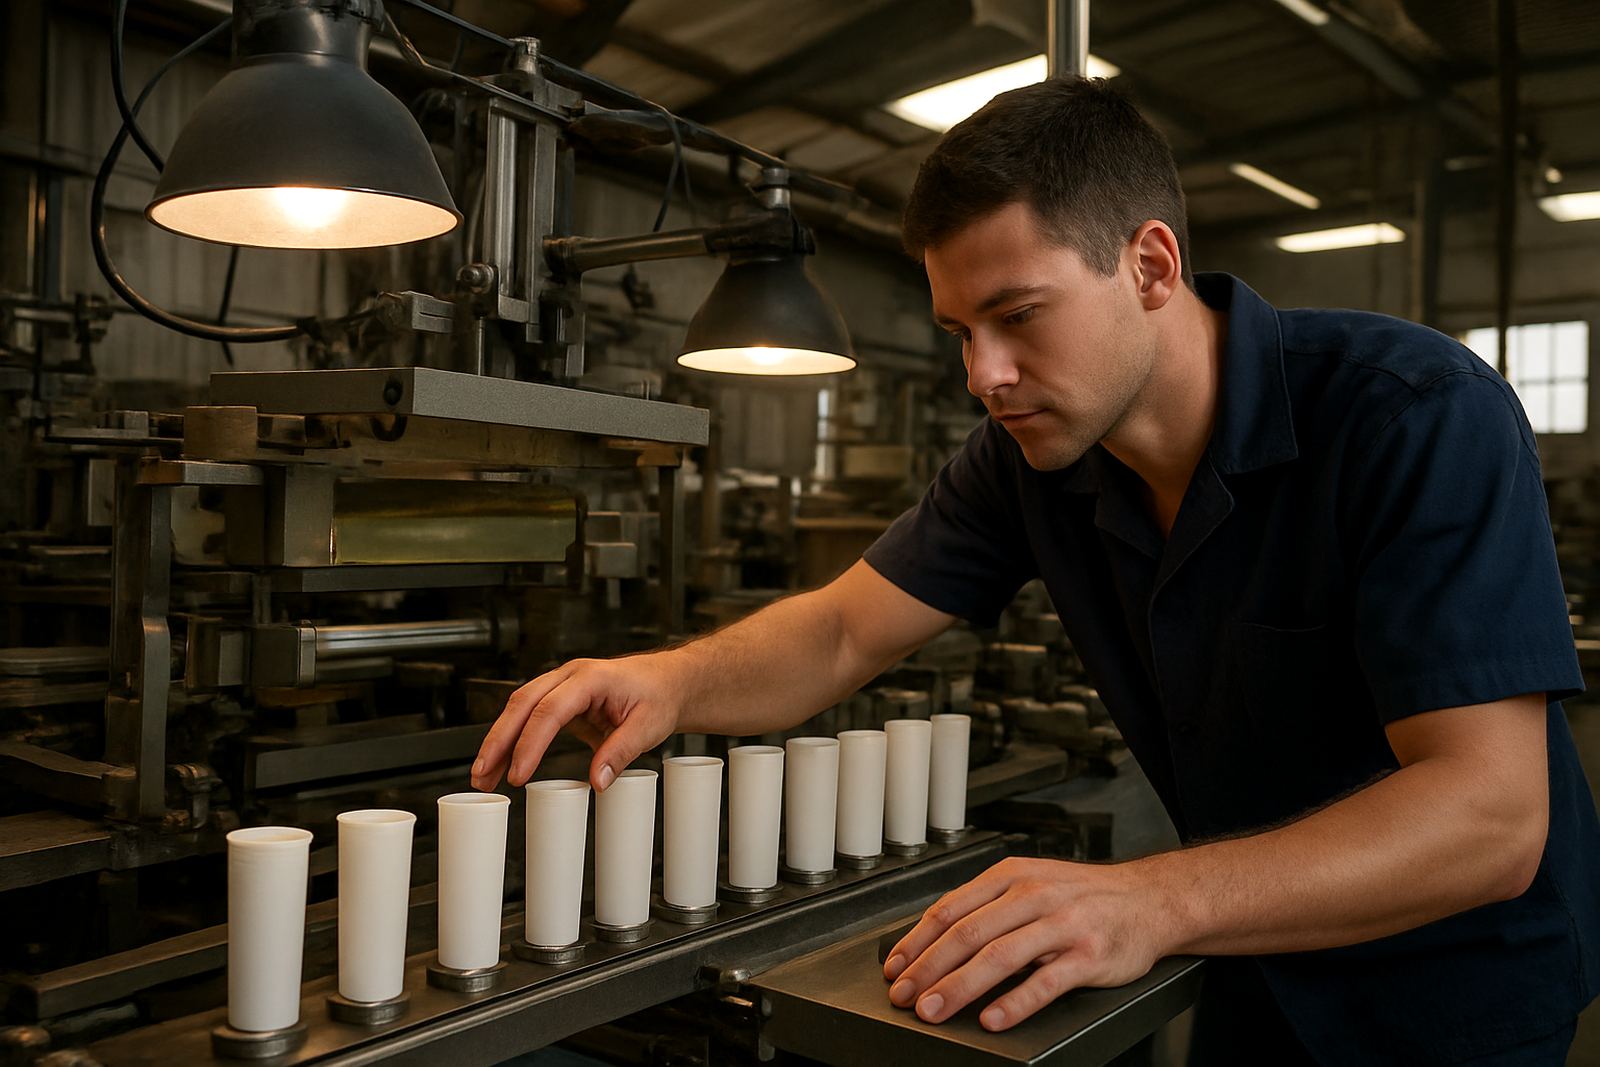
On a tube line, the fixture does as much work as the print head. If the support points are uneven, the tube twists and the image moves out of register. A sound setup keeps the tube centred, the print stroke stable, and the squeegee pressure light enough to avoid crushing flexible stock. That is where installation, operator training and test runs matter. A machine can be technically sound and still underperform if the feed and clamp settings are wrong.
For businesses in Johannesburg South, Midrand or Pretoria running mixed production, changeovers must be quick and repeatable. Mark the settings for each tube size, note the ideal speed and record the best pressure range after trial prints. A small change in clamp position can mean the difference between crisp wraparound copy and a blurred edge. Even a good machine will struggle if the operator is forced to improvise every time there is a new order.
- Set the tube support so the pack stays centred through the full stroke
- Use the lightest pressure that still transfers solid ink coverage
- Record working settings for each tube diameter and length
- Check the fixture for wear if registration starts drifting
Drying, curing and handling after print
Printed tubes are often handled again very soon after the print station, so drying or curing must be reliable. If the ink is still soft when tubes move into trays or cartons, scuff marks and blocking will follow. In load shedding conditions, many plants also have to manage power interruptions during production which can affect drying times and line speed. It is better to slow the process slightly and keep the finish stable than to push volume and lose stock later.
Once cured, tubes should cool before packing and should not be stacked too tightly. If cartons are closed while the packs are warm, the prints may mark against each other. This is a common issue in summer or in production rooms with poor airflow. A little extra spacing and a proper cooling step can save a full batch from rework.
- Confirm that prints are dry before transfer to packing
- Allow cooling time before cartons are closed
- Watch for blocking in warm rooms or during humid weather
- Test rub resistance before the order leaves the floor
A Johannesburg example: from sample tube to stable run
A cosmetics packer in Aeroton recently needed a print on a soft 35 mm tube for a daily-use cream. The first samples looked fine on the bench but the logo stretched near the shoulder and the batch code became hard to read. The issue was not the artwork alone. The clamp pressure was slightly high, the screen tension had dropped, and the tube was flexing more than expected under the stroke. After a new setup, a cleaner screen, and a few test prints the run stabilised and waste dropped sharply.
That kind of job is common across Gauteng and beyond. Whether the order is for a boutique brand in Cape Town or a contract packer in Durban, tube printing rewards careful setup more than guesswork. The best results come from measured samples, steady operator habits and support that keeps the line running when a problem shows up mid-shift.
If you are printing on tubes and want help with machine installation, screen making, maintenance or production training, it is worth getting the line checked before the next big order lands.
When to get help before scrap starts climbing
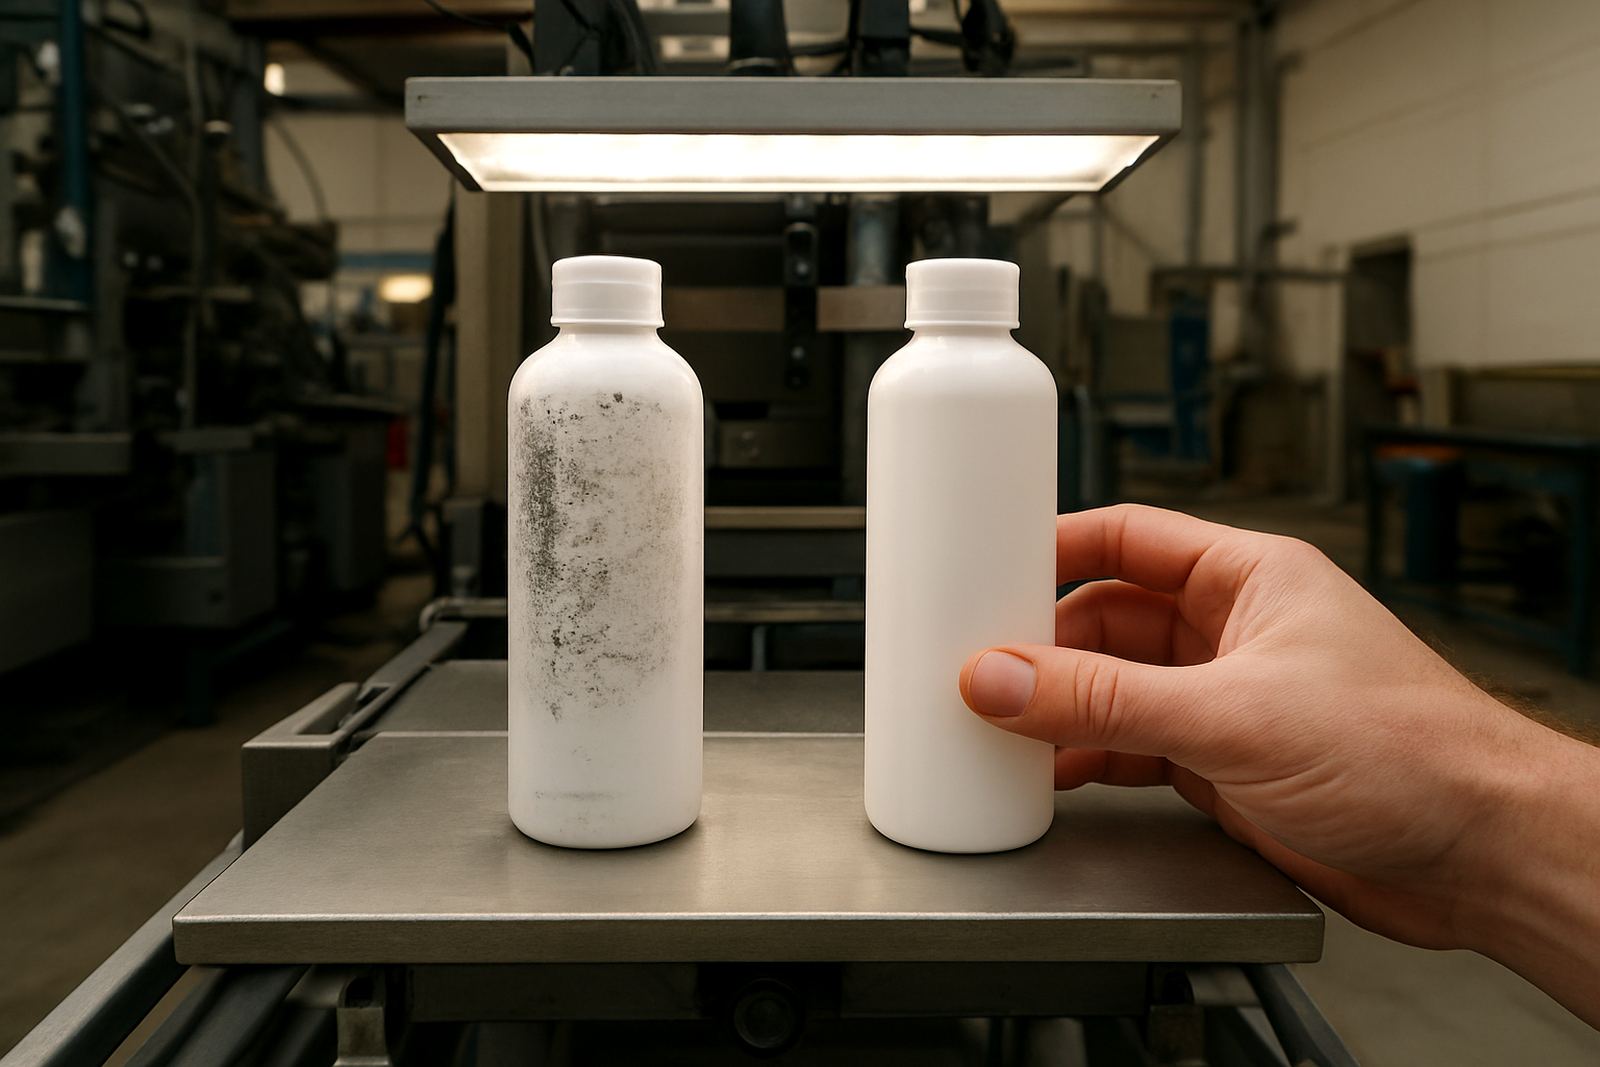
Tube printing problems usually show up as one of three things: image drift, poor ink transfer, or surface damage after print. When all three appear at once, the line needs a proper check rather than a quick tweak. Preventive maintenance helps keep the machine aligned, the screens in condition, and the operator confident. It also protects output when orders come in from different towns and deadlines are tight.
For teams that print tubes every week, a planned service visit can be cheaper than repeated rework. Check the fixtures, replace worn parts, verify registration, and confirm that the ink setup still suits the current tube stock. If production is split across more than one shift, make sure each operator is using the same settings and not relying on memory.
- Book a service if prints drift from one batch to the next
- Review settings after any tube supplier or material change
- Refresh operator training when new staff join the line
- Keep spares on hand for the parts that wear fastest