Why curing time changes from one job to the next
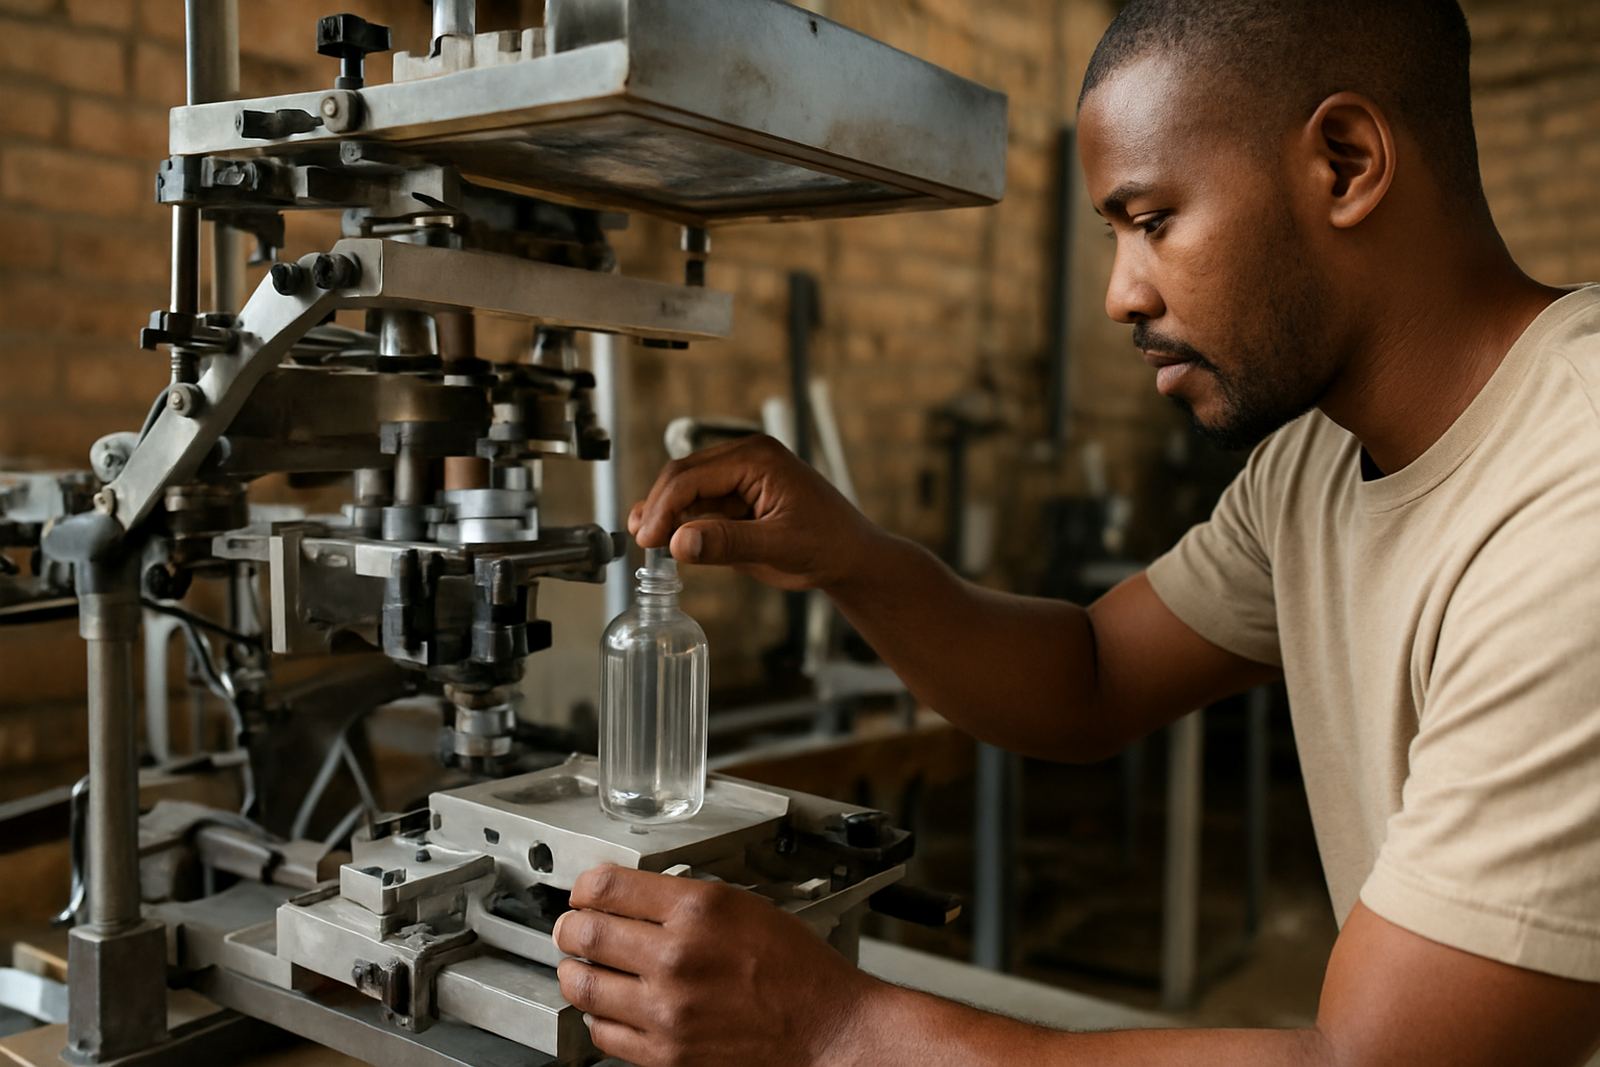
On cylindrical printing jobs, curing time shifts because the print is never the same twice. A thin one-colour mark on a smooth plastic bottle will dry very differently from a thick, multi-colour job on a coated aluminium tube. The surface shape, ink deposit and oven settings all work together.
In Johannesburg workshops, dry winter air can help flash-off but the same job may behave differently in Durban where humidity hangs around. If you are printing for take-away cups, cosmetics tubes or sports bottles, the cure has to match the material and the end use, not just the clock.
- Thin ink films cure faster than heavy deposits.
- Non-porous plastics usually need stricter heat control.
- Humidity, airflow and room temperature all affect drying speed.
Heat transfer is more important than air temperature alone
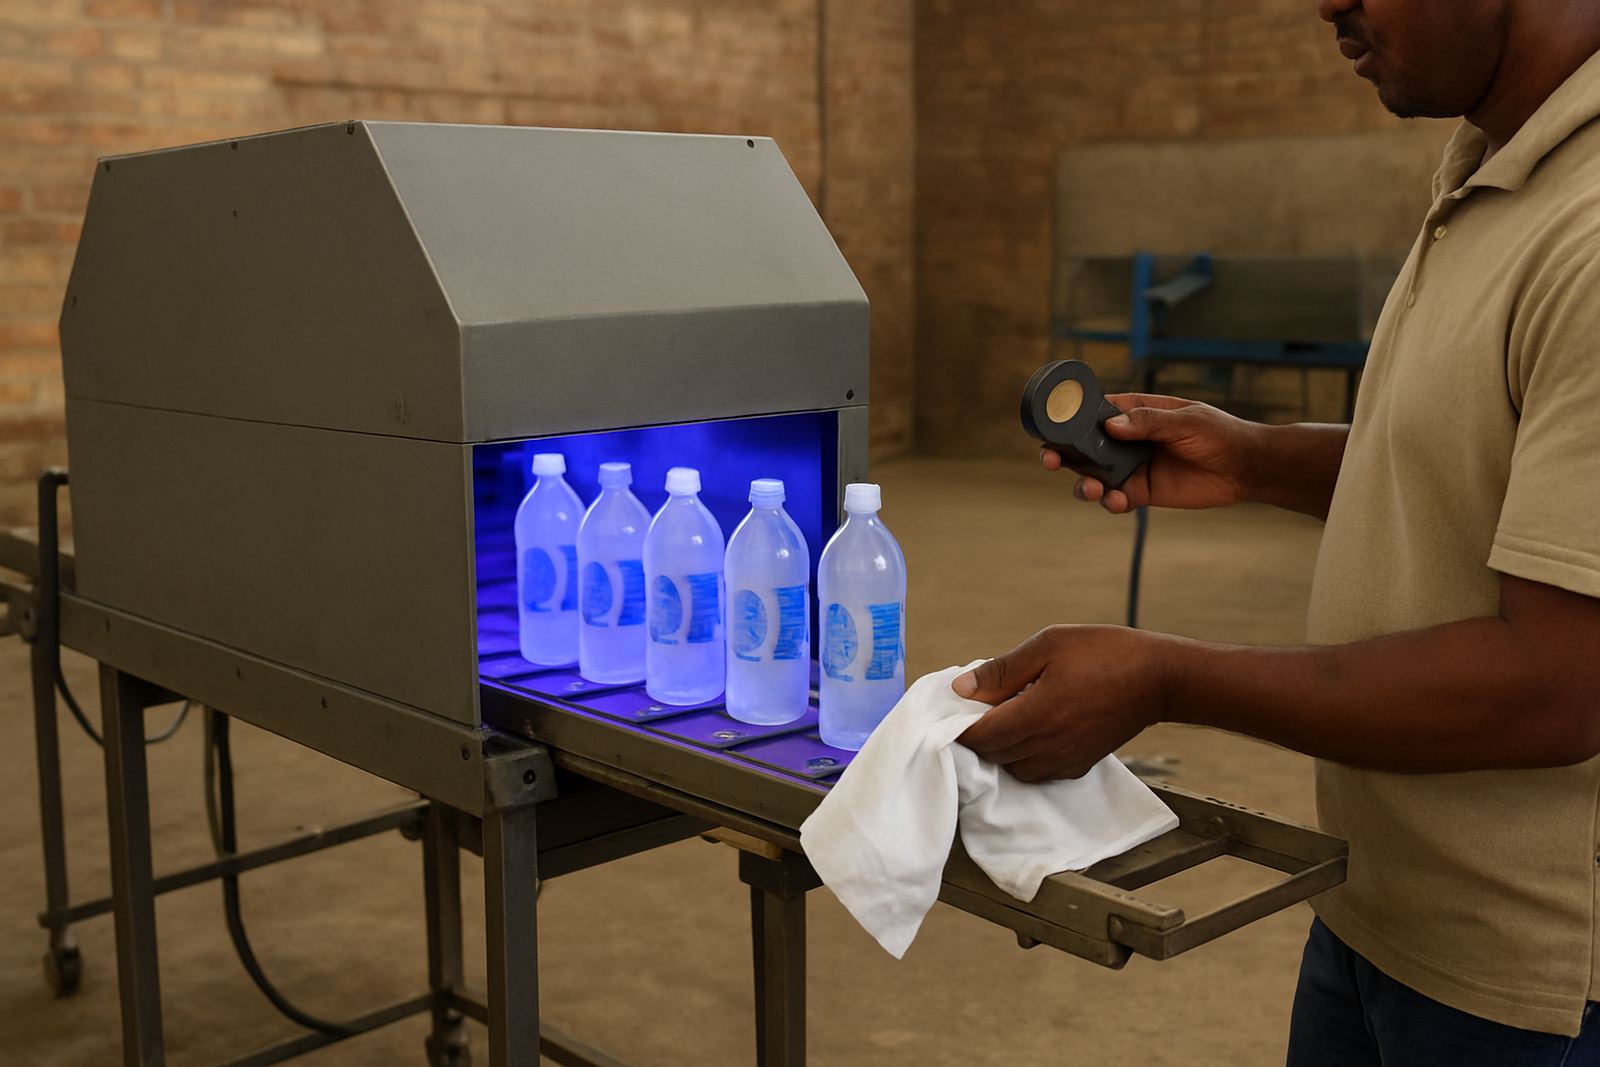
Many printers focus only on the oven number, but what matters is how much heat reaches the printed surface. A tunnel or curing unit may show the right air temperature while the bottle body stays too cool, especially on thick walls or double-layer drinkware.
For good durability, the ink must reach the full cure point through the whole print layer. If the outer skin dries too fast and traps solvent underneath, the print may look fine on day one then scratch, soften or lift later. That problem shows up often when operators rush production after load shedding and restart too soon.
- Check actual substrate temperature, not only oven air temperature.
- Allow warm-up time after power interruptions.
- Keep load sizes consistent so heat stays even across the run.
Ink type, reducer and film thickness all change cure speed
Every screen-printing ink has its own drying behaviour. Some are built for quick flash-off, others are slower and need longer dwell time. Add too much reducer and the ink may stay open longer. Lay down too much ink and curing takes longer as well.
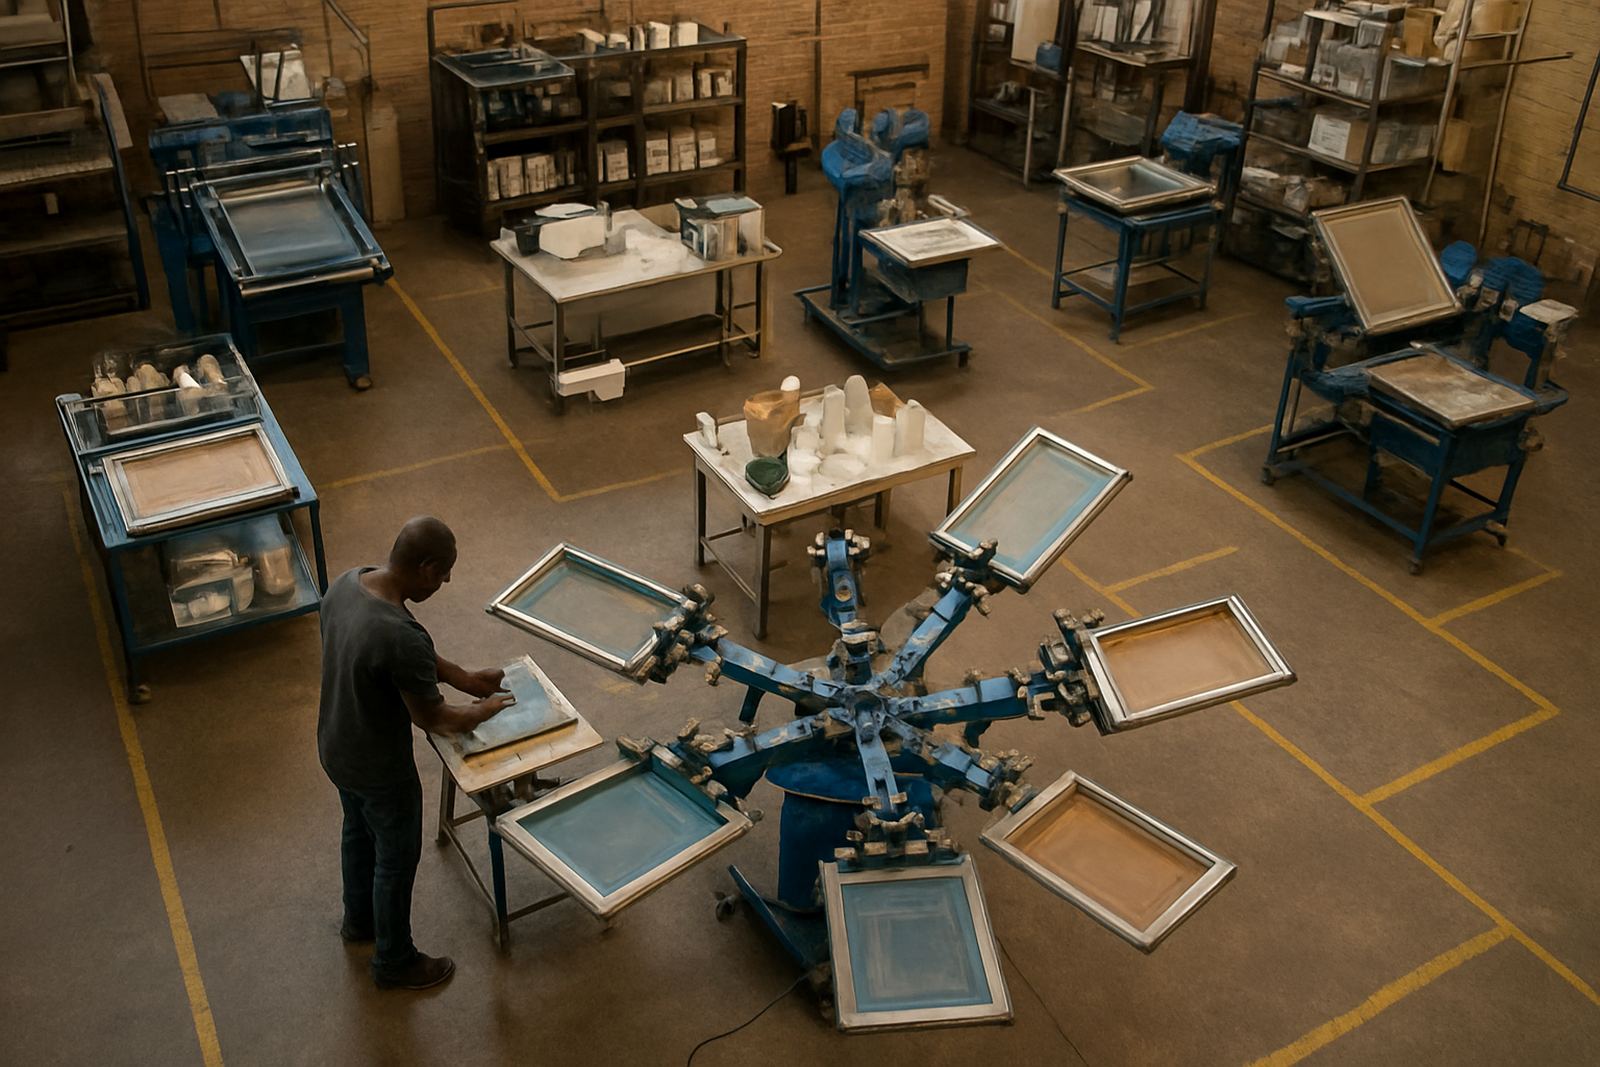
For cylindrical work, the mesh count and stencil thickness matter because they control how much ink reaches the bottle or tube. A coarse screen can push down a heavy deposit that looks rich in colour but needs more heat and time. Fine detail with controlled ink volume often cures more reliably, especially on short runs where repeatability matters.
- Match the ink to the substrate and the intended use.
- Keep reducer additions measured, not guessed.
- Use a consistent mesh and stencil thickness for repeat work.
Bottle material decides how quickly prints lock in
Glass, PET, polypropylene and coated metal all behave differently. Glass can handle more heat but needs stable handling to avoid scuffing after cure. PET and some plastics can distort or shrink if the temperature climbs too high. Coated tubes may cure well, yet the coating itself can react badly if the oven profile is too aggressive.
This is where production staff need proper setup help. If the substrate softens before the print has set, the image can creep or lose edge definition. If the cure is too cool, the print may pass handling but fail after washing or courier abrasion. That is why sample testing is worth the time, even on smaller orders.
- Test a sample before full production starts.
- Record the safest temperature range for each material.
- Watch for warping, gloss change or surface softening.
Airflow and room conditions matter more than many shops think
Good airflow helps remove solvents and move warm air across the full cylindrical surface. Poor airflow leaves cold spots, and cold spots leave weak cure. In a small Aeroton production room, a packed drying area with no air movement can slow the whole line down even if the curing unit is set correctly.
Humidity also affects surface drying. In coastal areas like Durban or Cape Town, a print can feel tacky for longer than the same job in Pretoria. That does not mean the ink is faulty. It means the curing window has to be adjusted for local conditions and the shop layout.
- Keep drying zones clear of stacked stock.
- Use direct airflow across the product path, not just near the machine.
- Adjust cure times during humid or very cold weather.
Handling after cure can damage an otherwise good print
Some print defects are blamed on curing when the real issue happens afterwards. A bottle that is still warm can mark easily if it is packed too soon. Newly cured cups can scuff when trays are overfilled. Tubes can rub against each other if they are moved into cartons before the surface has settled fully.
For shops sending stock nationwide, this step is critical. A run that leaves Johannesburg looking fine can arrive in Midrand or Cape Town with handling marks if the product was packed hot. Give the print enough time to cool and stabilise before stacking, sleeving or shrink-wrapping.
- Cool products before packing or shrink-wrapping.
- Avoid tight stacking straight after cure.
- Protect the surface from abrasion during transport.
A practical Gauteng example for steadier results
A small distributor in Johannesburg South printing 500 branded water bottles for a school event may be working against a tight deadline. If the shop switches between materials, one batch might be PET and the next a coated metal bottle. When the operator uses the same cure setting for both, the first batch can deform and the second batch can stay under-cured.
The better approach is to log settings for each job: ink mix, mesh count, cure temperature, dwell time and cooling time. After two or three repeat runs, the team can see exactly what works. That reduces rework, saves spares and keeps the line moving even when power cuts interrupt the day. A small record book does not sound fancy, but it saves money.
- Write down settings for each substrate and ink combination.
- Review failed prints for heat, handling or ink load issues.
- Use the same checklist across Aeroton, Pretoria and Durban installs.