Start with a straight product path
The best layout is usually the simplest one. Material should move in one direction from receiving to screen making, then to printing, curing, inspection and packing. When operators do not double back through the room, they spend less time carrying parts and more time producing work.
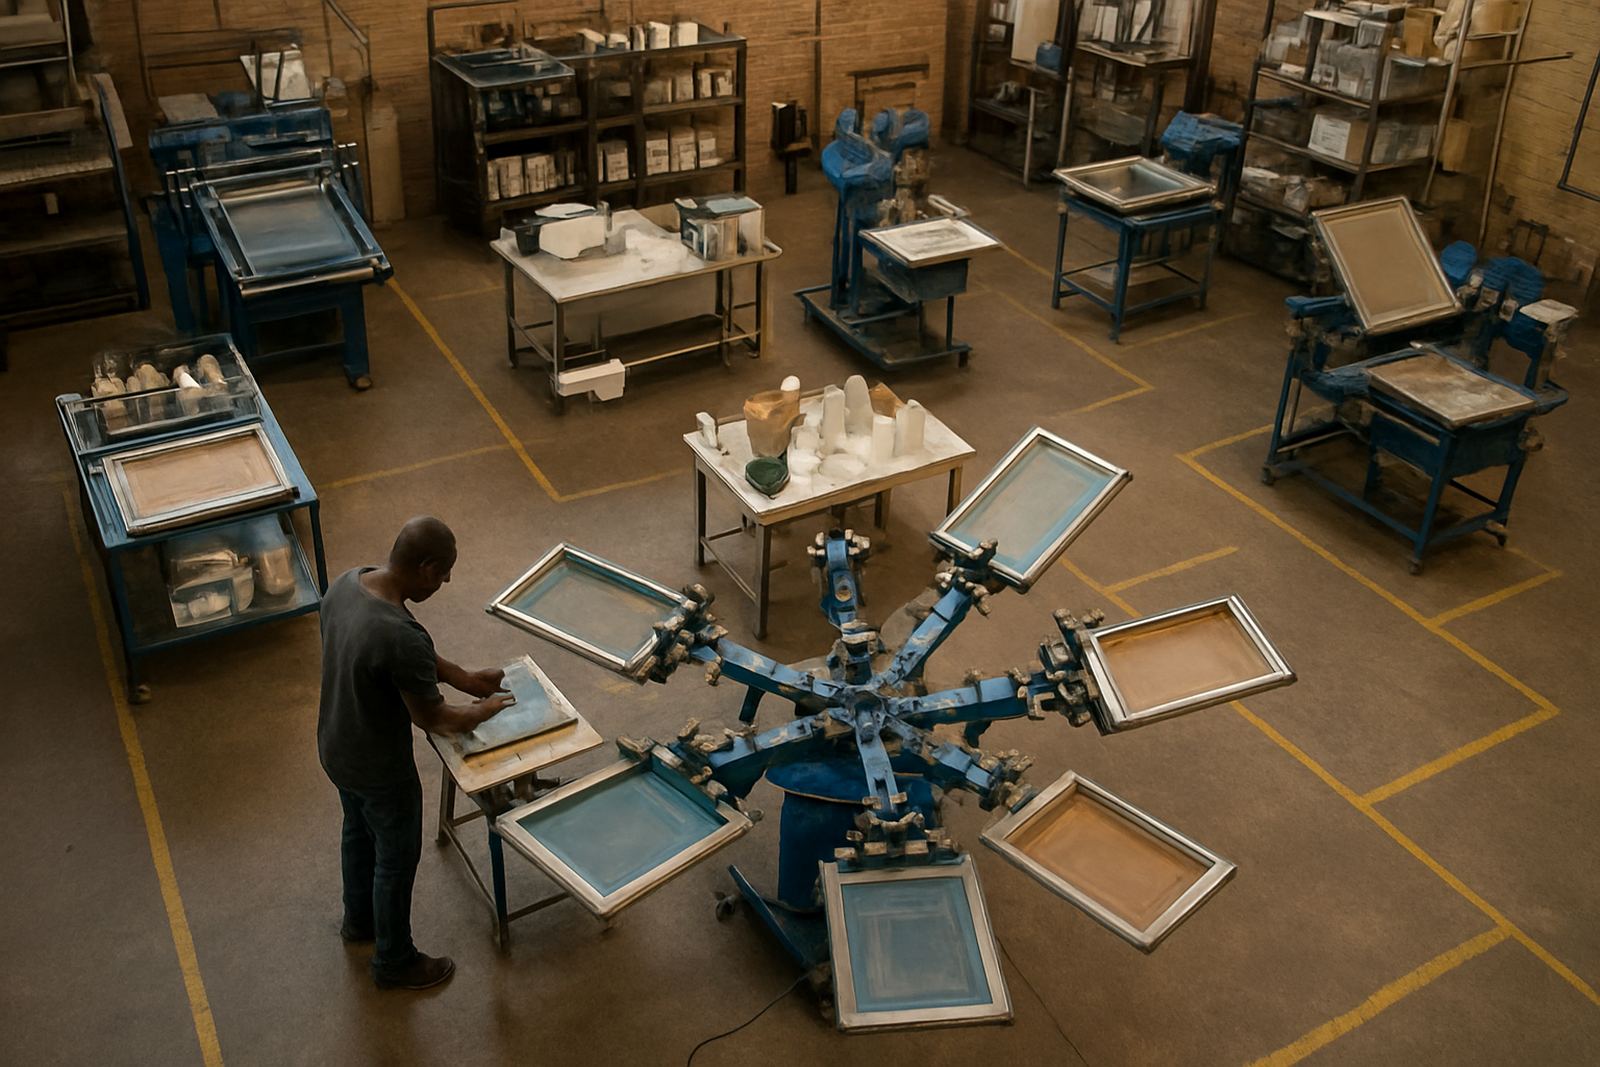
In a cylindrical print room, the main aim is to keep bottles, cups and tubes moving without crossings in the aisle. Place the screen making area near the art and prep table, then set the printer close to the curing or drying zone. If the job needs multiple colours, keep changeover space close by so screens can be swapped without blocking the line.
- Keep raw stock near the receiving door
- Put finished goods near the packing exit
- Leave a clear centre aisle of at least 1.2 metres where possible
- Avoid placing cooling fans or heaters where they push dust into wet prints
Give each task its own zone
A workshop works better when each task has a defined place. Mixing screens, reclaiming, setup and printing all have different needs and should not happen on top of one another. When wet work and dirty work share the same bench, screens get scratched, ink picks up dust and people waste time looking for tools.
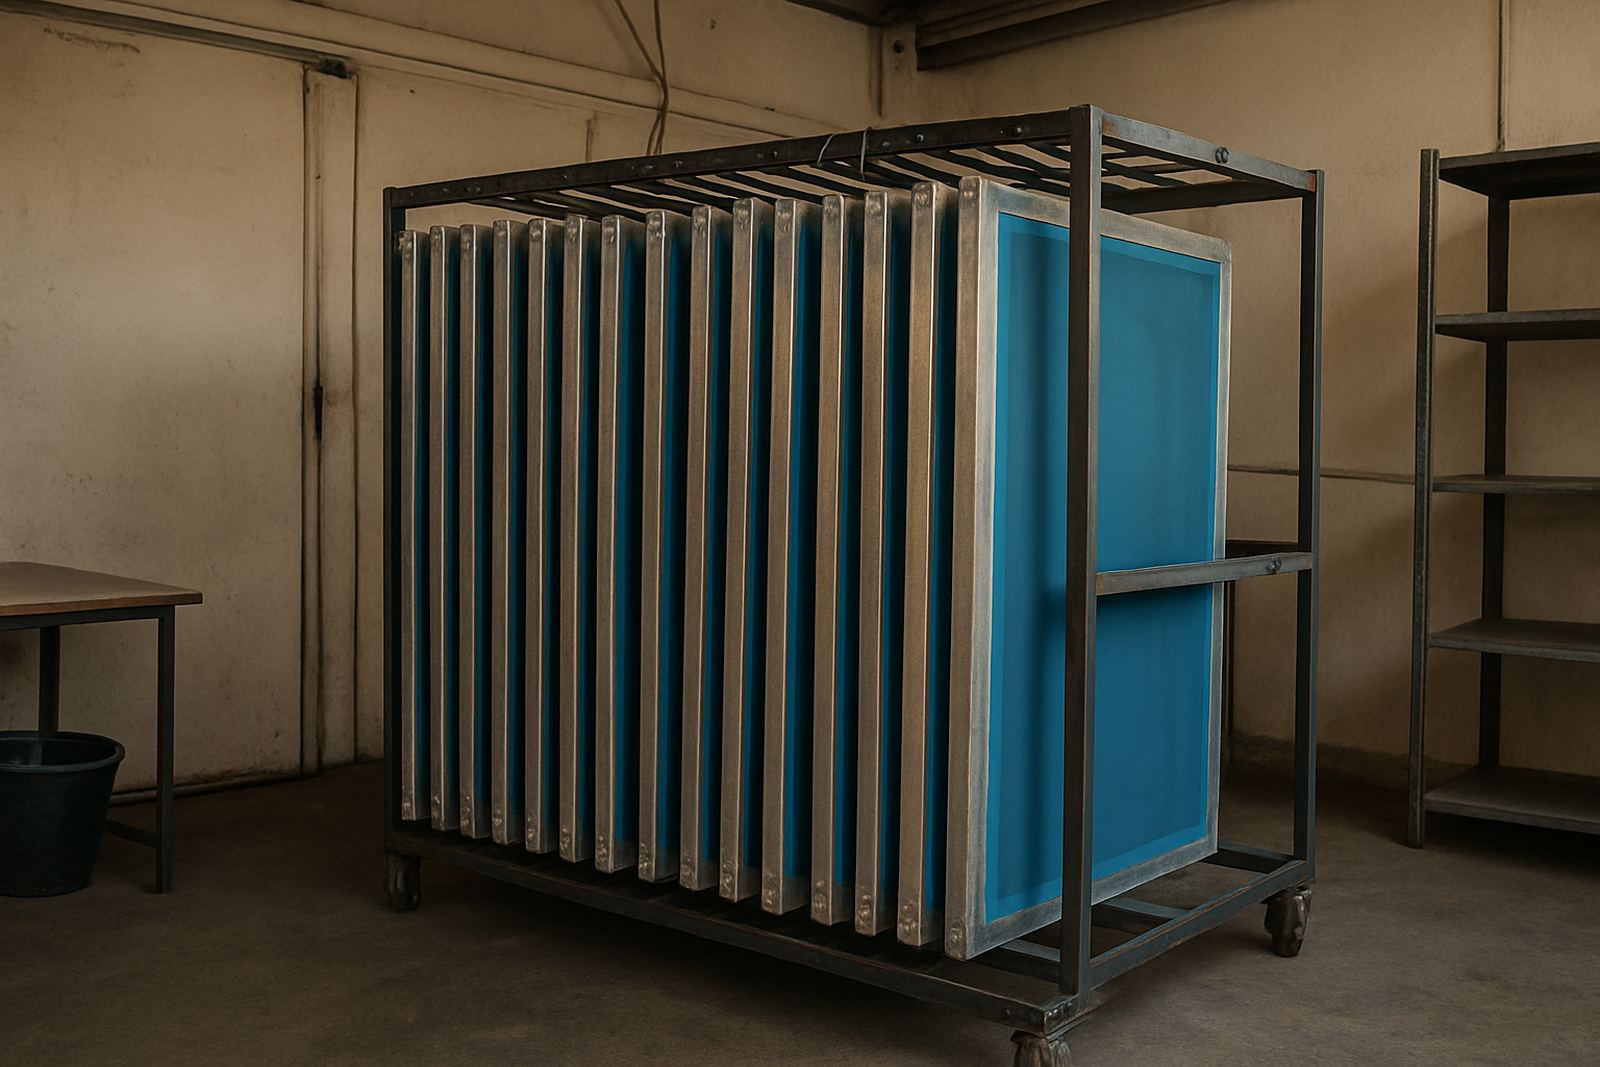
For smaller print rooms in Johannesburg South or Midrand, one machine can still be organised into zones using marked floor space and wall storage. A reclaiming corner needs water access and drain control. A setup bench needs lighting and a flat surface. Finished screens should be stored upright and labelled, not stacked on the floor where they bend or collect grit.
- Wet side: reclaiming, washing and drying
- Clean side: screen prep, artwork and setup
- Print side: machine, jigs and colour checks
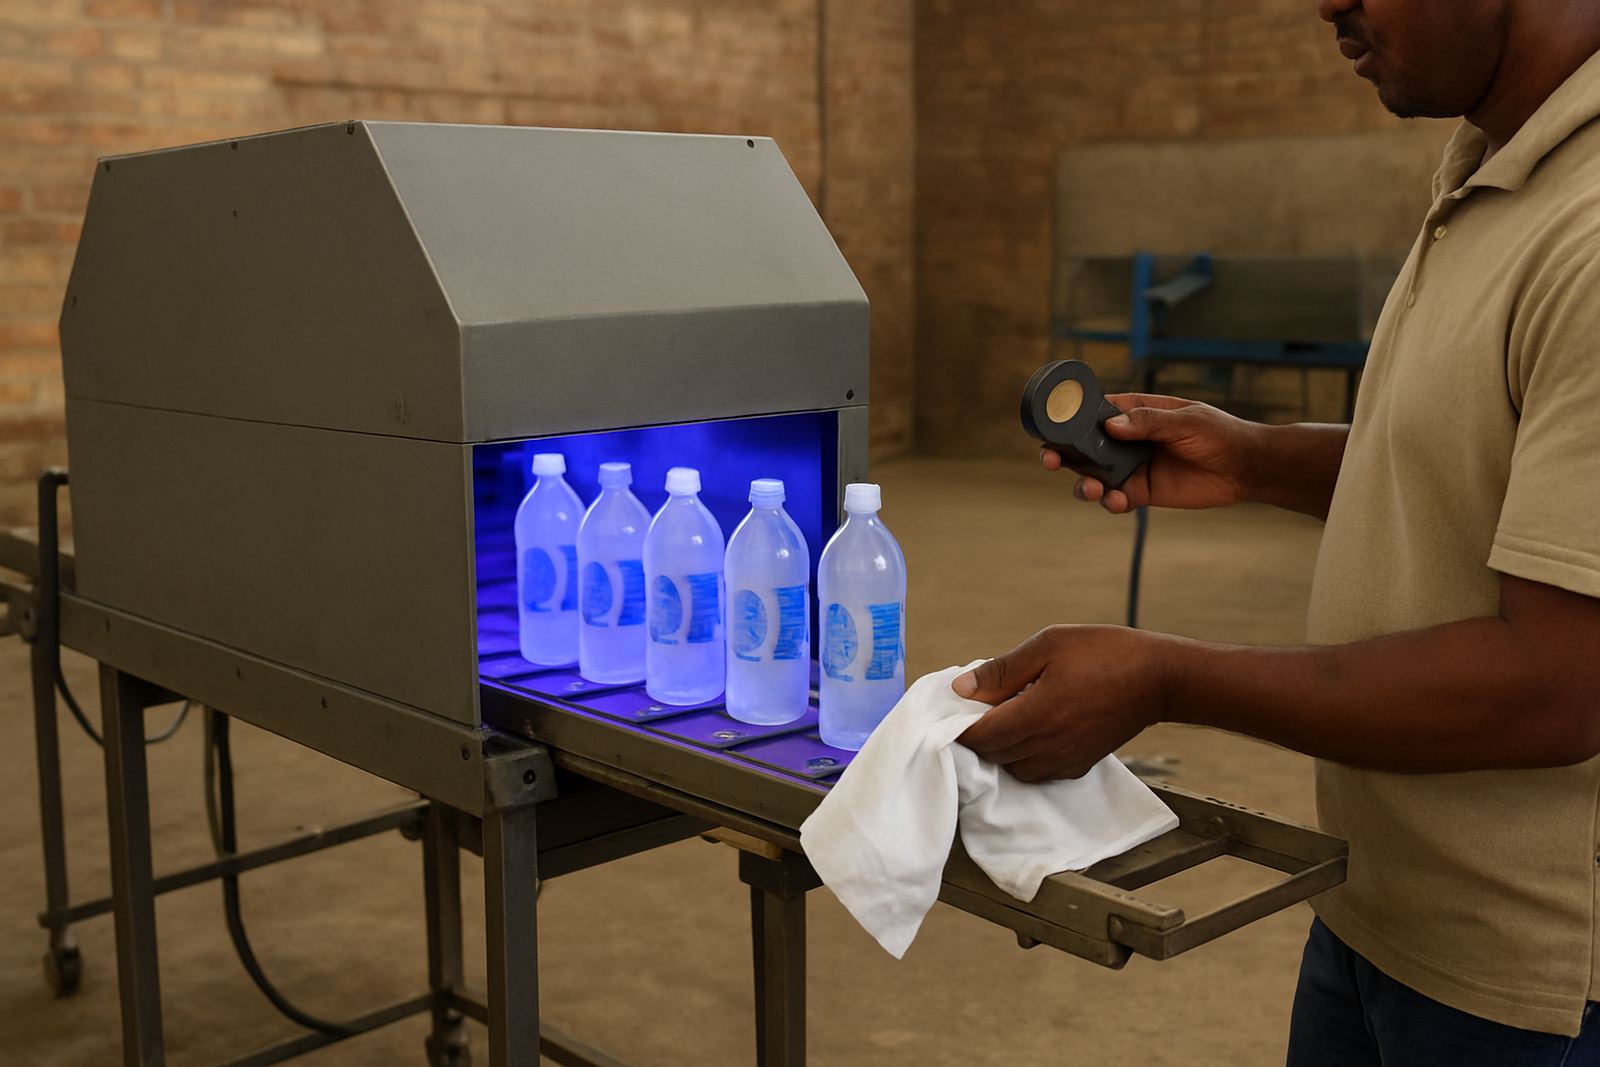
- Finish side: curing, inspection and packing
Plan for load-shedding and backup power
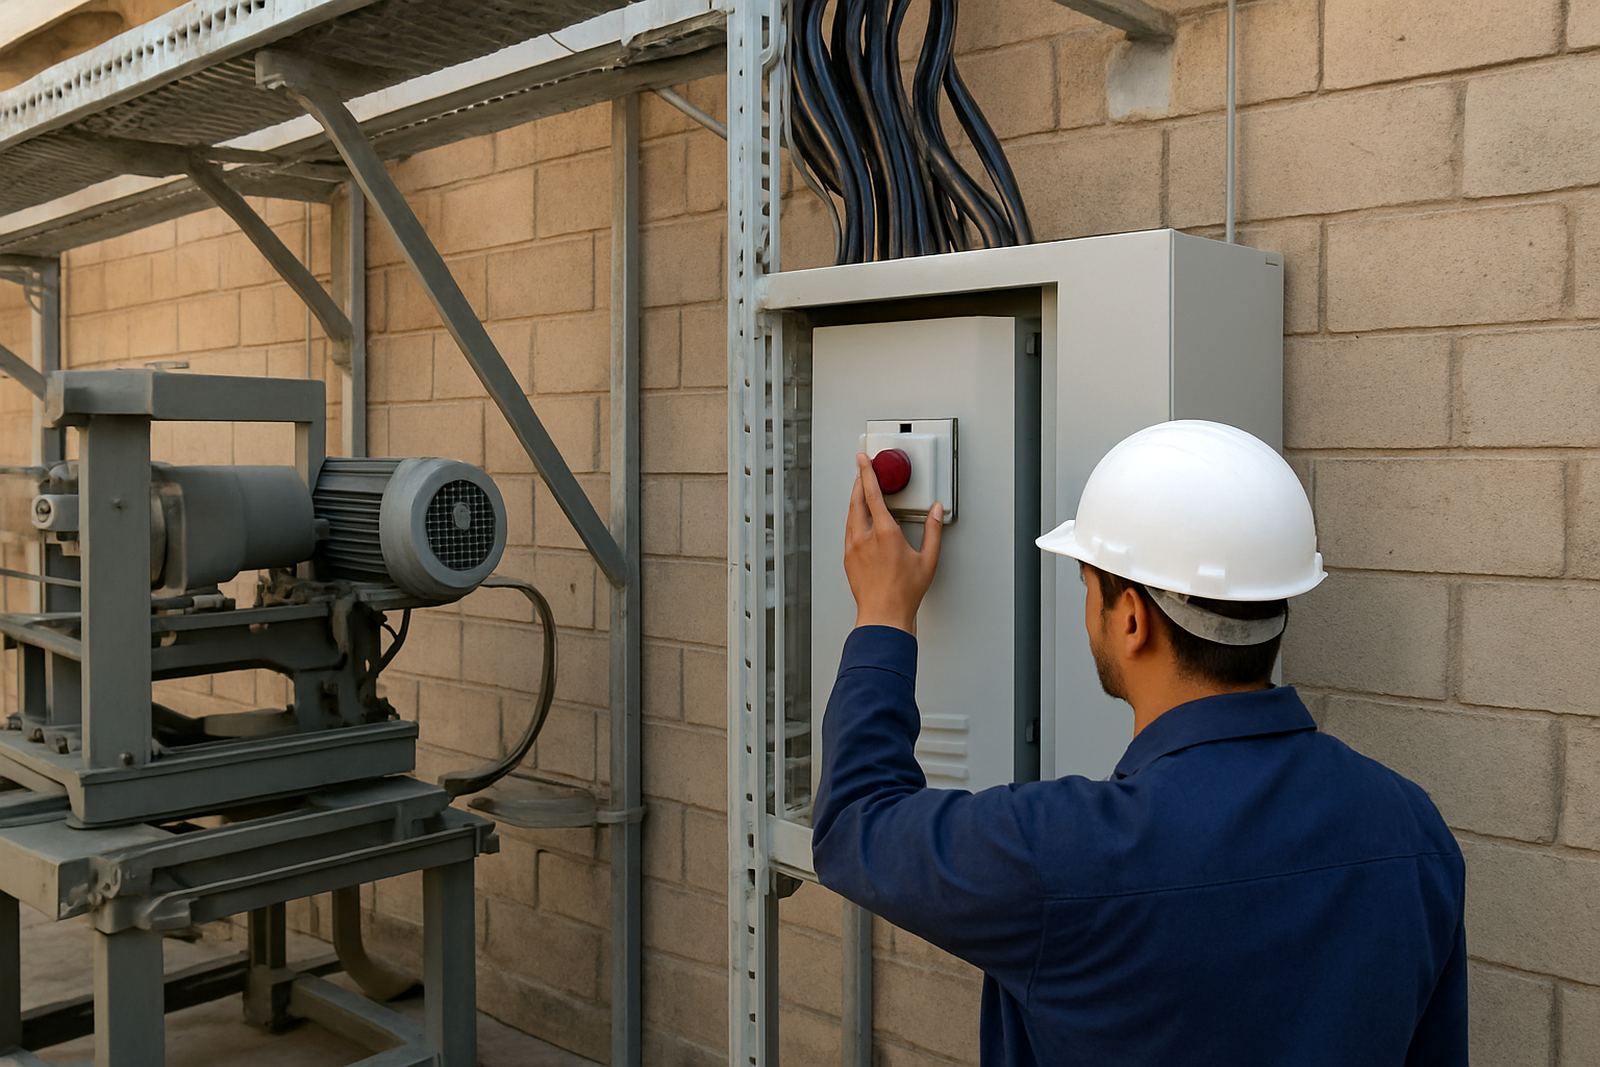
In South Africa a layout must also handle power interruptions. If load-shedding hits during a run, the team should be able to stop safely, protect work in progress and restart without confusion. That means good access to switchgear, backup lighting and enough space to move around the machine if power drops mid-job.
Keep the electrical area dry and separate from washing or screen reclaiming. Extension leads across walkways are a trip hazard, so fixed points for plugs and chargers are better. Where backup power is used, place the unit where heat and fumes can dissipate properly and where maintenance teams can reach it without moving stock. In a busy shop this kind of planning saves a lot of time, and stress too.
- Install emergency lighting near exits and machines
- Keep control panels visible and easy to reach
- Store spare bulbs, fuses and small tools in one labelled cabinet
- Mark a safe shutdown point for every operator
Use height and wall space properly
Many workshops in places like Aeroton, Pretoria and Durban are short on floor space but have enough wall height to improve storage. Screens, frames, sleeves, jigs and spare parts can be stored vertically or on rack systems instead of taking over the floor. That keeps walkways open and reduces accidental damage.
Wall hooks, shelf bins and labelled racks work well when they are placed within arm’s reach of the machine. Heavy items should sit between knee and shoulder height, not up high where they can fall or below waist level where bending becomes a daily strain. A tidy wall also helps supervisors see what is missing before a job is delayed.
- Use vertical storage for screens and frames
- Keep daily-use tools within 1 to 1.5 metres of the printer
- Separate spares from scrap so nobody grabs the wrong part
- Label every shelf by size, colour or machine use
Design around people, not only machines
A layout can look neat on paper and still be hard to work in. Operators need room to load bottles, check registration and clean up without twisting around corners. Training also goes smoother when each person can stand in one place and see the next step clearly.
In a good setup, the most used items are closest to the operator and the least used items are further away. That includes squeegees, measuring tools, cloths and screen cleaning supplies. If more than one person works in the room, make sure there is space for two operators to pass without bumping into each other. It sounds small, but it cuts mistakes and keeps the pace steady.
- Measure reach zones before moving furniture or machines
- Keep walking routes free from ink buckets and packaging waste
- Place instruction sheets where operators can see them at a glance
- Make space for training a new operator without stopping production
Check airflow, cleaning and humidity
South African print rooms often deal with dust, heat and coastal humidity all in the same week. Cape Town and Durban workshops may need better airflow for drying, while inland rooms may battle dust from open doors or loading bays. Layout should support cleaning so the room can be swept, washed and checked quickly at the end of each shift.
Choose floor finishes and storage that can handle spill control and frequent cleaning. Keep inks and chemicals away from direct sun and make sure cleaning cloths, brushes and waste containers are not tucked behind machines where they gather dirt. A room that is easy to clean is usually easier to manage, and operators take more care when the space is organised.
For Bottle Screen Printers clients, good layout often starts with one practical question: can a person walk the whole job from start to finish without crossing themselves? If the answer is no, the room probably needs a rethink.
A local example from Aeroton
A plastics decorator in Aeroton was running bottle jobs in a room where screens were kept on one side, the printer was in the middle, and packing was across the passage. Operators spent time walking around trolleys and finished work often sat beside the machine while the next batch waited. After the layout was changed, screens moved closer to setup, packing shifted near the exit and the wash area was separated from clean stock.
The result was not fancy, just practical. Changeovers were quicker, the team stopped crowding the machine and stock count became easier because everything had a home. For a workshop handling repeat runs and short lead times, that kind of organisation can make the difference between keeping up and falling behind.
Thabo Mokoena and the Bottle Screen Printers team often see that the fastest gains come from the room itself before any new equipment is added. A better layout lowers risk, supports training and gives the machine a fair chance to perform properly.