What pinholes and voids really tell you
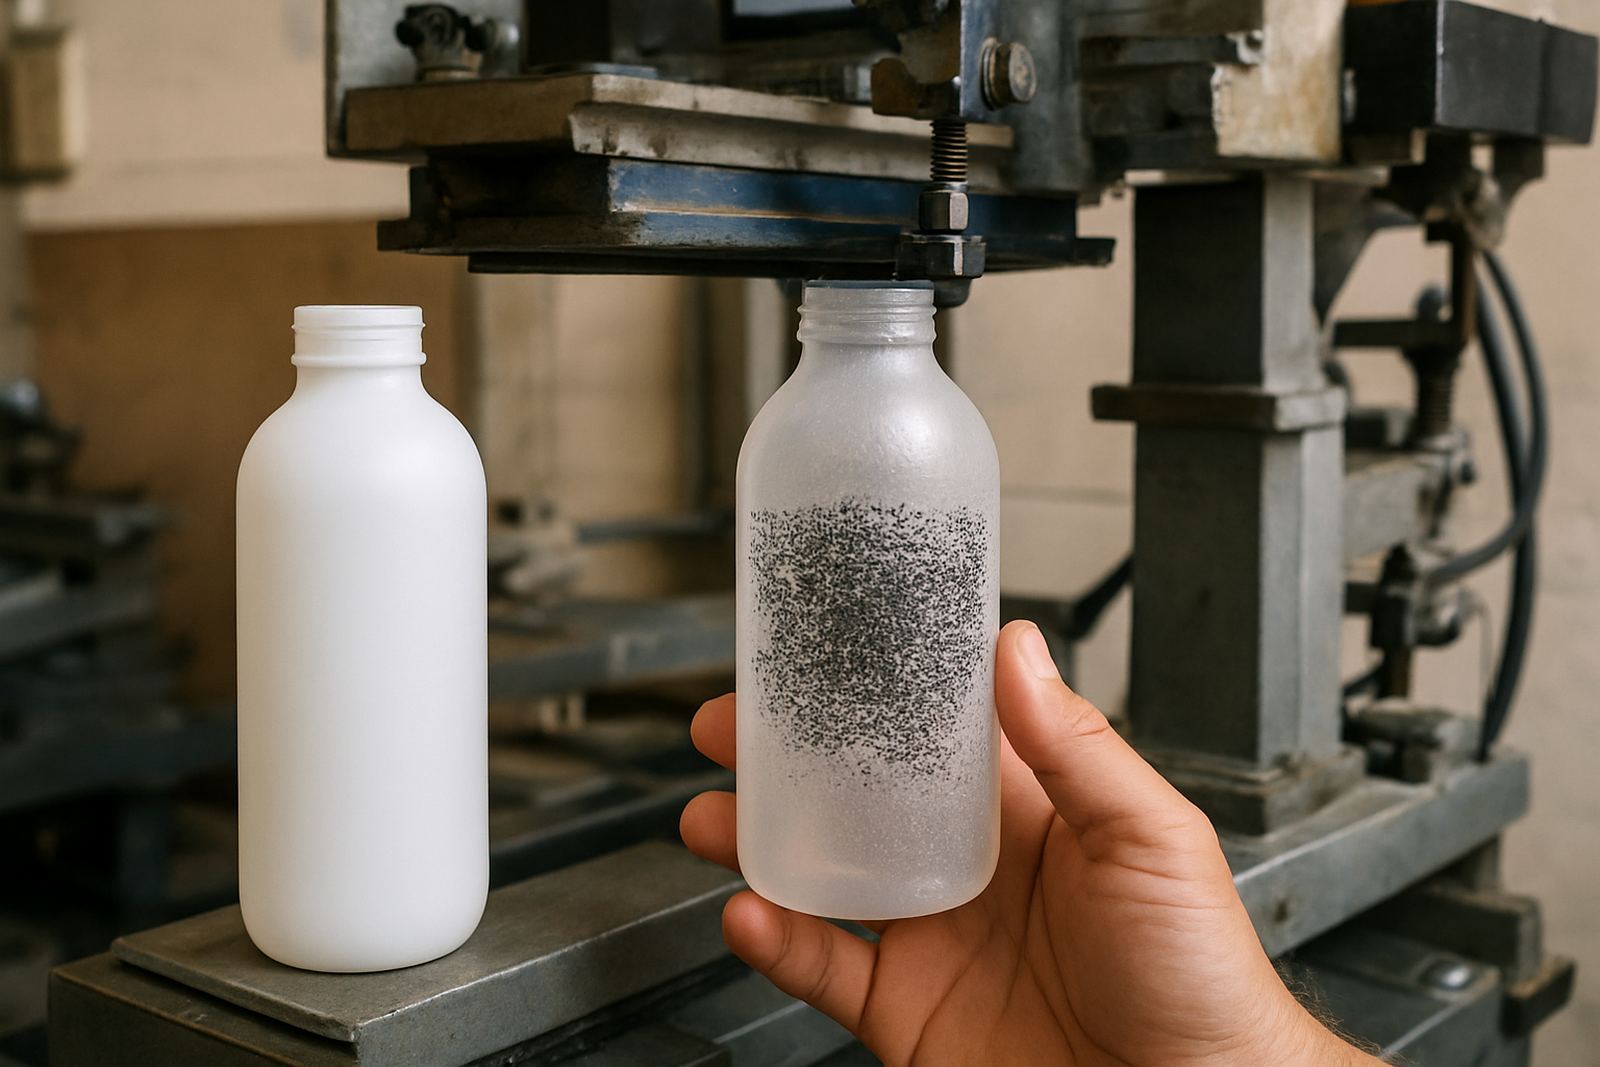
Pinholes and voids show up as tiny clear spots where ink should have sat down cleanly. On bottles, cups and tubes, they are easy to spot under light because the fault breaks the print finish and leaves a rough, patchy look. In many jobs the issue is not one big failure, but a mix of small problems that build up over a run.
The first step is to identify whether the gaps are random or repeating. Random voids often point to dust, poor screen contact or a coating issue. Repeating dots or lines usually suggest a mesh problem, blocked stencil, worn squeegee edge or a set-up fault on the machine. If the same marks appear every few prints, stop and inspect before wasting more product.
On short runs it can be tempting to keep going and sort it later. That normally costs more in rework, especially on curved containers where alignment and film thickness matter. A proper response is to check the screen, ink and substrate together, then record what changed since the last good job.
Common causes in South African print shops
Dust is a major cause, especially in Gauteng when floors and packing areas carry fine grit. A small amount of powder on a bottle or tube can hold the ink off the surface and leave a clear dot. In Durban and other coastal areas, moisture can also change drying behaviour and make contaminants stick to the substrate more easily. With plastics, static can pull in lint and light debris faster than many teams expect.
Screen prep faults are another common source. If the emulsion is not fully cured, has pinholes of its own, or was reclaimed badly, those marks transfer straight into the print. Poor mesh tension, damage at the frame edges, and underexposure all affect how cleanly the stencil blocks the ink. On cylindrical jobs, a screen that is not matched properly to the container diameter may also lose contact at the far side of the print area.
- Dust or lint on the container surface
- Static build-up on plastic bottles or tubes
- Poorly reclaimed screens with residue in the mesh
- Underexposed stencil or weak emulsion coat
- Ink that is too thick, too dry, or badly mixed
- Worn squeegee edges or uneven flood pressure
Check the screen before blaming the machine
Many teams look straight at the printer when pinholes appear, but the screen is often the first place to inspect. Hold the mesh up to strong light and look for tiny breaks, dried ink in open areas, bits of tape lifting, or haze left behind after reclaiming. Even a small trace of old ink can stop fresh ink passing through cleanly.
Run a clean test print and compare the fault position with the artwork. If the gaps land in the same place every time, the screen may have a damaged image area. If the marks move around, the problem is more likely contamination, pressure variation or substrate handling. In that case, check whether the screen was washed properly, whether the degreasing step was skipped, and whether the stencil was dried fully before use.
Good screen making is not just about exposure time. It is also about clean handling, the right coating thickness and proper drying between steps. A rushed reclaim job can leave invisible residue that shows up only once the run starts. That is why a disciplined reclaim routine saves money on repeat orders, especially when a customer needs consistent branding across large batches.
Ink, viscosity and drying room conditions
Ink that is too thick may bridge over the mesh and leave gaps. Ink that is too thin can pull back from the substrate and expose tiny holes after it levels. The correct mix depends on the material, mesh count, print speed and curing setup. If the ink has sat open for too long, surface skin and solvent loss can also create small voids during the print stroke.
Temperature matters more than many people admit. In a hot factory, ink can start to dry on the screen before the job is complete, which blocks fine detail and causes scattered pinholes. In colder stores or early morning starts, the opposite can happen if the ink does not flow evenly. Shops in Johannesburg and Pretoria often notice this during seasonal changes, especially when load-shedding interrupts heaters, extractors or drying systems.
- Keep ink lids closed between runs
- Mix to the supplier’s recommended ratio, not by guesswork
- Stir from the bottom of the container to lift settled pigment
- Watch open time on the screen during long jobs
- Test a few samples after any cure room temperature change
Substrate handling on bottles, cups and tubes
Container handling has a direct effect on pinholes and voids. A clean bottle that is still warm from moulding may carry release residue, while a stored product may collect dust or finger marks. On cups and tubes, poor stacking can cause rub marks that do not show up until the ink sits on the surface. That is why a simple wipe with a suitable cleaner, followed by a dry lint-free cloth, can solve more print faults than expected.
For plastic work, corona or flame treatment must be stable and consistent if the surface needs it. If treatment drops off, the ink can bead and leave tiny open points in the image. On metal containers and coated tubes, oil or polish from handling can do the same thing. Staff training makes a difference here because the fault may start on the packing table and only become visible at the printer.
When checking a troublesome job, compare good and bad samples from the same batch. If only certain cartons or pallets show the fault, you are likely dealing with handling, contamination or treatment inconsistency rather than a machine issue. Keep notes by batch number and production date, it helps when the same client orders again.
How to respond before scrap builds up
The fastest way to limit loss is to stop the run as soon as the fault pattern becomes clear. Pull a sample, clean the screen, inspect the squeegee, and check the next blank container before restarting. If the issue is on every print, adjust one variable at a time so you can see what fixed it. Changing three things at once only hides the cause.
A practical response sheet for pinholes and voids should include:
- Substrate batch and supplier
- Ink mix, reduction and pot life
- Mesh count and stencil condition
- Room temperature and humidity
- Machine speed, pressure and flood settings
- Any power interruption or load-shedding delay
That record is useful whether you run a small shop in Aeroton or manage a production line in Cape Town. It helps technical staff isolate the issue faster and avoid repeat downtime. The aim is not to overcomplicate the job. The aim is to keep the first good print looking the same as the hundredth.
When to call for site support and training
If pinholes and voids keep returning after cleaning, adjustment and screening checks, it is time to look at the wider setup. A machine that is slightly out on registration, pressure or alignment can create a fault that looks like ink trouble. Preventive maintenance also matters because worn guides, uneven movement and poor calibration can cause subtle coverage loss across a long run.
Site support is especially useful when a shop has expanded into new container sizes or moved from flat work to cylindrical printing. A setup that works on one bottle may not hold on a narrower tube or a larger cup. Training the operator to spot early warning signs saves time and material, and it is usually cheaper than making up a full batch later.
For production teams in Johannesburg, Pretoria, Midrand, Durban or Cape Town, the most valuable habit is simple: inspect early, clean properly and note what changed. Tiny gaps in ink coverage are usually a message from the process. Read it early, and the print room stays ahead of the scrap bin.