Why blade hardness changes the print from the first pull
The hardness of a squeegee controls how much pressure and flex reaches the mesh and ink film. A softer blade bends more, puts down more ink and usually gives a heavier deposit, while a harder blade keeps its edge tighter and gives a thinner, sharper print. If the blade is too soft for the job, the print can look heavy or slightly fuzzy at the edges. If it is too hard, the ink may not clear fully and you can get patchy transfer, especially on curved packaging.
On cylindrical work, the print surface is not flat, so the squeegee has to do more than just push ink across a screen. It has to follow the curvature evenly and keep contact consistent from one end of the stroke to the other. That is why a blade that works well on a straight panel may behave very differently on a 750 ml bottle, a narrow tube or a small cup. The trick is matching hardness to the mesh, ink and shape so the print stays even without overworking the screen.
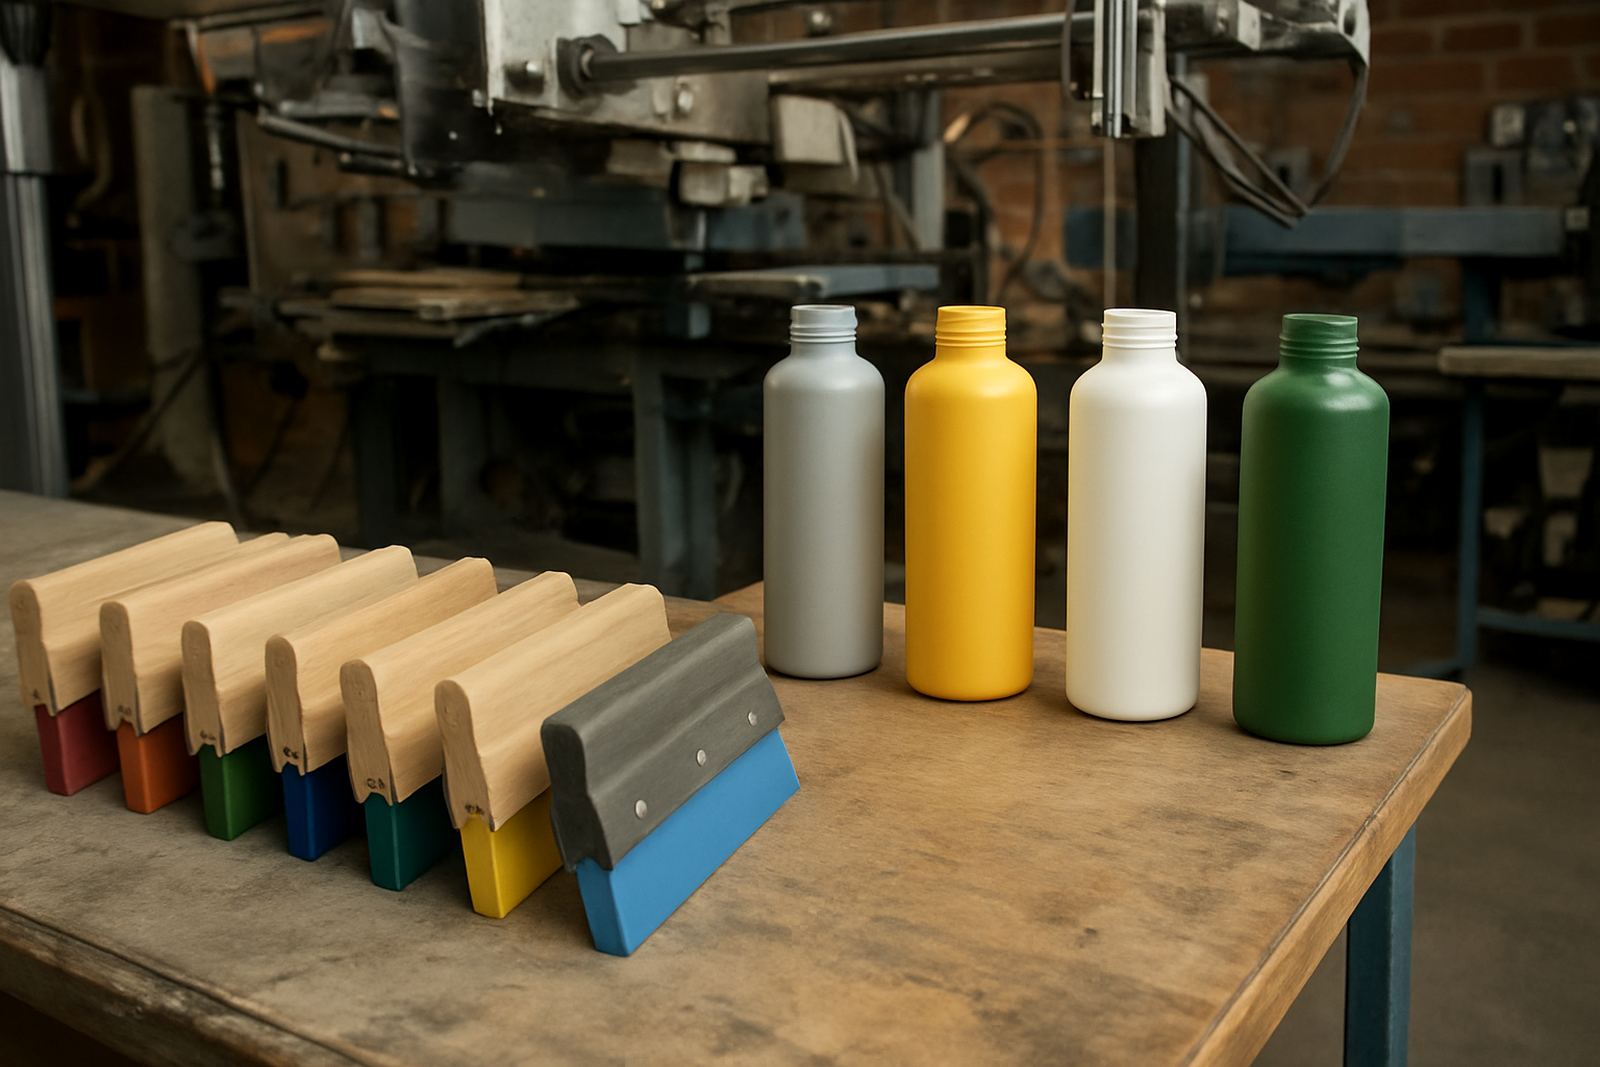
- Soft blades suit heavier ink laydown and some uneven surfaces
- Medium blades are a common starting point for general production
- Hard blades suit finer detail and tighter edge definition
Picking the right hardness for bottles, cups and tubes
For most production teams, the starting point is not one exact hardness but a range. On packaging work, a medium blade often gives the best balance between transfer and control. It is usually firm enough to hold a clean edge, but not so stiff that it starves the print. A harder blade can work very well for fine logos, small text and crisp line work on smooth containers. A softer blade is often better where the substrate has slight variation, or where the ink needs a bit more help to pass through the mesh.
Common practice is to test the blade against the job rather than rely on habit. If the print is too heavy and the image loses detail, step up to a harder blade. If you see incomplete coverage, pinholing or dry patches, move softer. On some jobs, especially when the artwork is large and the bottle diameter changes, operators may need to adjust pressure and angle along with hardness. It is often the combination that matters more than any single setting.
- Small text and fine detail often print better with harder blades
- Solid blocks and heavier coverage may need softer blades
- Curved or slightly flexible containers may need a middle hardness for control
How hardness affects edge quality, ink deposit and wear
Edge quality is where hardness really shows itself. A blade that is too soft can roll slightly during the stroke, which blurs the edge and widens the print. A harder blade keeps a narrower line of contact, so the image can stay sharper. That said, a very hard blade can be less forgiving if the screen tension is not right or the platen setup is uneven. You may see chatter, uneven ink release or more visible streaking on the print.
Wear is another part of the picture. Softer blades tend to wear faster because they flex more and lose their edge sooner. Harder blades usually last longer, but they can be less tolerant of poor setup and can mark the mesh if pressure is too aggressive. In real production, the best result is often the blade that stays stable long enough for the run without forcing the operator to keep chasing the print. If the blade starts to nick, round off or leave a slight trail, that is a sign it is past its best and should be replaced.
It is worth checking blade condition during the shift, not only at the end of the week. A small change in edge wear can show up as a colour shift or a loss of sharpness before anyone notices the blade itself.
Matching hardness with mesh, ink and setup
The squeegee does not work on its own. Mesh count, ink viscosity, screen tension and off-contact all affect the result. A hard blade on a low mesh screen may push too little ink through, while the same blade on a finer mesh can give excellent control. Similarly, a soft blade on heavy ink may flood the image if the mesh and tension are not holding the detail properly.
As a rule, keep the setup consistent before changing three things at once. If the print has problems, test one variable, then assess the result. This saves time and helps the team understand what the machine is telling them. A practical shop approach is to record the blade hardness, mesh count, ink type and stroke settings for repeat jobs. That makes it easier to return to the same result next month, even if different operators are on shift.
- Higher mesh counts often work well with harder blades
- Heavier inks may need softer blades or more careful pressure control
- Stable screen tension helps the blade perform as expected
What changes in South African production conditions
Local conditions can change how a squeegee behaves. In Johannesburg, dry winter air can affect some inks and make the print feel slightly different from a humid day in Durban or Cape Town. Coastal humidity can slow drying and make operators compensate with extra pressure, which is not always the right answer. In summer, heat in a busy production area can soften some blade materials a touch, so a setup that worked in the morning may need a small adjustment by afternoon.
At one Aeroton job for a business printing branded drink bottles, the team started with a softer blade because the first samples looked under-inked. The print improved, but the edges became a bit heavy on the curved section. We changed to a medium blade, reduced pressure slightly and checked the angle, and the result was cleaner across the full wrap. The lesson was simple: the right hardness was not just about more ink, it was about keeping the image controlled on the curve.
That kind of adjustment also matters when power interruptions or stop-start production affect line rhythm. If the machine restarts after a pause, the first few pulls can behave differently from the rest of the run, so the blade choice should be checked before full production resumes.
Practical checks before you lock in a blade choice
Before a run, it helps to inspect the blade and the whole setup rather than trusting yesterday’s settings. A small test can save a full batch of rejects. Check the edge, confirm the angle, look at the screen tension and compare the first print with the approved sample. If the job is a repeat, verify whether the ink batch, substrate supplier or environmental conditions have changed. Even small changes can alter transfer enough to matter.
For production teams, the most useful habit is to build a short decision routine:
- Look at the artwork detail and decide if the job needs heavier or lighter deposit
- Match that need to a softer, medium or harder blade
- Run a test print and inspect edges, fill and coverage
- Adjust pressure and angle before changing the blade again
- Replace the blade once wear starts affecting consistency
Good squeegee selection is not about chasing a perfect blade for every task. It is about knowing which hardness gives the most stable result for the job at hand, then using that knowledge to keep production moving with less waste and fewer surprises.