Start With the Material, Not the Machine
Before you price any surface treatment equipment, work out what you are printing on. Glass, treated plastics, coated metal, powder coated items and some flexible tubes all behave differently. A bottle that prints well in summer may give trouble in winter when dust, humidity and static all change the way ink sits on the surface.
For smooth cylindrical items, the first question is simple: does the ink bond properly after curing, drying or both? If the answer is yes and the job is holding up in packing, transport and daily use, you may not need extra equipment. If the answer is no, start with a surface test before you blame the screen, the ink or the press.
Many South African shops run into problems on reusable water bottles, cosmetic tubes and promotional cups. These products are handled a lot, washed often and sometimes exposed to sunlight in vehicles or store displays. That means the print must do more than look good on the day it leaves the workshop.
Signs That Pre Treatment Is Needed
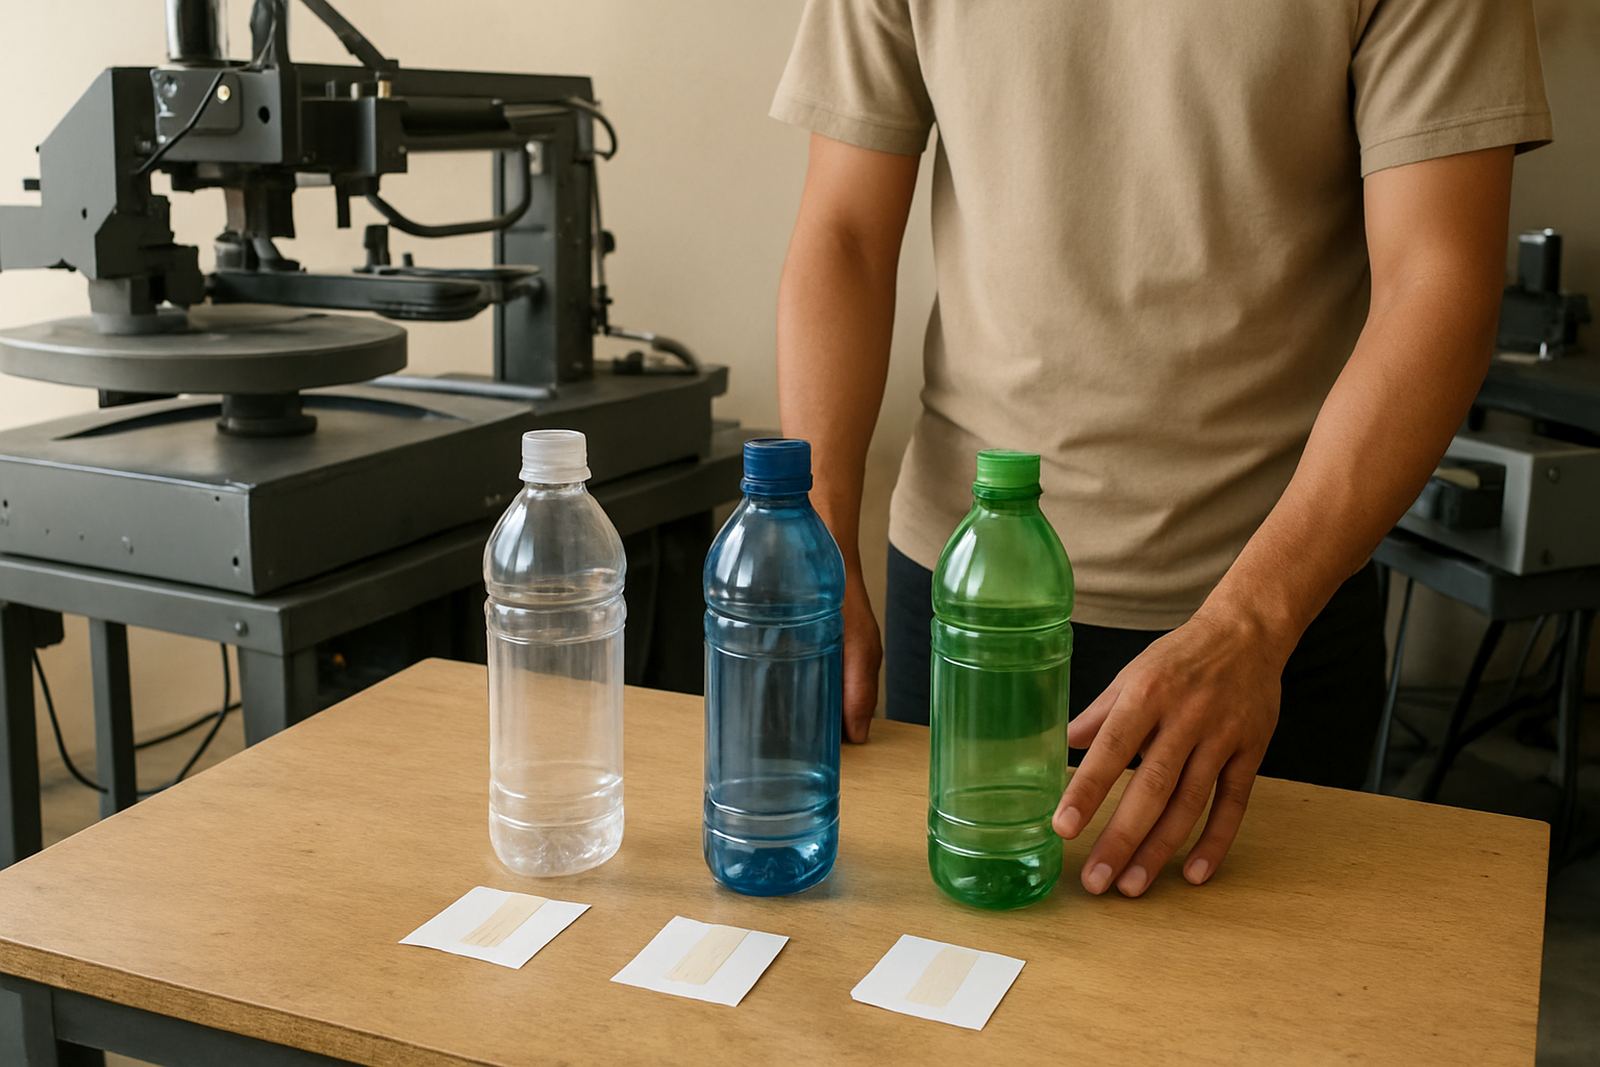
Pre treatment is usually worth considering when prints fail in the same way over and over. A quick rub test or tape test can show whether the problem is adhesion or something else. If the ink lifts at the edges, cracks after handling, or rubs off after a day or two, the surface may not be ready for printing.
Coated or low-energy plastics often need extra preparation. This is common on injection moulded bottles and some promotional cups. Smooth metal tubes and glossy finishes can also be difficult, especially where the item has mould release residue or polishing oils on it.
- Prints look fine when fresh but fail after curing or packing
- Ink beads up instead of spreading evenly
- Colour breaks or pinholes appear on the first pass
- Prints scratch off when stacked or packed tight
- Results change from batch to batch even with the same setup
If two or more of these issues happen often, a pre treatment stage may save time and rework. It is usually cheaper to prepare the surface properly than to print twice.
Choose the Right Type of Preparation
Not every job needs the same preparation. In many workshops, cleaning is the first and most important step. Dust, oil from handling and mould release agents can stop ink from bonding, even on materials that are otherwise easy to print. A simple wash and dry process may be enough for some items.
Where cleaning is not enough, surface treatment equipment can help by changing how the material accepts ink. Flame, corona and plasma systems are used in different setups depending on the product, production speed and available space. Your choice should match the item shape, the run size and the level of adhesion required.
For short runs and mixed work, flexibility matters. For high volume jobs, consistency matters more. If you print 500 bottles one week and 5,000 the next, your treatment method must be repeatable and easy for operators to check. A fancy setup that slows the line down may cause more problems than it solves.
- Use cleaning first for dust, grease and handling marks
- Use surface treatment when the material rejects ink or coating
- Use a repeatable method for production work, not trial and error
- Keep the treatment step close to the print step where possible
- Match the system to the item shape and production speed
A Simple Shop Floor Test Before You Buy
Before buying equipment, run a small test on the actual product. Use the same ink, the same curing method and the same drying time you plan to use in production. Print a few samples, then test them after 24 hours and again after handling. This gives a more honest result than one quick look on the drying rack.
Check for scuffing, cracking, colour shift and poor edge definition. Also check whether the ink behaves differently on one side of the bottle compared with the other. On cylindrical items, slight changes in pressure or speed can hide a treatment problem, so inspect all the way around the item.
Make notes on the batch, the material type, the ambient temperature and whether the workshop had high dust or load-shedding interruptions that day. Those details matter more than most people think. If the same material works well on one day and fails on another, the cause is often in the process not the ink.
- Print a small batch with your normal setup
- Test adhesion after 24 hours, then after handling
- Record temperature, humidity and power interruptions
- Compare results across several batches, not only one sample
- Keep the best sample as a reference for future jobs
When Cleaning Alone Is Enough
Some jobs do not need surface treatment equipment at all. If your product has a consistent surface, the ink bonds well, and the print passes a basic rub test, you may only need a better cleaning routine. This is common on certain glass items, some pre coated containers and products that arrive well packed from the supplier.
A good cleaning process should be standardised. Use the same cloths, the same wipe direction and the same drying time every shift. Avoid touching the print area after cleaning. In a busy factory, contamination from hands and cardboard dust can undo the work in seconds.
If the print holds up without treatment and the customer does not expect heavy wear, do not add equipment just because it sounds like a better option. Keep the process simple where possible. That said, if the item will be washed, stacked or handled in a harsh environment, test again before you decide it is good enough.
Production Questions That Affect Your Decision
Your buying decision should follow the job mix, not only the item price. A small workshop in Johannesburg South with a few repeat bottle runs has different needs from a site in Durban or Cape Town dealing with coastal humidity and bigger seasonal orders. Surface treatment becomes more valuable when you need repeatable results across multiple products and shifts.
Ask these questions before you spend money:
- How many units do we print per day or per week?
- Are the items smooth, coated or difficult to bond to?
- Do we have print failures after packing or transport?
- Can operators do the same prep step every time?
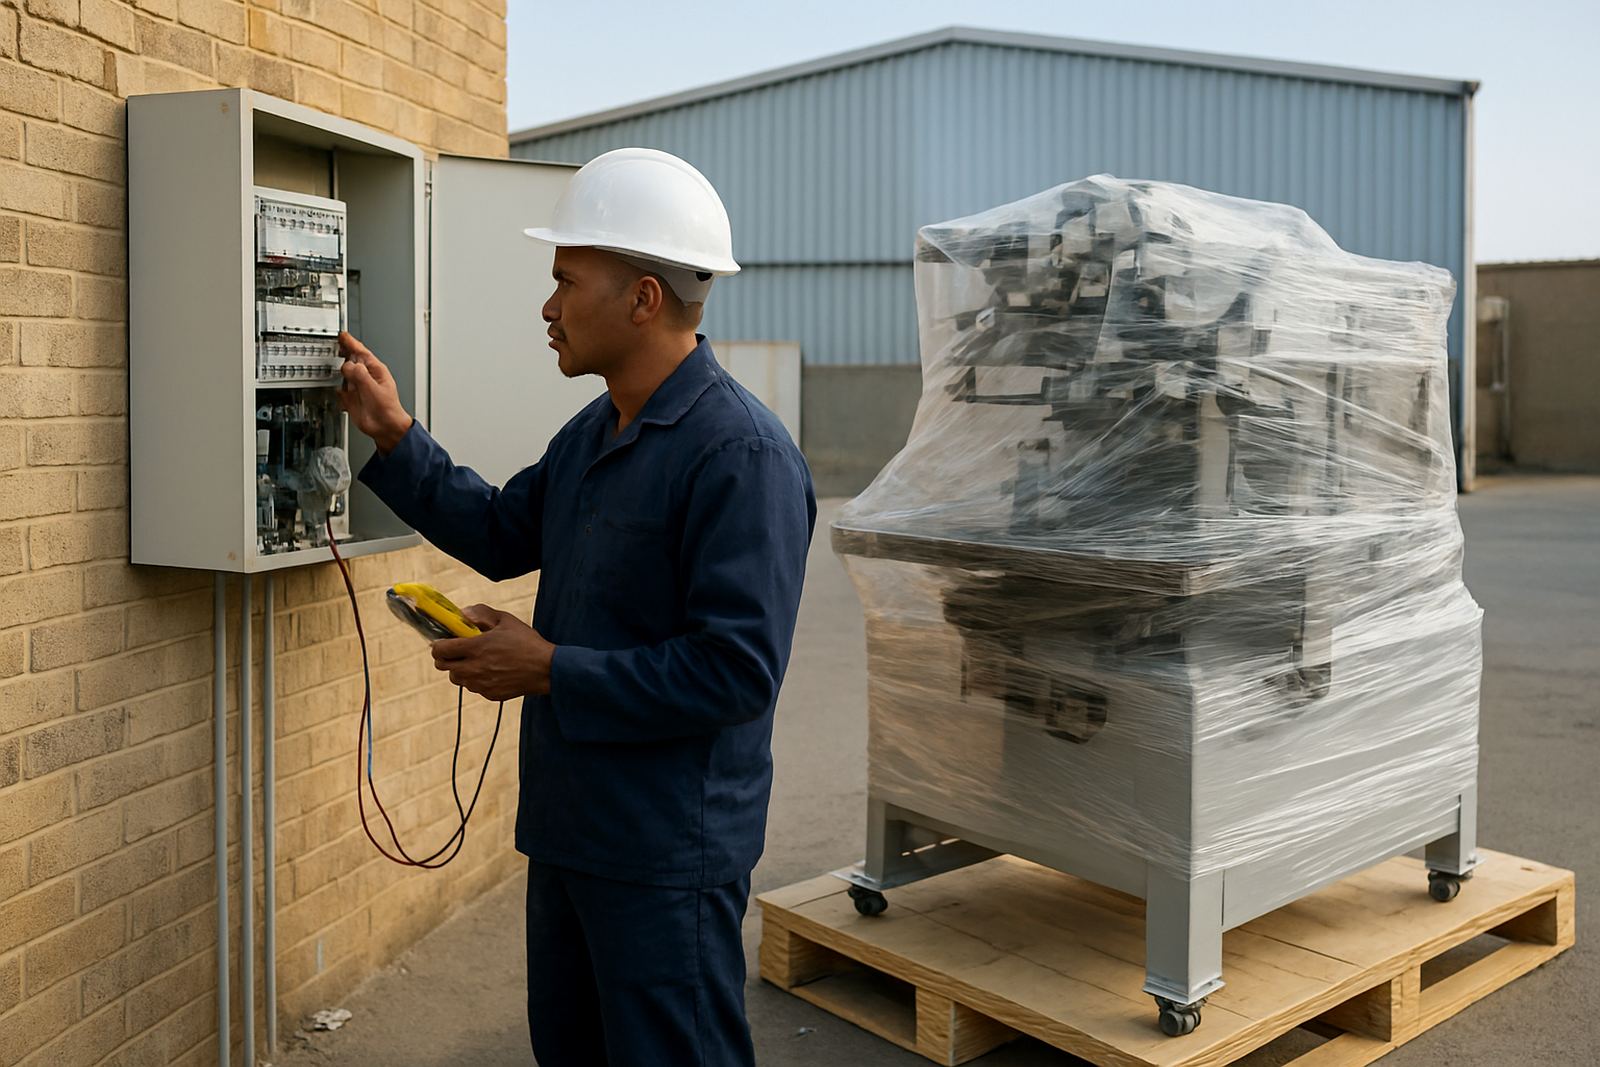
- Will the equipment fit into the available floor space and power supply?
- Can we maintain output during load-shedding with our current backup plan?
If the answer to most of these points is uncertain, it may be safer to start with a small test setup or a guided site assessment before committing to a bigger system. Colour consistency is hard to hold when bottles are handled a lot, so do a quick test run before you commit.
Use a Checklist Before You Order
A proper checklist helps prevent a costly purchase that does not suit the product. At this stage, focus on the items below and keep the decision practical. If you already know your failure points, you will know whether the fix is cleaning, treatment or a change in curing and handling.
- Confirm the material type and finish
- Test print, cure and rub the sample
- Note any contamination or handling issues
- Check whether the treatment can keep up with the print speed
- Plan for operator training and daily checks
- Allow space for service access and maintenance
- Make sure spare parts and consumables are easy to source
If you need help deciding, a site review can save a lot of trial work. The right approach should fit the product, the line speed and the local working conditions. A machine that suits one factory may be overkill in another, even if the bottles look the same.