Start with the substrate, not the machine
The first step is to match the curing method to the item being printed. Glass, coated metal, PET, HDPE, polypropylene and paper-based tubes all react differently to heat and to the type of ink used. A method that works well on glass bottles may warp a thin plastic cup or leave poor adhesion on a low-energy surface.
In practical terms, ask three questions before you buy or set up curing equipment: what is the product made from, what ink system is being used, and how fast must each batch move through the line. If you are printing for promotional runs in Johannesburg or refill packs for a Durban bottling plant, the answer may be different even when the artwork is the same.
- Check the substrate type and wall thickness
- Confirm the ink's cure temperature or cure time
- Test a sample for scuff resistance and wash resistance
Compare heat, air and light-based curing
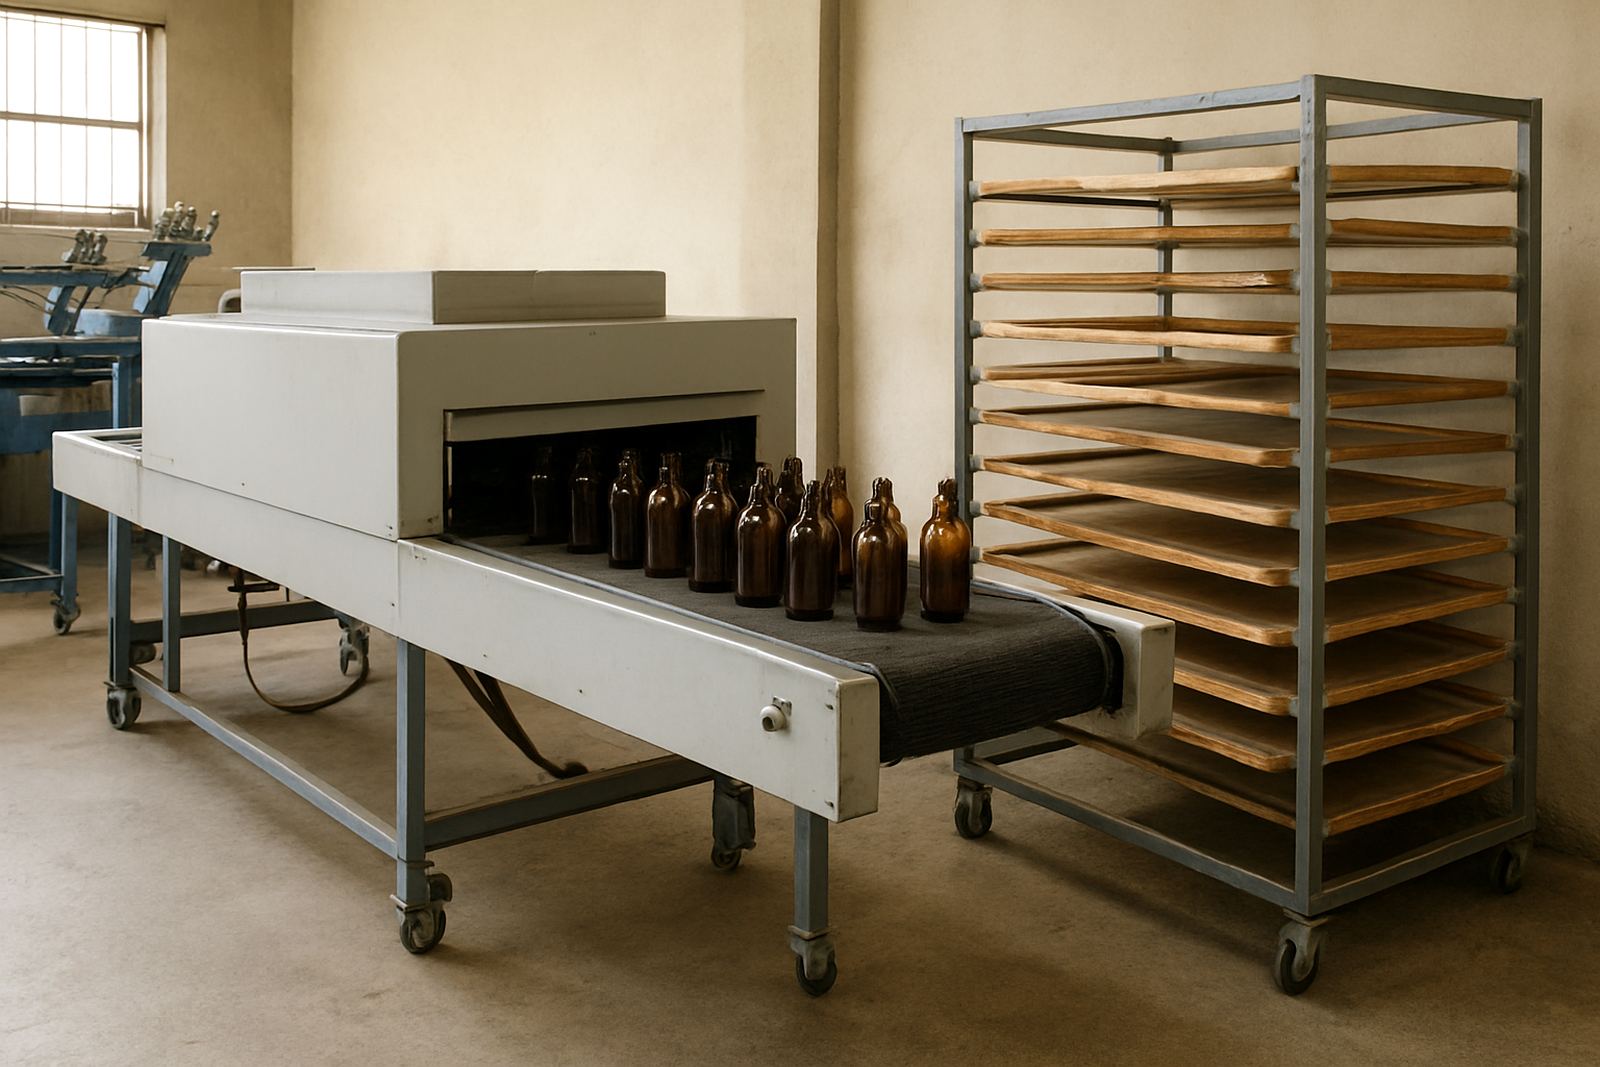
There is no single curing method that suits every bottle or tube. Forced hot air is common where you need even drying across a longer line and you have enough floor space. Infrared can work well on cylindrical items where the heat needs to reach the print area quickly, but care is needed on thin plastics and heat-sensitive labels. UV curing is useful where the ink is designed for that system and where fast handling is needed after print.
Each method has its own place in a production workflow. Hot air systems are often simpler to maintain and can be easier to manage during load-shedding if you have the right backup plan. UV systems can give very quick handling times but they depend on the correct lamp output and clean reflectors. Infrared units heat quickly, though operators must watch dwell time closely or you may get softening or distortion on some substrates.
- Hot air: steady drying, good for controlled lines
- Infrared: quick heat transfer, useful on cylindrical prints
- UV: fast handling, only for compatible inks and substrates
Set your line speed before you choose cure time
Curing is not just about the unit itself. It is about how long the print stays in the cure zone and what happens after that. If the line moves too fast, prints may feel dry on the surface but still fail in rub tests. If it moves too slowly, you lose output and use more power than needed. In some plants we see operators chasing print quality with more heat, when the real issue is poor conveyor timing or inconsistent transfer from the print station.
A simple test helps. Run ten samples at your planned speed, then check them after cooling. Rub the print with a clean cloth, stack the items if that is part of your process and leave a few pieces overnight before testing again. If the print marks, smears or lifts, adjust dwell time, temperature or ink mix one change at a time.
- Set conveyor speed first
- Measure cure zone length and dwell time
- Allow a cooling stage before packing
Plan for South African production conditions
Local conditions affect curing more than many buyers expect. In humid coastal areas such as Durban and parts of Cape Town, drying time can stretch if air movement is poor. In hotter inland sites around Johannesburg, Pretoria and Midrand, ambient heat can help but also make equipment settings less predictable through the day. Dust, unstable power and load-shedding also matter, especially where a line must stop and start repeatedly.
For that reason, the curing method should fit the full site setup, not only the print machine. Check extraction, airflow, power quality and whether the room can hold a steady temperature. If the operation prints short runs for market packaging, the set-up may need to be compact and quick to restart after outages. A larger production floor may benefit from a more controlled curing tunnel and a separate cooling area.
- Allow for humidity in coastal plants
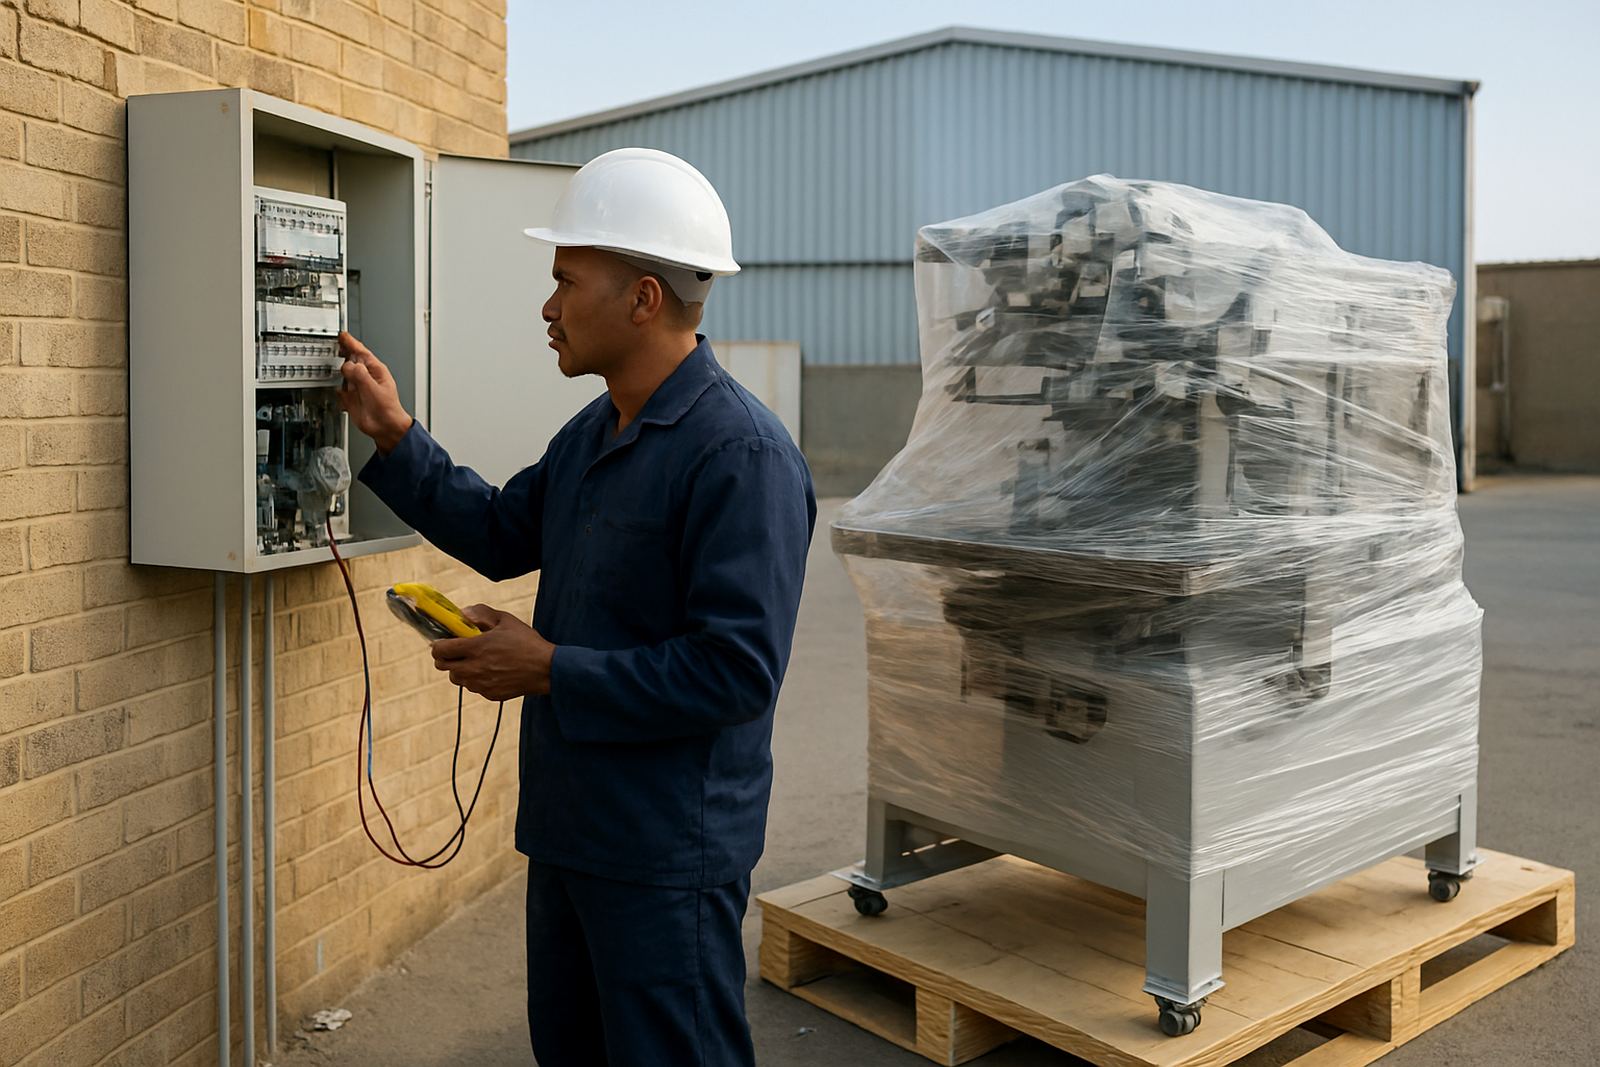
- Check power backup for stop-start recovery
- Keep the area clean to prevent dust on fresh prints
Use a sample approval process before full production
Every new product should go through a clear approval process. Do not move straight from first print to full batch. Print a small set, cure it fully, then inspect under light and by touch. Look for colour shift, uneven gloss, pinholes, edge lift and any smell that suggests the print has not fully cured. If the product is a bottle or tube that will be handled often, add a simple abrasion check and a brief water exposure test.
Keep written notes for each approved job. Record the substrate, ink type, curing temperature, line speed, and the result of the test. That saves time later when a client reorders and wants the same finish. It also helps if you need to train a new operator or compare results after a service visit.
- Print a sample batch
- Check after full cooling
- Record settings and test results
Match the curing method to your workflow and service plan
The best curing method is the one that keeps production moving without creating extra problems for operators. If your team needs fast changeovers, choose a system that is simple to clean and easy to reset between sizes. If you are producing larger volumes, look for consistent heat output and enough space for safe handling. If your work includes frequent new shapes or mixed materials, flexibility is more important than raw speed.
Maintenance should be part of the decision from the start. Curing units need regular checks on heaters, lamps, fans, sensors and guards. Screens and print heads also last longer when the curing stage is stable, because there are fewer reprints and less handling damage. For sites in Aeroton, Johannesburg South, Pretoria, Midrand, Durban and Cape Town, planned service keeps the line predictable and reduces downtime when orders are tight.
- Choose for line speed and product mix
- Plan routine cleaning and inspection
- Keep spare parts and service contact details close by