Start With A Real Production Plan Before The Machine Arrives
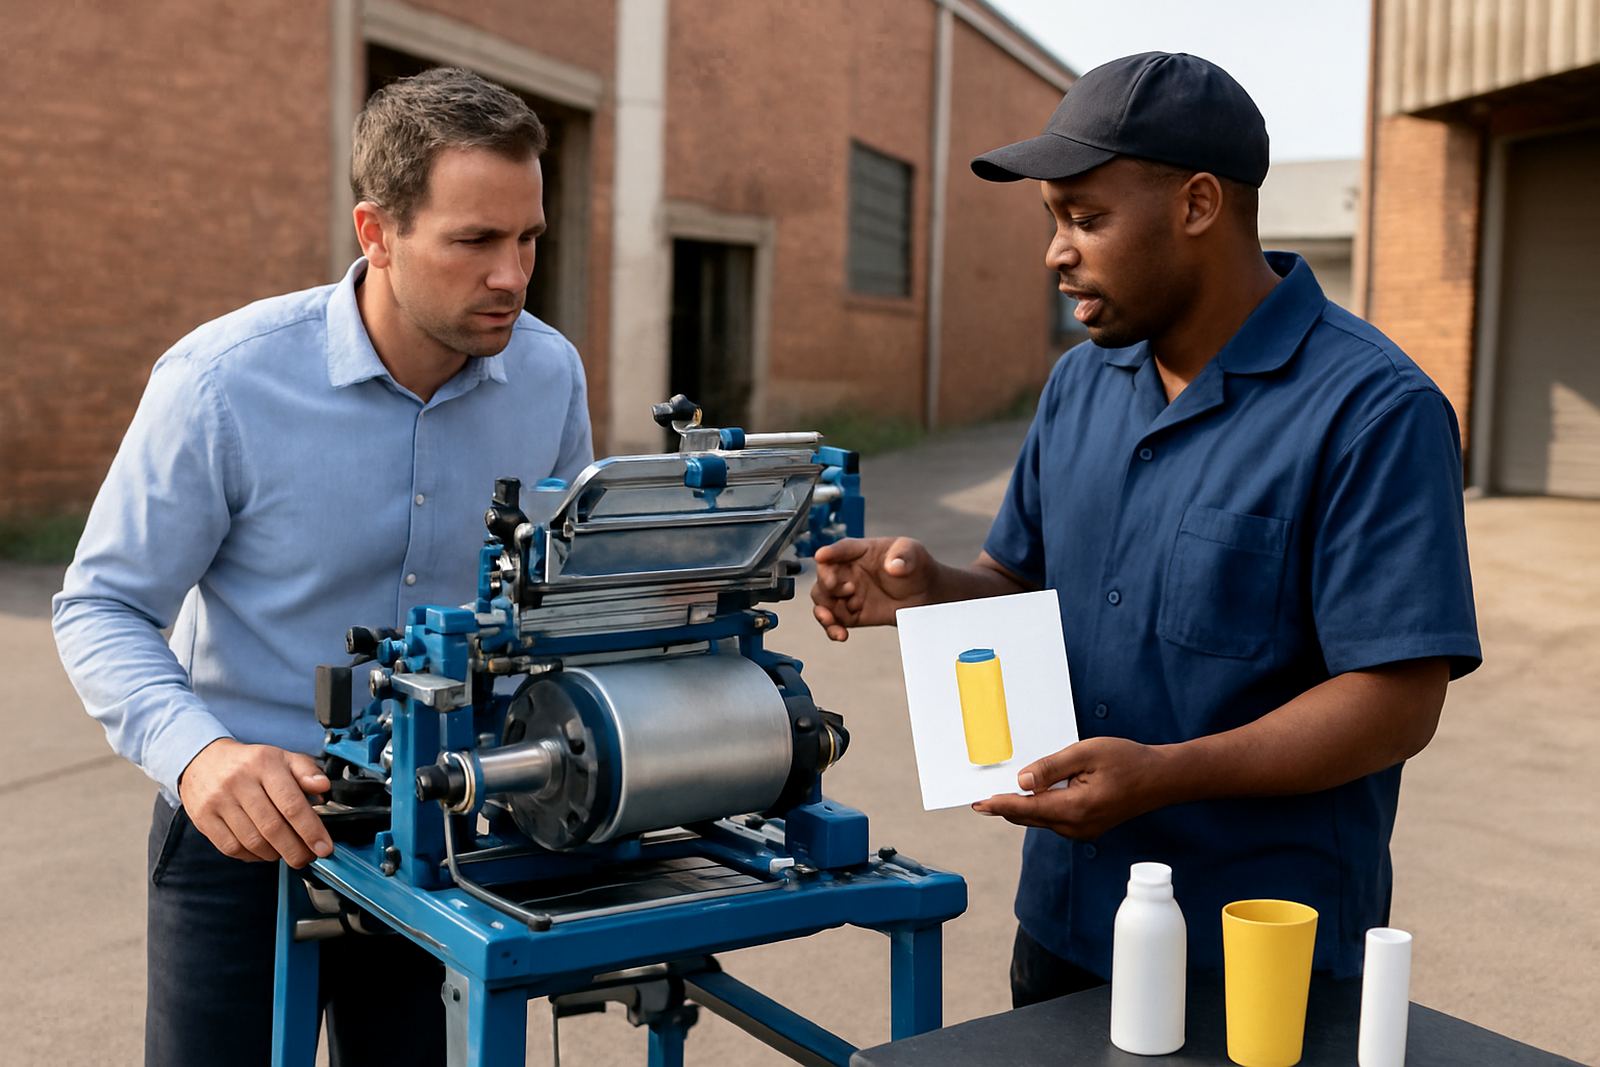
Operator training works best when it is matched to the work you actually need to do. Before commissioning, list the bottle sizes, cup shapes, tube diameters and print areas you will run most often. If you are printing for cosmetics, beverages or promotional products, the setup and ink handling needs can differ quite a bit. A team in Aeroton or Midrand may be running short changeovers for fast turn around, while a site in Durban may need extra care for humidity and drying times.
Set clear goals for the first 30 days. For example, aim for correct loading, clean registration, basic colour setup and safe shutdown before asking operators to run full shift production. Keep the plan simple and measurable, so everyone knows what success looks like.
- Confirm product types, sizes and print positions
- List the inks, screens and drying method to be used
- Identify who trains operators, who signs off and who supervises production
- Set daily output targets for the first week
Pre Commissioning Training That Saves Time Later
Training before commissioning should cover the basics of the machine, the job setup and the housekeeping around the line. Operators need to understand how the cylindrical screen-printing machine feeds, indexes and prints, as well as how screens are handled during a job change. That early instruction reduces stoppages once production starts and helps the team spot problems before they become scrap.
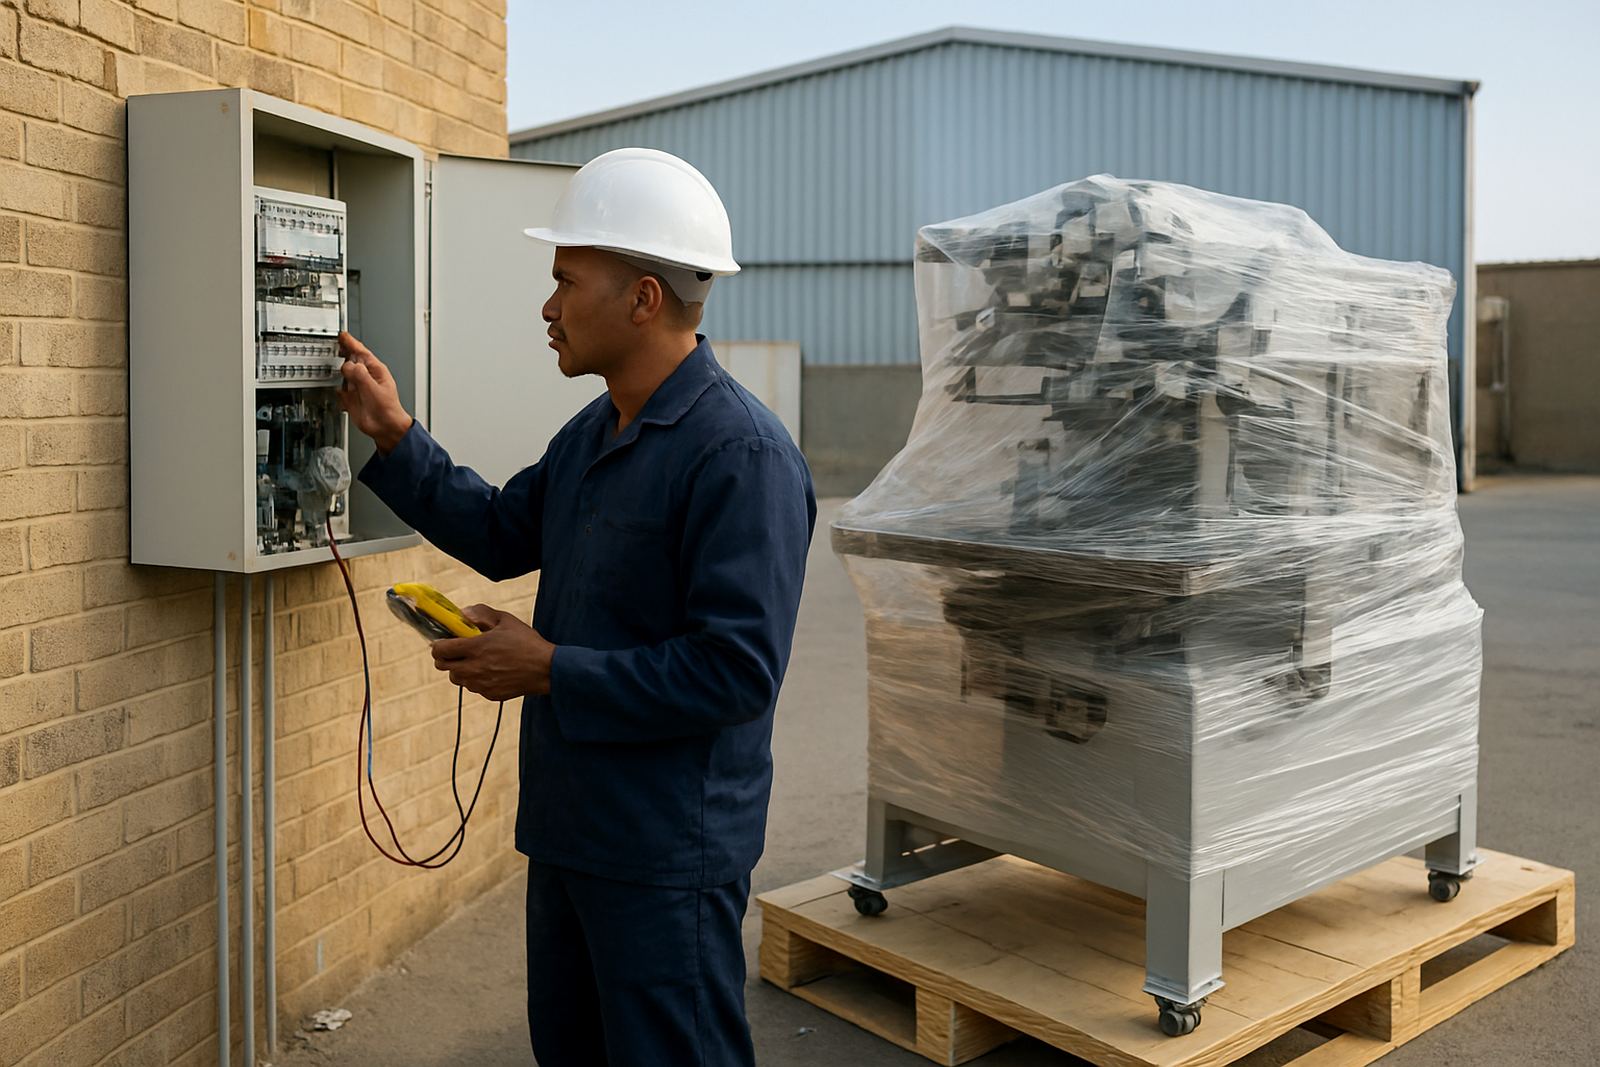
Use the first sessions to show what good looks like. Explain how to check substrate cleanliness, how to align the product in the jig, and how to verify that print pressure is even across the full wrap. If the site has frequent load-shedding, include the correct restart steps and how to protect work in progress during a power interruption.
- Machine parts and controls
- Safe loading and unloading of products
- Basic screen handling and storage
- Ink mixing, viscosity checks and colour matching
- Cleaning points at shift change and end of day
Commissioning Day Should Be A Controlled Hand Over
On commissioning day, keep the focus on one product at a time. Start with the easiest size and the most repeatable artwork, then move to more complex jobs only after the team is comfortable. A controlled hand over gives the operator a chance to see the full cycle, ask questions and repeat the steps with supervision.
It helps to assign roles early. One person can feed and remove product, another can check print quality, and a third can watch drying and curing. This is especially useful on busy production floors where the supervisor may be juggling several tasks at once. If your business runs from Johannesburg South or Pretoria, make sure the hand over covers travel time for service support and who to call if there is an issue after hours.
By the end of commissioning, each operator should be able to run a basic job from setup to shutdown without guessing. They do not need to be perfect on day one, but they do need a clear routine.
Build The First 2 Weeks Around Repetition And Checks
The first two weeks after commissioning are where good habits form. Repeat the same jobs enough times for the team to build muscle memory, then add variation once the base process is stable. Avoid changing too many variables at once, because that makes it hard to know what caused a print defect. One day of rushed set up can undo three days of good training.
Use a daily check sheet that covers the machine, the screens and the finished product. Keep it near the line and have the operator sign it off at the start and end of shift. This creates accountability without slowing production. It also helps during preventive maintenance visits because the technician can see what issues keep coming back.
- Check print alignment at the start of each shift
- Record ink mix, drying settings and line speed
- Inspect the first 10 printed items from every job
- Log reprints, rejects and the reason for each one
Teach Screen Making And Reclaiming Alongside Printing
Printing quality depends on the screen as much as the machine. If operators only learn to print, they may still struggle with stretched mesh, blocked artwork or poor ink release. Include screen making and reclaiming in the training plan so the team understands how artwork, mesh choice and stencil condition affect the final result. This is where neat process control pays off, especially for repeat orders.
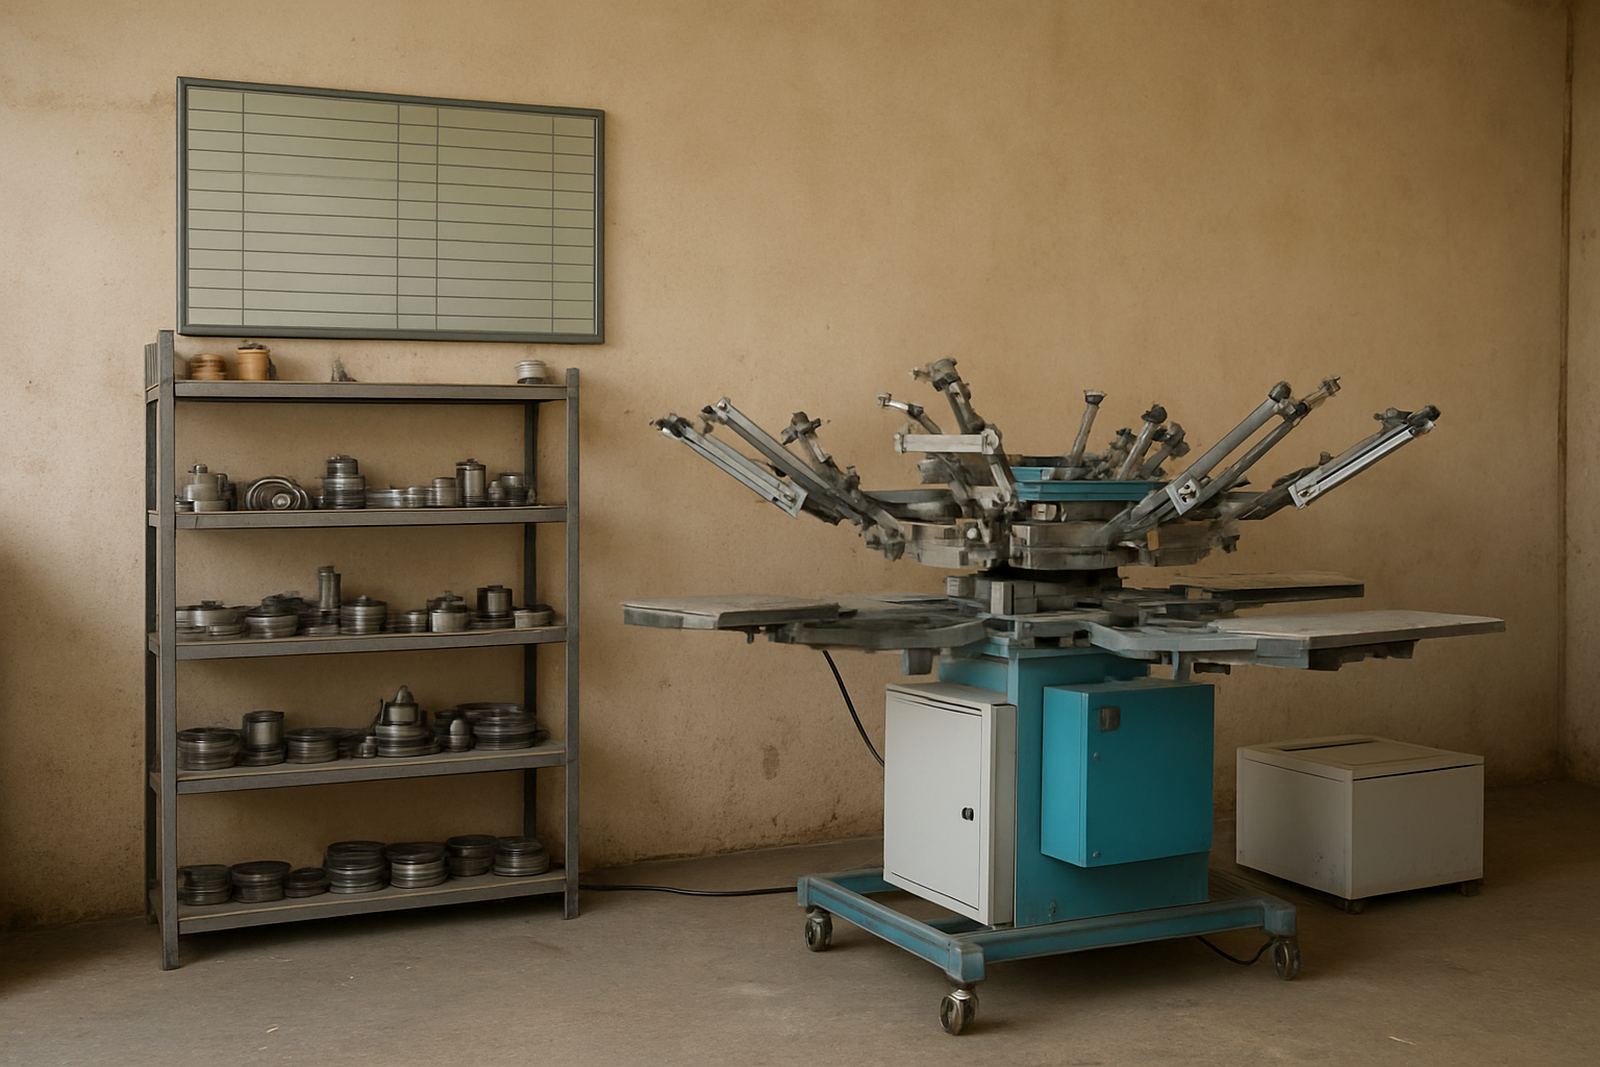
Show the team how to store screens correctly between jobs, how to clean them without damaging the mesh and when a screen should be replaced instead of reused. A screen that looks fine at first glance can still cause pinholes, blurred edges or uneven colour density. Coastal sites in Cape Town or Durban should also pay attention to moisture and storage conditions, since damp air can affect drying and stencil life.
Use A Skills Matrix So Everyone Knows What They Can Run
A simple skills matrix makes it easier to manage leave, shift changes and busy periods. List each operator, then mark what they can do without supervision, what they can do with help and what still needs training. This is useful for production planning and for deciding who needs refresher training after a breakdown repair or a long shutdown.
Keep the matrix practical and current. Update it after every training session, service visit or new product launch. If a machine is moved between branches in Aeroton, Midrand, Durban or Cape Town, the matrix can help the supervisor see who is ready to take over immediately and who needs a reminder on setup or colour matching.
- Basic machine operation
- Job setup and changeover
- Colour setup and ink mixing
- Screen cleaning and storage
- Routine checks and minor fault finding
Keep Training Going After Handover
Training does not stop once production is underway. Schedule refresher sessions after the first month, then again after any major product change, machine adjustment or service call. Short follow up sessions are often more useful than one long classroom talk because the team can raise real problems from the line. That is where production optimising starts to show results.
Keep a small reference file on site with setup notes, print settings, cleaning steps and contact details for support. If an operator is unsure, they should know exactly where to look before stopping the line. For technical help, spare parts or a site review, send a message through our contact form. A strong training plan is not complicated, but it must be consistent and someone has to keep following through.